Setting icons for places and folders, Using custom icons, Setting line color and width – Google Earth User Guide User Manual
Page 60
●
Size - To change the display size for a label, enter a value in the Scale field or click on the Scale button
and use the slider to adjust the size of the label to your preference. The maximum scale value for an icon is
4 pixels.
●
Opacity - The opacity setting indicates how transparent the label is relative to the imagery beneath it. By
default, the opacity is 100%, which means that it completely obscures any imagery beneath it. If you have
changed the size and color of your label, you might want it to be partially transparent so imagery beneath is
visible. To do this, enter a percentage opacity in the Opacity field.
Setting Icons for Places and Folders
When you create or edit a placemark or folder, you can change the icon for that item by clicking on the icon button
to the right of the Name field and choosing a new icon from the palette.
Note - You cannot set the icon for a folder if that folder contains a mixture of placemark data such as a
combination of placemarks and overlays. To set icons and their values for folders, you must
.
Using Custom Icons
For single placemarks and folders of placemarks, you can select a custom image to use as an icon rather than
one of the default set of icons available to all placemarks. When you set a custom icon for a single placemark, the
new icon appears for that placemark only. You can also set a custom icon for a folder if style sharing is enabled. In
that case, any change to the folder applies to all of the items in the folder.
Note - As with images on web page graphics, custom icons with smaller file sizes work best.
To choose a custom icon:
1. Click the icon in the top right corner of the Edit Placemark/Folder dialog box.
2. Choose custom from the icon palette.
3. Indicate a valid path or Web URL in the field beneath the Icon File/URL label or click Browse to specify the
file on your computer or network. If you refer to an image on the web, be sure you have entered the path to
the image itself, not the web page containing the image.
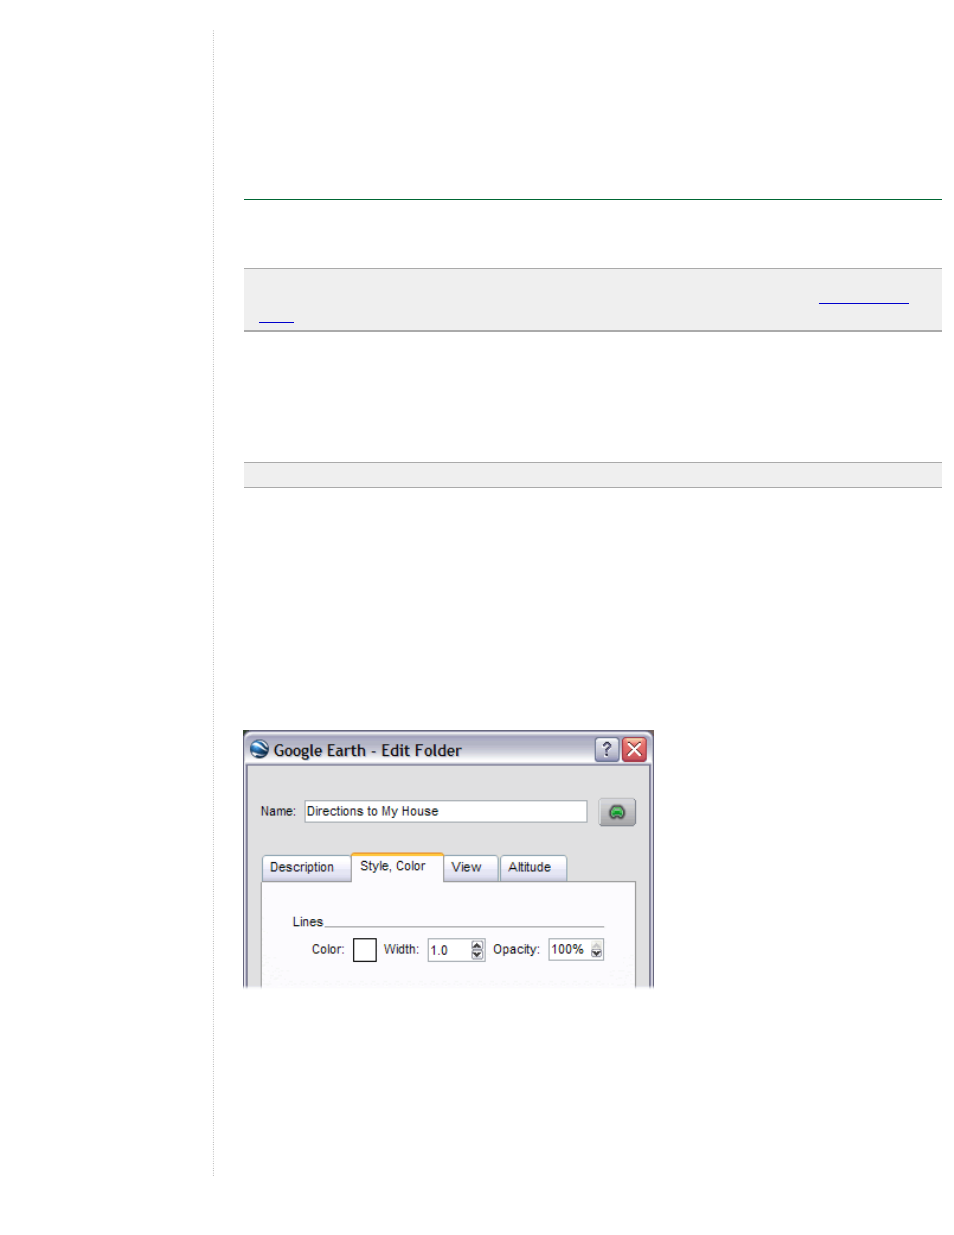
Setting Line Color and Width
When your placemark data consists of lines, such as with saved directions, you can use the Line properties in the
Style tab to modify the display of the line in the 3D viewer.
●
Color - To set the color for a line, click on the Color swatch and choose a color using the standard color
selector. You can choose preset colors or define your own in a variety of ways. Your color choice is added
to that of the existing line data in the same way as icon color is modified. In addition, the alpha channel
available in the color picker adjusts the opacity of the line in the same way as the Opacity setting does.
●
Width - The default setting for line width is 1 pixel. You can adjust the thickness of the line from 0 to 4
pixels by clicking on the Width button and using the up and down arrows to adjust the width within the
allowed range. You can enter other values for the line width by typing in a number in the Width field. Note
that DirectX users cannot adjust line width.
●
Opacity - The opacity setting indicates how transparent the line is relative to the imagery beneath it. By