How to insert a logo or graphic using tags – EVS XEDIO CleanEdit Version 4.35 - August 2013 User Manual User Manual
Page 214
Field/Button Description
Down
Button to move the selected tag lower in the tag list.
Prev
Button to select the previous tag in the tag list.
Next
Button to select the next tag in the tag list.
Delete
Button to delete the selected tag(s).
11.2.5. How to Insert a Logo or Graphic using Tags
Note
The logo or graphic to be inserted are usually TIFF or TGA file with a key layer.
The file is either already present in the current project or can be imported as you
define the tag for the graphic insertion.
See section "Fields in the Tag Manager Window" on page 196 for additional information on
the various fields referred to in the procedure.
To insert a graphic or logo by defining a tag, proceed as follows:
1. Right-click on the Timecode bar at the position where you want the graphic to be
inserted, and select Add tag to open the Tag Manager window.
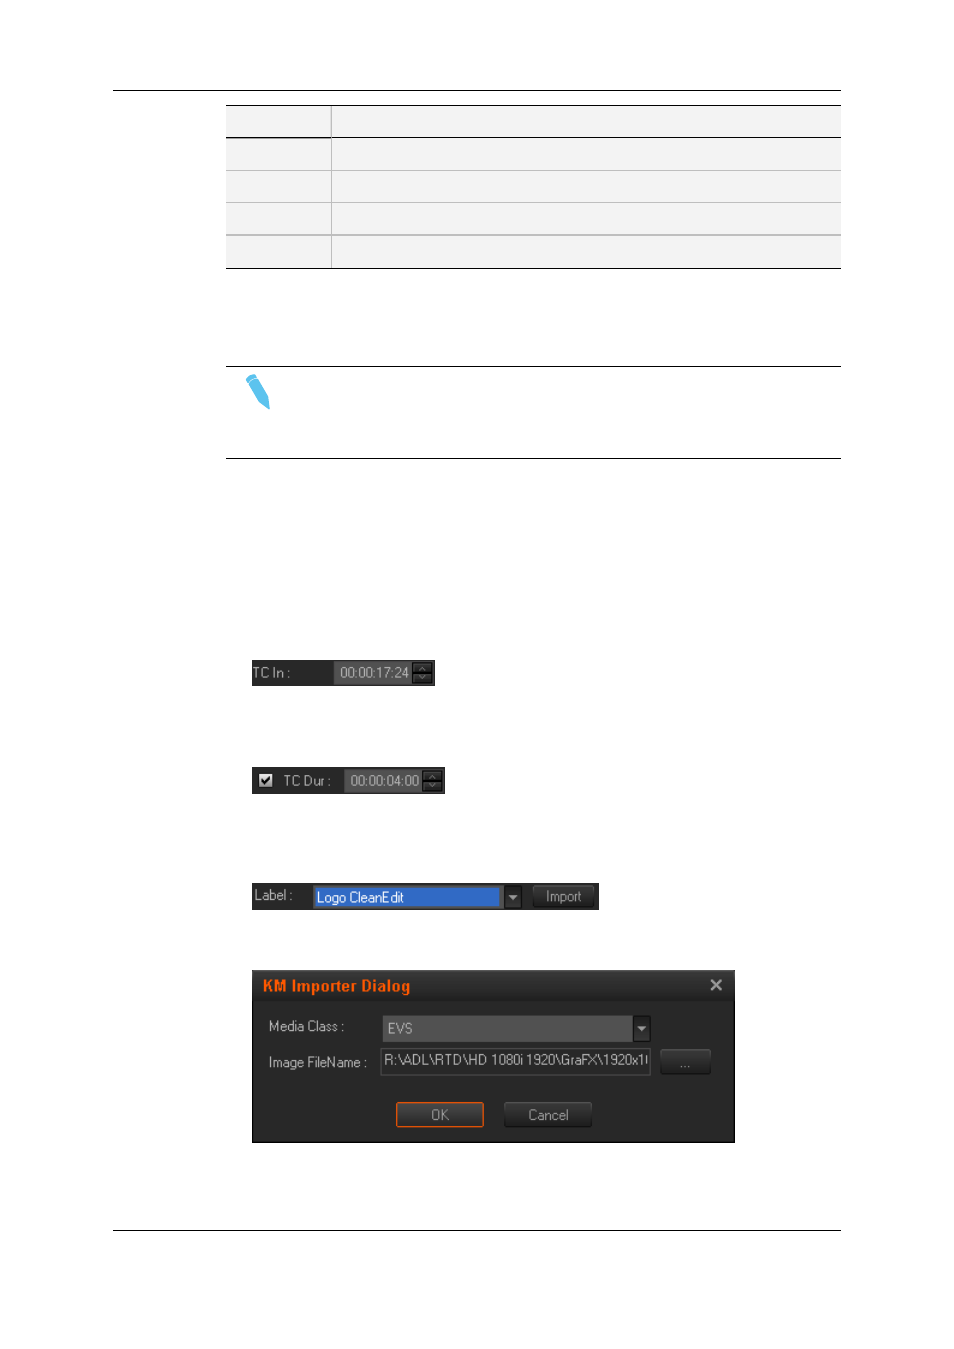
2. If necessary, modify the timecode where the graphic should be inserted by typing the
requested timecode in the TC In field.
3. If you want to specify how long the graphic should be displayed, tick the check box in
front of the TC Dur field and specify the duration for the graphic display in the TC Dur
field.
Otherwise, the graphic will be displayed until the end of the edit.
4. If the graphic is already present in the project, select the file directly from the Label
drop-down field.
If the graphic is not available in the project, click the Import button to be able to select
and import it via the KM Importer dialog box.
5. If you want the graphic to appear and disappear in a fade in and fade out, tick the
Fades check box, and specify the duration (frames) for the fade in and fade out effect.
198
11. Voiceover, Graphics and Text Graphics
EVS Broadcast Equipment SA
Issue 4.35.B - August 2013