Deletion modes, Deleting portions of an edit, Procedure – EVS XEDIO CleanEdit Version 4.35 - August 2013 User Manual User Manual
Page 140: Example
7.6.2.
Deletion Modes
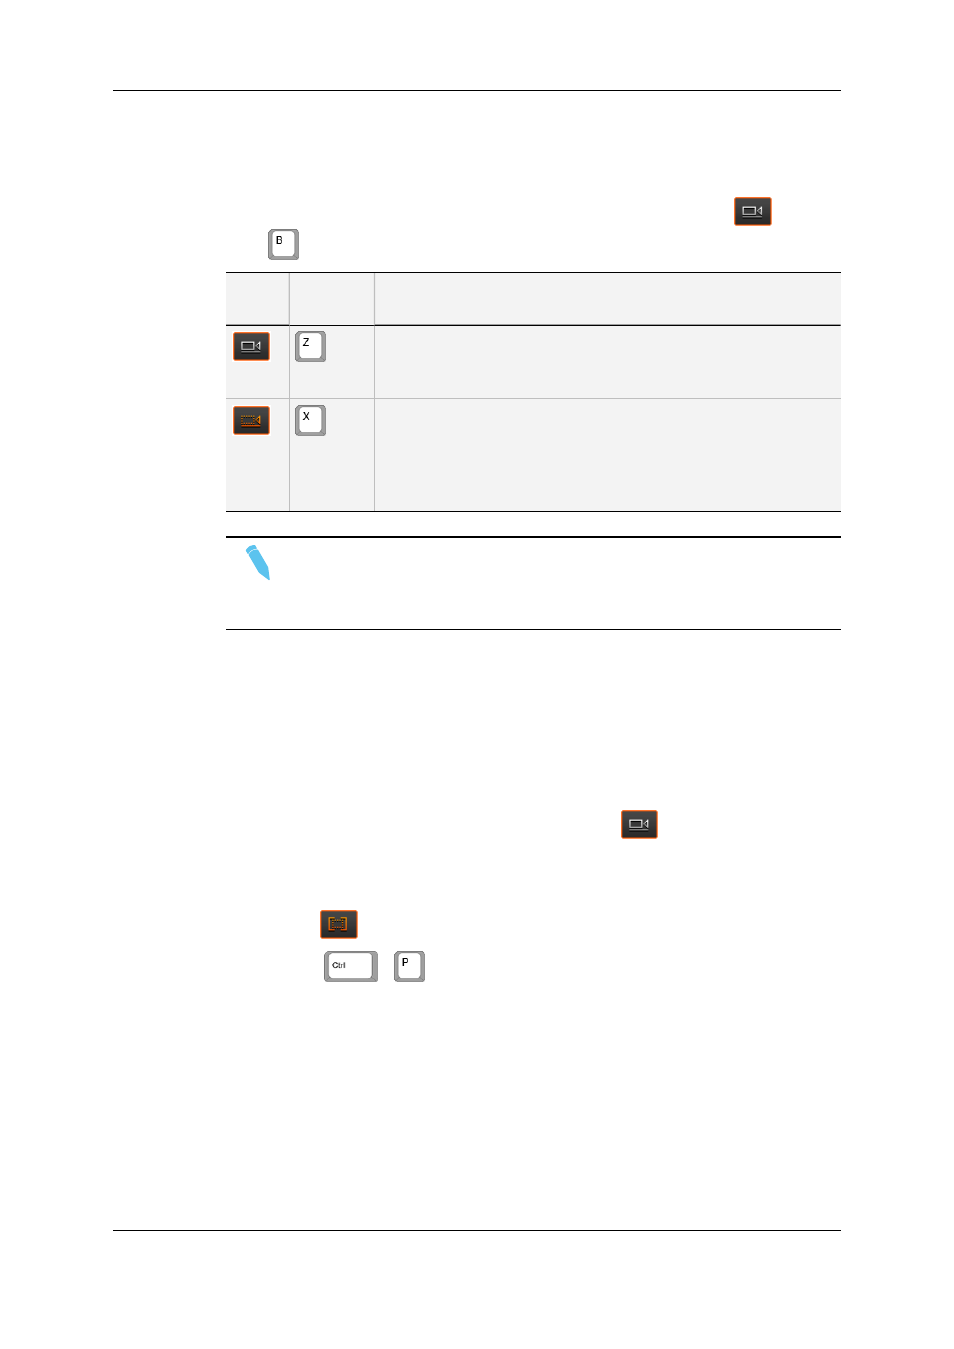
To select the Deletion mode and toggle between modes, you can click the
button or
press
. The following table briefly explains the two delete modes:
Button
Keyboard
Shortcut
Description
When you delete a portion of the timeline with the Delete & Clear
option active (white button), the area from which the element is
deleted will remain empty after the deletion.
When you delete a portion of the timeline with the Delete & Shift
option active (colored button), any element located on the right of
the deleted portion will be shifted to the left, so as to replace the
deleted elements.
Only the clips on selected tracks will be shifted.
Note
This mode doesn't take into account the synchronization between the different
tracks and so can easily cause a desynchronization of associated clip
elements.
7.6.3.
Deleting Portions of an Edit
Procedure
To delete a portion of an edit on the timeline, proceed as follows:
1. Select the deletion mode you want to apply, using the
button.
2. Place a mark IN and mark OUT to define the portion of the edit to be removed.
3. Do one of the following:
◦
Click
.
◦
Press
+
.
The portion of the timeline between the mark IN and mark OUT is removed.
The remaining timeline elements on the right of the deleted area are shifted left or not,
depending on the deletion mode selected.
Example
In the example below, the portion of the clip ADL_CLP_091208_1-01 between the mark IN
and mark OUT is deleted as you click the IN OUT Delete button. The option Delete &
Shift is active during the deletion, which means that the material on the right of the mark
124
7. General Editing
EVS Broadcast Equipment SA
Issue 4.35.B - August 2013