EVS XEDIO CleanEdit Version 4.35 - August 2013 User Manual User Manual
Page 149
How to Extend or Shorten a Clip Using the Extend
Button
Procedure
To extend or shorten selected elements or clip, proceed as follows:
1. If required, change the Overwrite or Insert mode clicking the
button.
2. Depending on whether you want to extend or shorten the selected elements or clip on
its IN or OUT point, do one of the following:
3. To extend the IN point, place a mark IN before the IN point to be extended.
4. To extend the OUT point, place a mark OUT after the OUT point to be extended.
5. To shorten the IN point, place a mark IN after the IN point to be shortened.
6. To shorten the OUT point, place a mark OUT before the OUT point to be shortened
7. Select the elements or clip to be extended or shortened.
8. Click the Extend button
.
The IN or OUT point of the elements or clip that had to be extended or shortened has been
moved and the possible additional material has been retrieved from the original media.
Note
If there are both, an IN and an OUT point on the edit, a popup window will ask
the operator to choose to which mark he wants to extend the element selected.
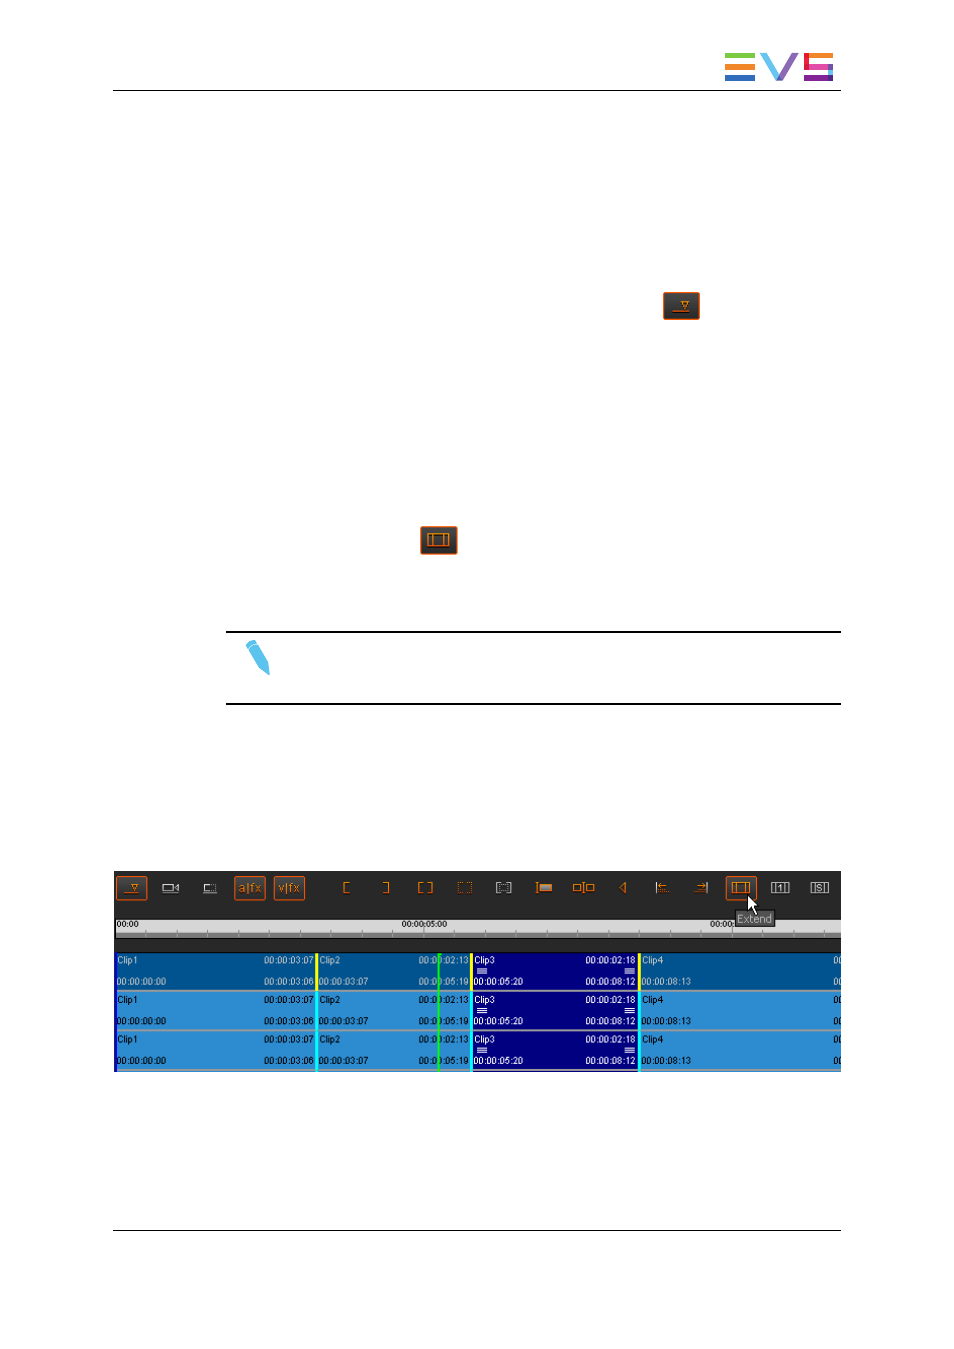
Example
In the example below, you work in Overwrite mode and want to extend the IN point of the
clip called "Clip3".
To do this, you select the clip to be extended and place a mark IN where you want the IN
point of the clip to be extended to.
The screenshot below shows the extended clip:
USER MANUAL Xedio 4.35 Xedio CleanEdit
7. General Editing
133