3 igmp, Table 90 ip configuration: ospf: new interface – ZyXEL Communications NetAtlas Workgroup User Manual
Page 171
NetAtlas Workgroup Ethernet Switch Manager User’s Guide
171
Chapter 18 IP Configuration
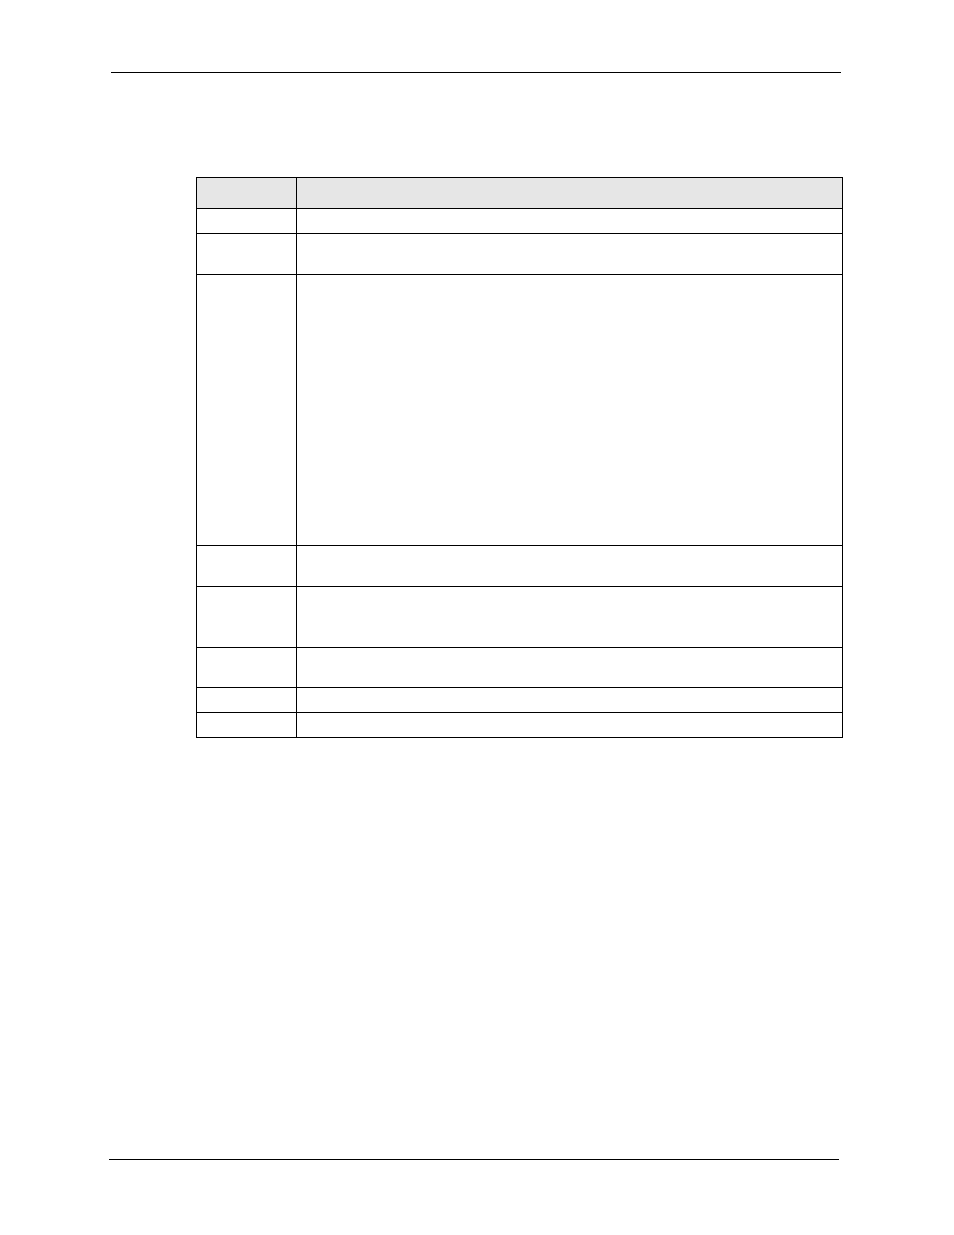
The following table describes the labels in this screen.
18.3 IGMP
IGMP (Internet Group Multicast Protocol) is a session-layer protocol used to establish
membership in a multicast group - it is not used to carry user data. Refer to RFC 1112 and RFC
2236 for information on IGMP versions 1 and 2 respectively.
1 In the Device Panel list, right-click on a device.
2 Click Configuration > IP Configuration > IGMP.
Table 90 IP Configuration: OSPF: New Interface
LABEL
DESCRIPTION
Network
Select an IP interface.
Area ID
Select the area ID (that uses the format of an IP address in dotted decimal notation) of
an area to associate the interface to that area.
Authentication
Note: OSPF Interface(s) must use the same authentication method
within the same area.
Select an authentication method. Choices are Same-as-Area, None (default), Simple
and MD5.
To participate in an OSPF network, you must set the authentication method and/or
password the same as the associated area.
Select Same-as-Area to use the same authentication method within the area and set
the related fields when necessary.
Select None to disable authentication. This is the default setting.
Select Simple and set the Key field to authenticate OSPF packets transmitted through
this interface using simple password authentication.
Select MD5 and set the Key ID and Key fields to authenticate OSPF packets
transmitted through this interface using MD5 authentication.
Key ID
When you select MD5 in the Authentication field, specify the identification number of
the authentication you want to use.
Key
When you select Simple in the Authentication field, enter a password eight-character
long. Characters after the eighth character will be ignored.
When you select MD5 in the Authentication field, enter a password 16-character long.
Cost
The interface cost is used for calculating the routing table. Enter a number between 0
and 65535.
Add
Click Add to apply the changes and close this screen.
Cancel
Click Cancel to discard all changes and close this screen.