2 priority queue, Figure 80 switch configuration: priority queue – ZyXEL Communications NetAtlas Workgroup User Manual
Page 122
NetAtlas Workgroup Ethernet Switch Manager User’s Guide
Chapter 14 Switch Configuration
122
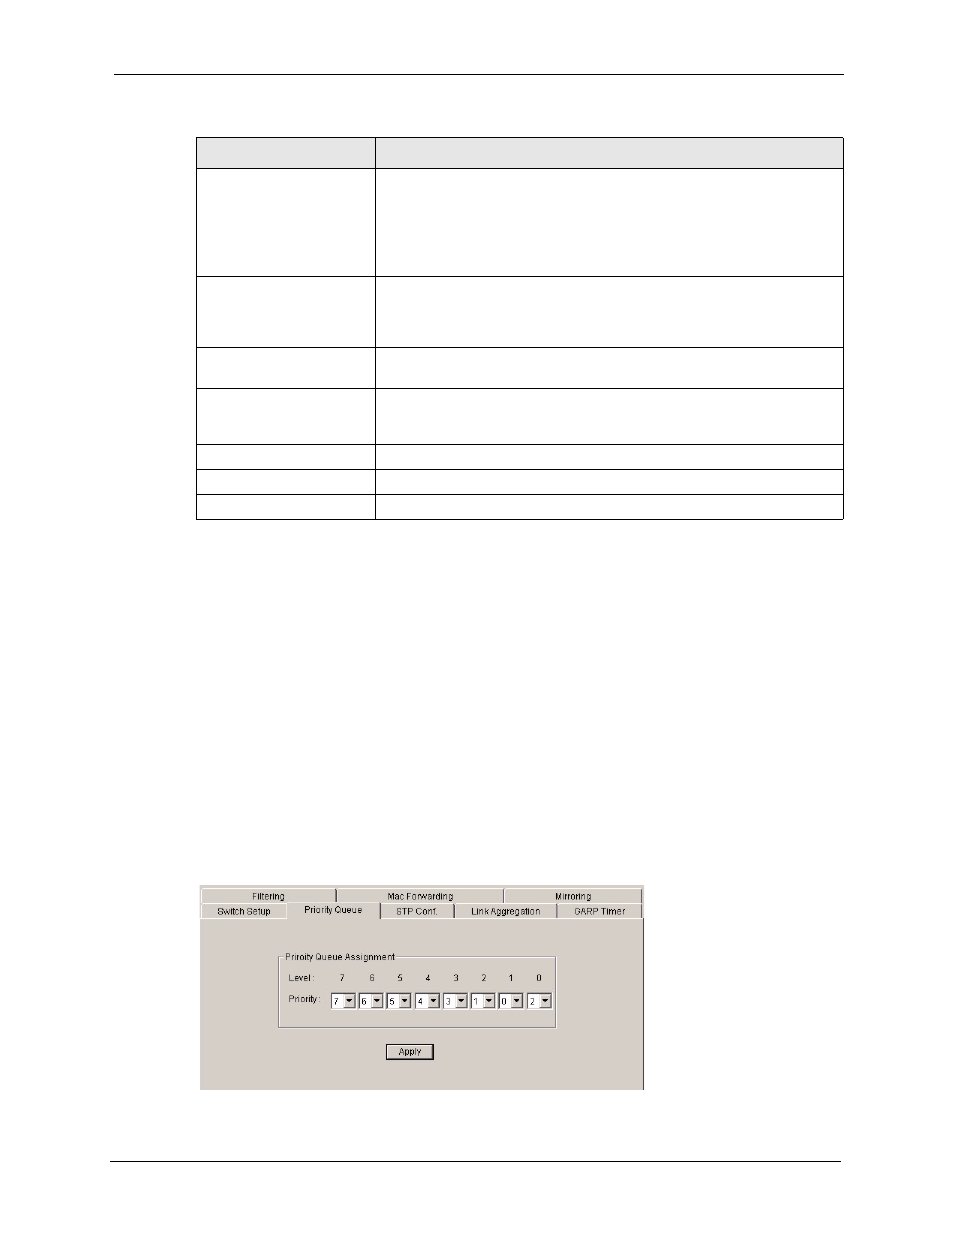
14.2 Priority Queue
Queuing is used to help solve performance degradation when there is network congestion.
Configure queuing algorithms for outgoing traffic in the Switch Setup screen. Queuing
algorithms allow switches to maintain separate queues for packets from each individual source
or flow and prevent a source from monopolizing the bandwidth.
Follow the steps below to configure priority queuing.
1 In the Device Panel list, select a device and then right-click.
2 Click Configuration > Switch Configuration > Priority Queue to display the following
screen.
Figure 80 Switch Configuration: Priority Queue
VLAN Stacking
Select the check box to enable VLAN stacking.
In the SP TPID drop-down list box, select a standard Ethernet type code to
identify the frame and indicate whether the frame carries IEEE 802.1Q tag
information. Or select Others and then enter a four-digit hexadecimal
number from 0x0000 to 0xFFFF. 0x denotes a hexadecimal number. It
does not have to be typed in the Others field.
GVRP
Select the check box to permit VLANs groups beyond the local switch on
this port. GVRP (GARP VLAN Registration Protocol) is a registration
protocol that defines a way for switches to register necessary VLAN
members on ports across the network.
802.1q Ingress Check
Select this check box to set the switch to discard incoming frames for
VLANs that do not have this port as a member
802.1q Port Isolation
Port Isolation allows each port to communicate with the CPU port, uplink
ports and stacking ports (if available) but not communicate with each
other. This option is the most limiting but also the most secure.
DHCP Relay
Select the check box to enable DHCP relay.
DSCP
Select the check box to enable DSCP-IEEE 802.1q mapping.
Apply
Click Apply to save your changes back to the switch.
Table 53 Switch Configuration: Switch Setup (continued)
LABEL
DESCRIPTION