2 changing tabs – Renesas REJ10J1837-0100 User Manual
Page 112
High-performance Embedded Workshop
4. Using the Editor
REJ10J1837-0100 Rev.1.00 Nov. 16, 2008
97
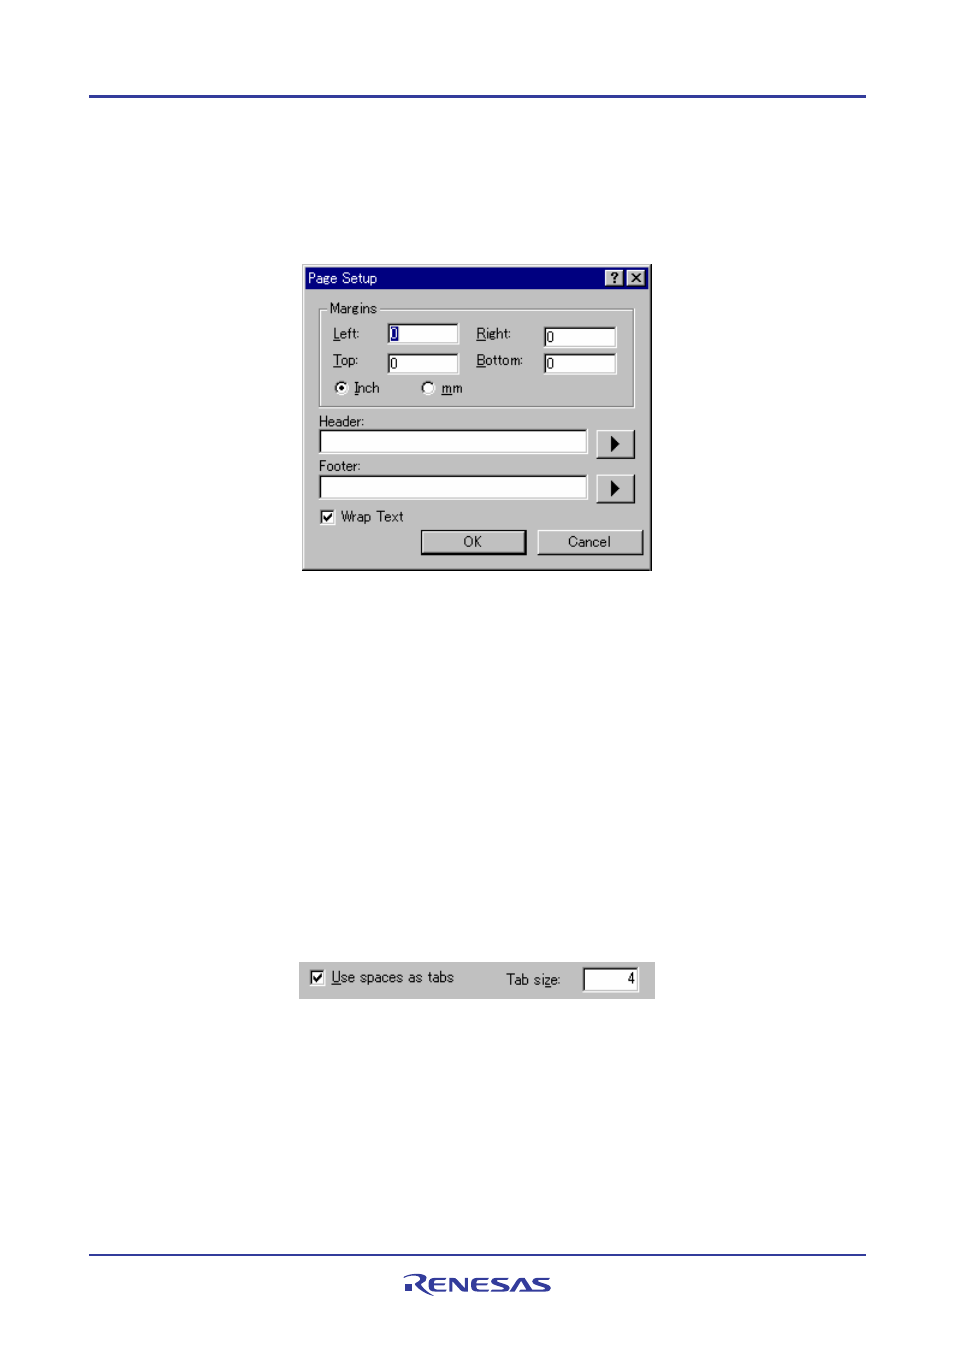
To set up the page margins
1. Select [File -> Page Setup]. The Page Setup dialog box opens.
2. Enter the width of the margins required into the Left, Right, Top and Bottom fields.
3. Set the Inch or mm option accordingly.
4. Click the OK button for the new settings to take effect.
To set up the header and footer information
1. Select [File -> Page Setup]. The Page Setup dialog box opens.
2. Enter into the Header and Footer edit fields the text required to be displayed. All normal placeholders are
available along with page numbering, text justification and date fields. These are all expanded before the page
is to be printed.
3. Click the OK button for the new settings to take effect.
To set up print wrapping
1. Select [File -> Page Setup]. The Page Setup dialog box opens.
2. Click the Wrap Text check box. This switches on the wrap text facility when printing so no text is truncated
and everything is visible.
3. Click OK for the new settings to take effect.
4.7.2
Changing tabs
To change tab size
1. Select [Setup -> Options]. The Options dialog box opens.
2. Select the Editor tab.
3. Enter into Tab Size the number of desired tabs.
4. Click the OK button for the new tab settings to take effect.
When the TAB key is pressed in the editor a tab character is usually stored in the file. However, sometimes it is
preferable to store spaces instead. The representation of tab characters can be controlled via the Options dialog box.