Calibration settings, Types of calibration settings – KEYENCE LS-7000 User Manual
Page 72

4-20
Chapter 4 Function Settings
4
Calibration Settings
The measured value of a target may have a subtle error due to the surface condition and
angle of the target. Calibration settings correct for this error. It is possible to make calibra-
tion settings for each area independently.
■ Types of Calibration Settings
Select the type of calibration from the following ones in advance. Refer to Calibration
Type Selection on page 4-23.
Logic calibration:
Logic calibration requires two types of master workpieces that are
different to each other in size. Calibration is performed according
to pre-calibration and post-calibration values that are input by the
user. This type of calibration is used for the measurement of the
distance between two workpieces, for example.
Two-point calibration: Two-point calibration requires two types of master workpieces that
are different to each other in size.
One-point calibration: One-point calibration requires a single master workpiece. This
calibration is used for the size measurement of a single type of
workpiece.
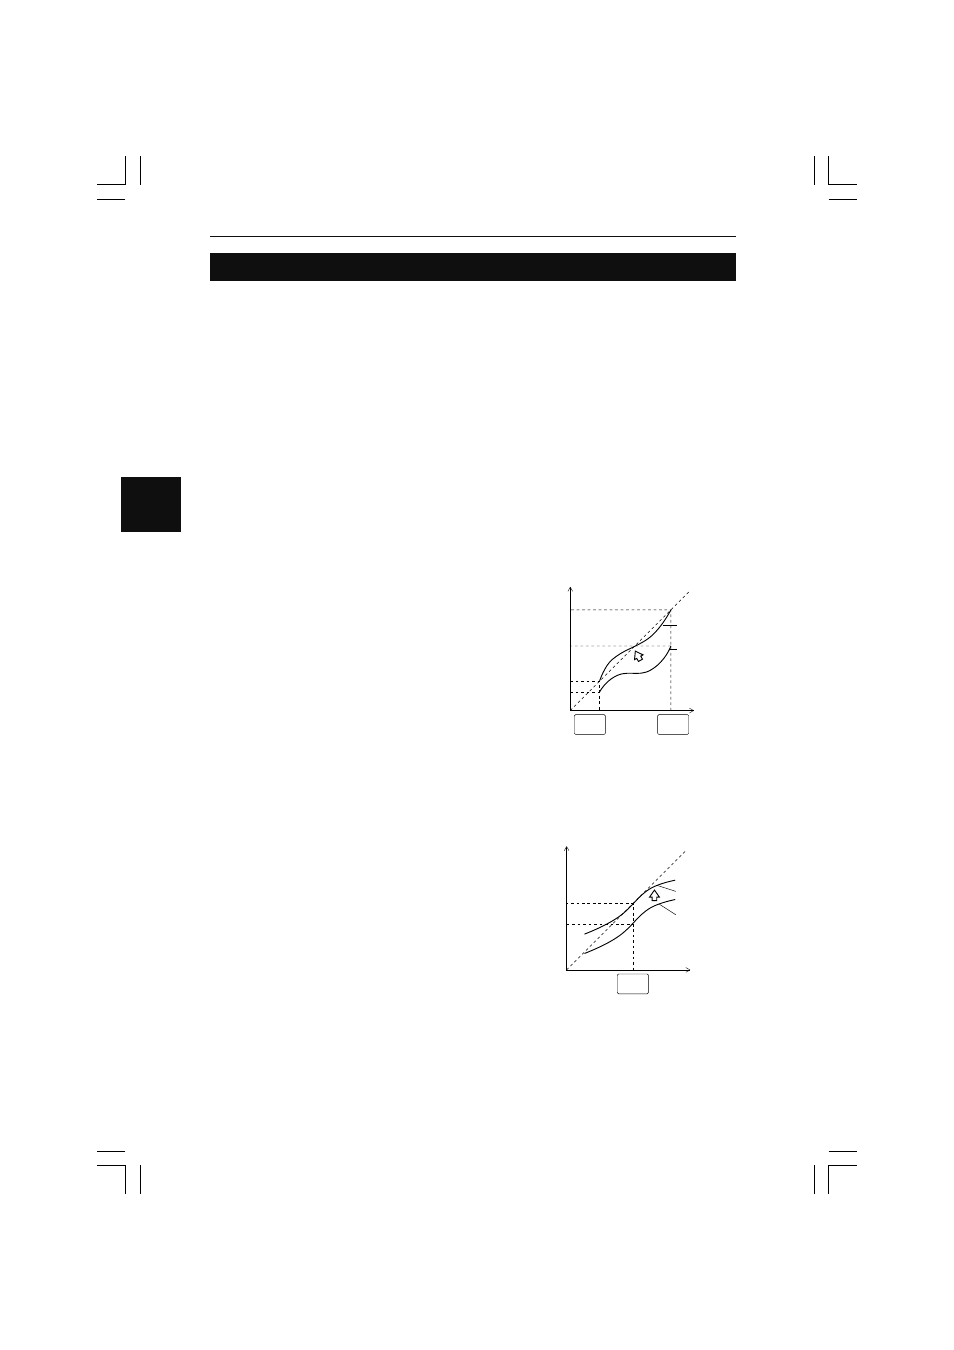
Logic Calibration/Two-point Calibration
Prepare target 1 (T1) and target 2 (T2) as
two measuring points. The LS-7000 Series
performs calibration on these points based
on the T1-A and T2-A display values, which
are obtained before calibration, and the T2-
B and T2-B display values, which are
obtained after calibration. In this case, the
non-calibrated display values are converted
into the calibrated display values with the
span value (inclination) and shift value of
the workpiece determined by the LS-7000
Series internally.
T1
(1st point)
T2
(2nd point)
Workpiece
size
Display value
T2-B
(T2 after calibration)
T2-A
(T2 before calibration)
T1-B
(T1 after calibration)
T1-A
(T1 before calibration)
Ideal straight
line
Display value
after calibration
Display value
before calibration
T1
(1st point)
Workpiece
size
Display value
T1-B
(T1 after calibration)
T1-A
(T1 before calibration)
Ideal straight
line
Display value
after calibration
Display value
before calibration
One-point Calibration
Prepare target 1 (T1) as a single measuring
point. The LS-7000 Series performs calibra-
tion on this point based on the display value
before calibration and that after calibration.
In this case, the non-calibrated display
value is converted into the calibrated display
value with the span (inclination) and shift
value of the workpiece determined by the
LS-7000 Series internally. The span value is
always set to 1.
