3 installing the tam board, Installing the tam board, Instructions, see – Kontron TIGH2U Carrier Grade Server User Manual
Page 88: Section 5.3.3, “installing the tam, Ab b
TIGH2U Server—Server Component Replacements
Kontron Carrier Grade Server TIGH2U
Product Guide, rev.1.2
December 2009
88
5.3.3
Installing the TAM Board
Note:
If you are following these steps as directed by another procedure and are not installing
a new TAM board, first install a SMART Embedded USB Solid-State Drive if necessary,
then begin with step 4 below. For instructions about installing the SMART eUSB Solid-
Section 4.5, “Installing an Embedded USB Solid-State Drive” on
.
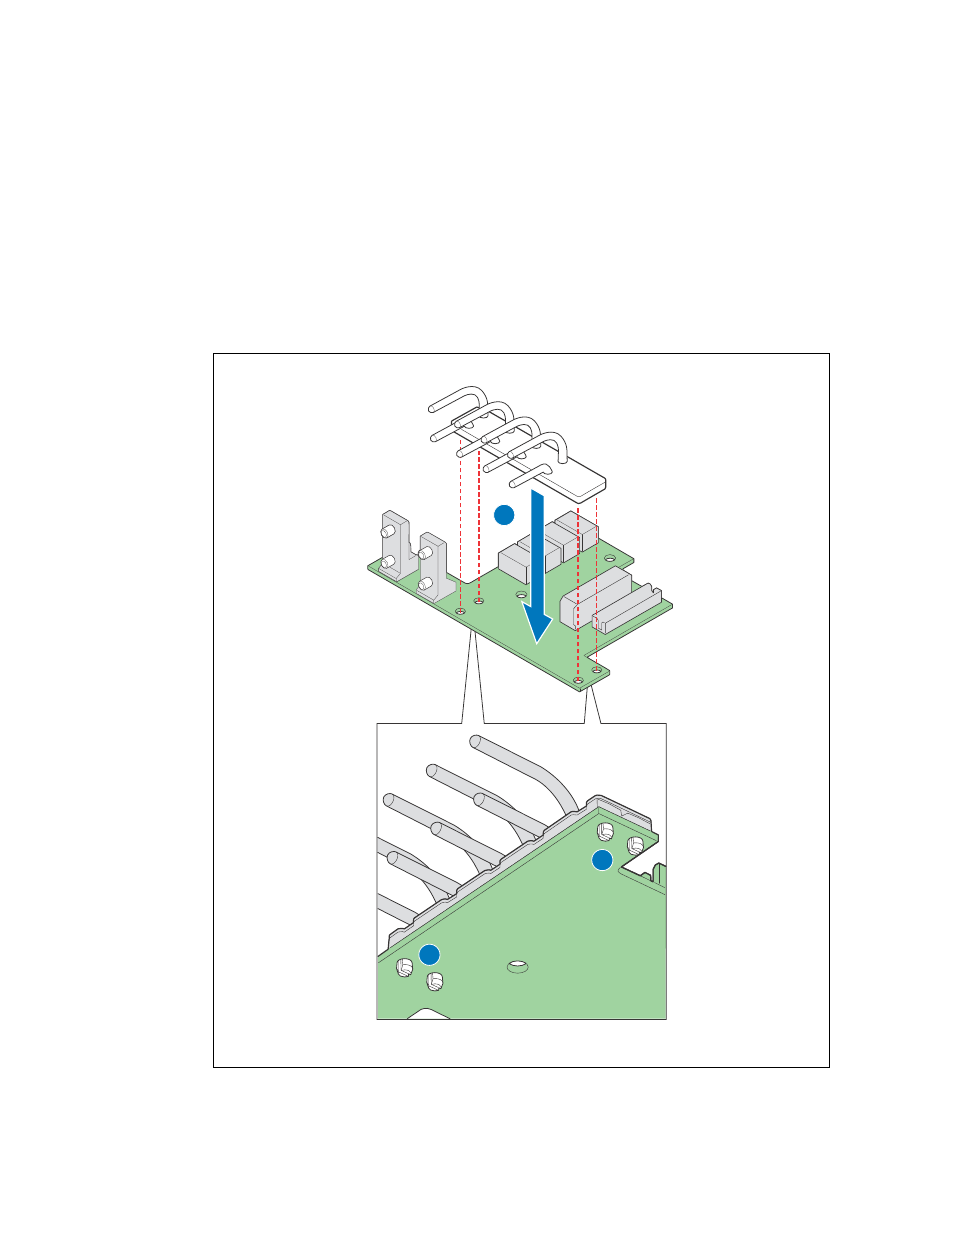
1. Insert the four plastic clips on the light pipe assembly into the matching holes in the new TAM
board. Insert the clips gently and evenly; do not insert one clip fully without first partially
pressing the others into place. (“A”, “B”)
Figure 69.
Removing LED Light Pipe Assembly
TS000461
A
B
B