Tam board, Ab c – Kontron TIGH2U Carrier Grade Server User Manual
Page 85
Kontron Carrier Grade Server TIGH2U
December 2009
Product Guide, rev.1.2
85
Server Component Replacements—TIGH2U Server
Note:
If you will be re-installing the same TAM board instead of replacing it, skip the following
step. You do not need to remove the Solid State Drive.
6. Remove the SMART Embedded USB Solid-State Drive if it is installed. For instructions, see
4.5, “Installing an Embedded USB Solid-State Drive” on page 62
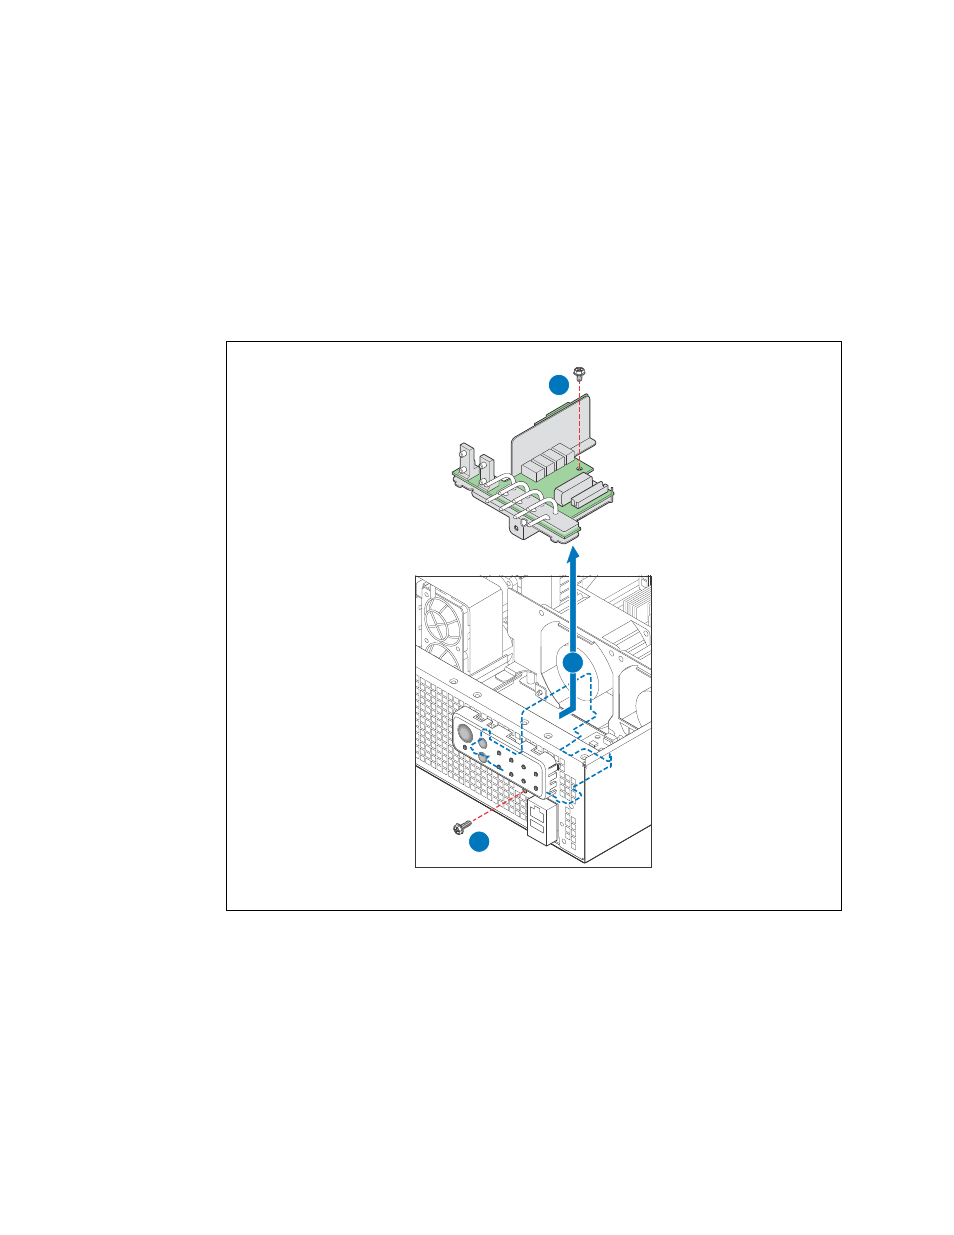
7. Remove the screw at the top rear of the TAM board. (“A”)
8. Remove the screw at the front of the chassis, below the control panel. (“B”)
9. Gently work the TAM board toward the rear of the chassis to disengage the LED light pipe
assembly from behind the front control panel, then lift the TAM board from the chassis. (“C”)
Figure 66.
Removing TAM Board
TS000445
TAM Board
A
B
C