5 replacing the pci fans in the fan bracket, Replacing the pci fans in the fan bracket, Ba c d – Kontron TIGH2U Carrier Grade Server User Manual
Page 81
Kontron Carrier Grade Server TIGH2U
December 2009
Product Guide, rev.1.2
81
Server Component Replacements—TIGH2U Server
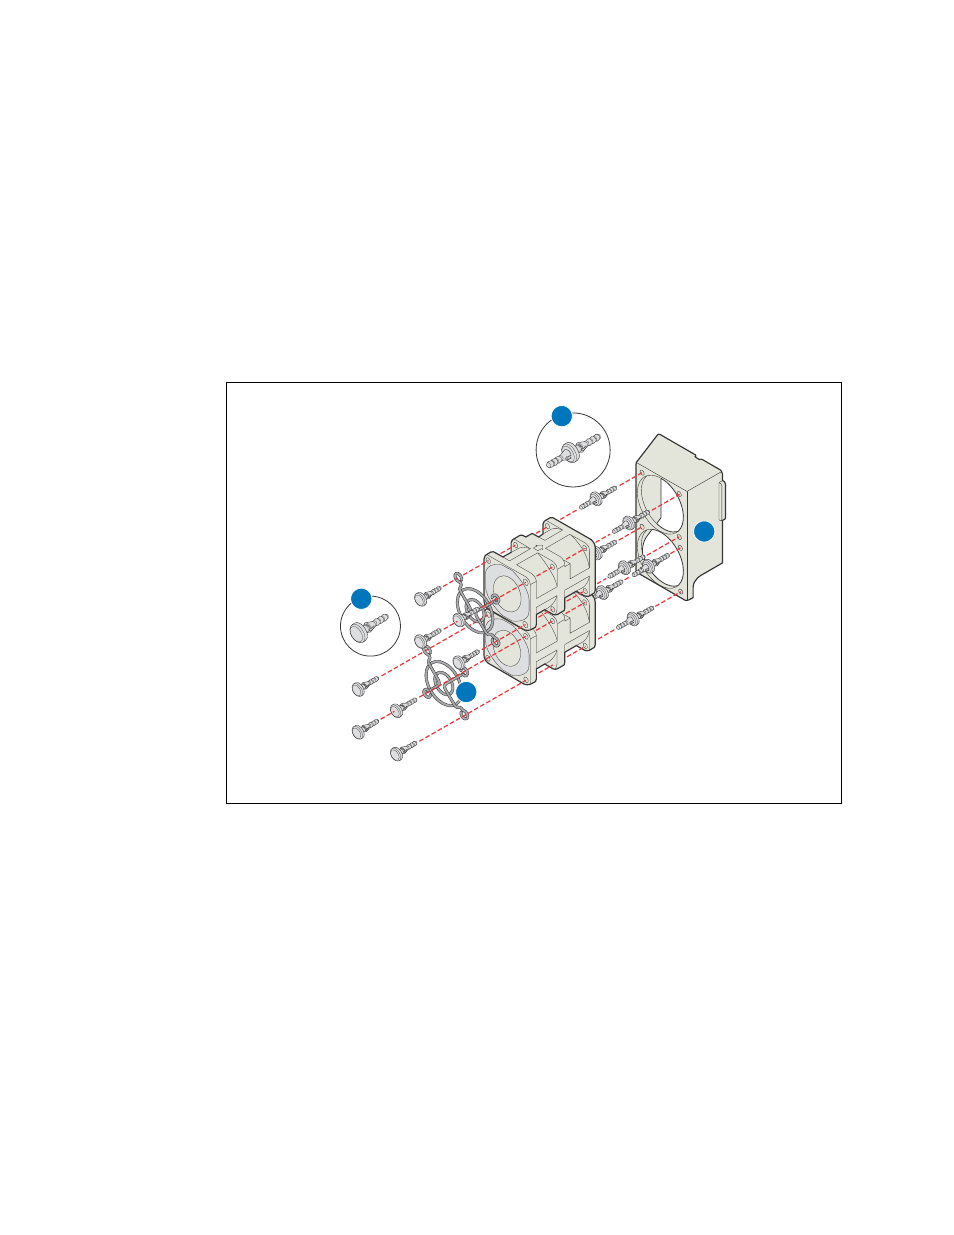
5.2.5
Replacing the PCI Fans in the Fan Bracket
1. Remove the four single-ended rubber bumpers that connect the finger-guard to the failed fan.
(“A”)
2. Remove the four double-ended rubber bumpers (“B”) that connect the fan to the bracket. (“D”)
3. Set the the new fan against the bracket with the airflow arrows pointing toward the bracket and
with the power cables extending to the right (cable is not shown). (
, “A”).
4. Fasten each fan to the bracket with four double-ended rubber bumpers. (“B”)
5. Fasten the finger-guard (“C”) to each fan with four single-ended rubber bumpers (“A”)
6. Use the next set of instructions to install the fan assembly.
Figure 62.
Installing the PCI Fan into the Bracket
TS000456
B
A
C
D