Modifying a port trunk – Allied Telesis AT-S25 User Manual
Page 219
AT-S25 Management Software User’s Guide
219
Modifying a Port Trunk
To modify a port trunk, perform the following procedure:
1. From the Home page, select Configuration.
2. From the Configuration page, select Layer 1.
3. Select the Port Trunking tab. The Port Trunking tab window in Figure
4. Select the Module pull-down list and choose the switch in the stack
with the port trunk you want to modify.
5. Click the circle next to the number of the trunk you want to modify.
You can select only one port trunk at a time.
6. Click Modify.
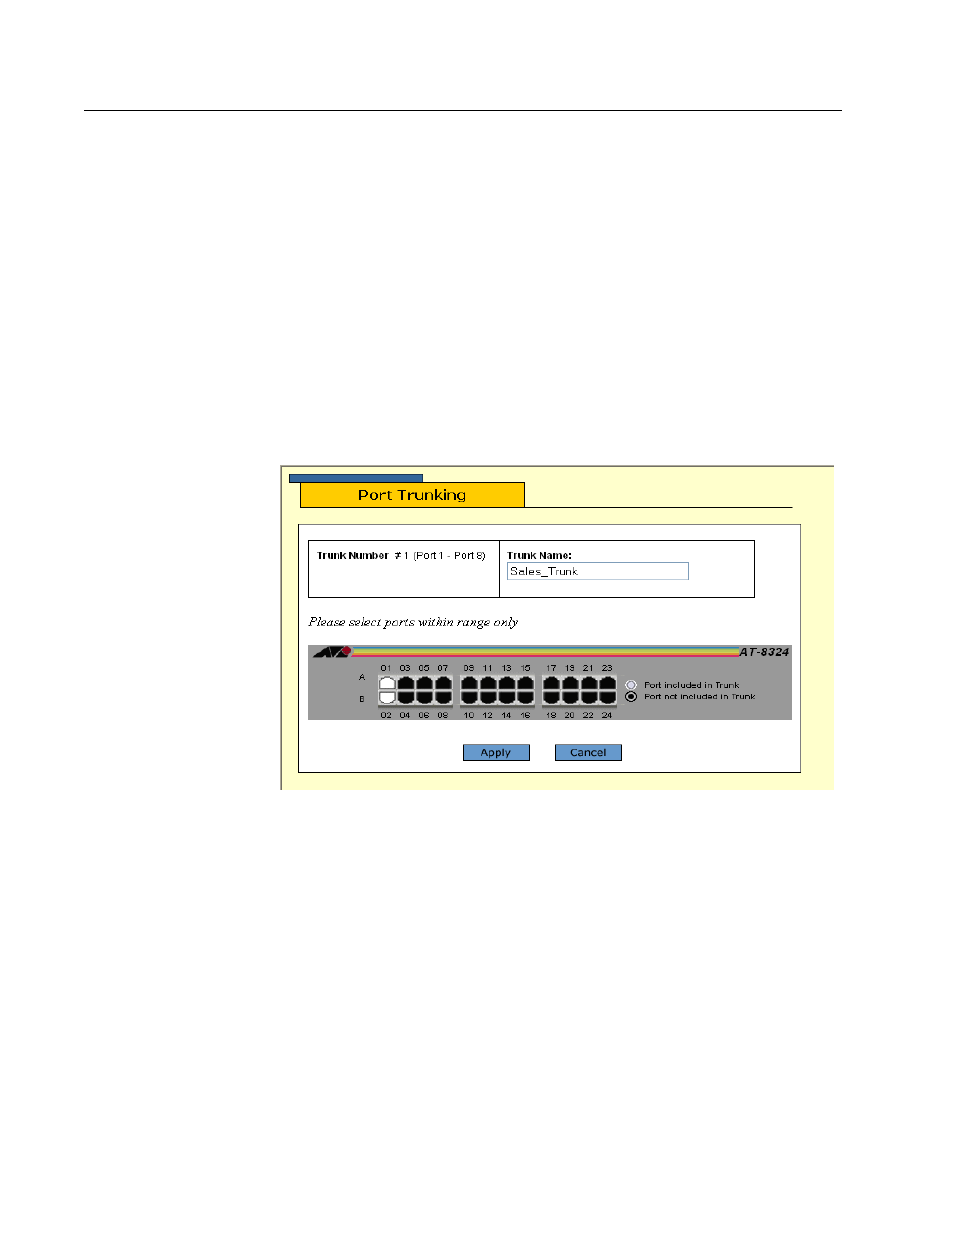
The Port Trunking window in Figure 89 is displayed.
Figure 89 Example of Port Trunking Window - Modify
7. To change the trunk name, select the Trunk Name text box and enter
the new name.
8. To add or remove ports from the trunk, click the ports in the graphic
switch image. A selected port turns white. To remove a port, click it to
change it to black.
New ports added to a trunk must reside in the same port group as
the original ports.
9. Click Apply.
Changes to the port trunk are immediately activated on the
switch. You can now connect the data cables to the ports of the
trunk on the switch.