Fundamentals 19.1 – HEIDENHAIN TNC 640 (34059x-05) Cycle programming User Manual
Page 613

Fundamentals
19.1
19
TNC 640 | User's Manual Cycle Programming | 1/2015
613
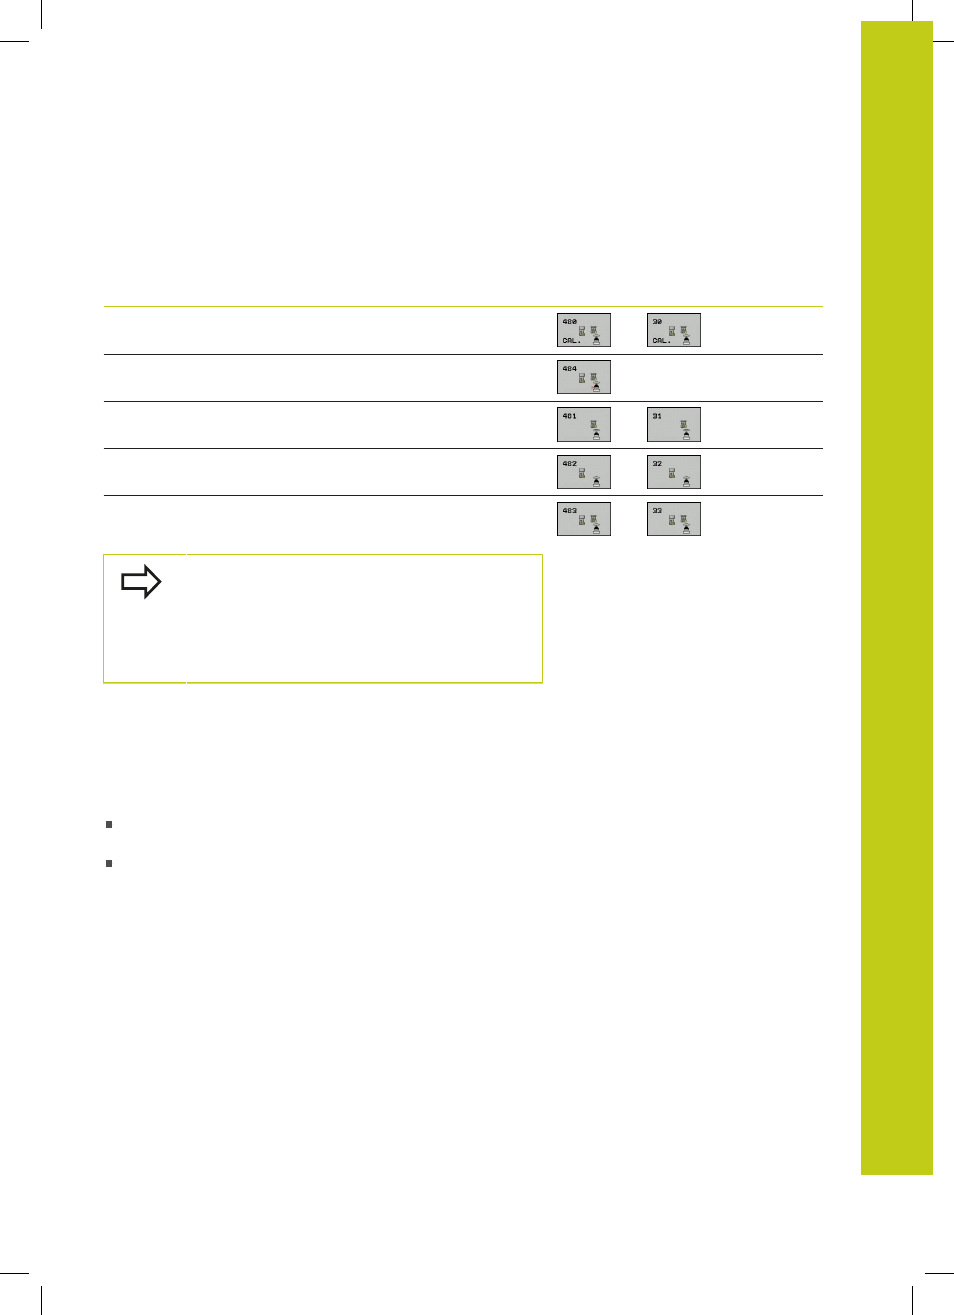
You can program the cycles for tool measurement in the
Programming mode of operation using the TOUCH PROBE key. The
following cycles are available:
Cycle
New
format
Old
format
Page
Calibrating the TT, Cycles 30 and 480
Calibrating the wireless TT 449, Cycle 484
Measuring the tool length, Cycles 31 and 481
Measuring the tool radius, Cycles 32 and 482
Measuring the tool length and radius, Cycles 33 and 483
The measuring cycles can be used only when the
central tool file TOOL.T is active.
Before working with the measuring cycles, you must
first enter all the required data into the central tool
file and call the tool to be measured with
TOOL
CALL.
Differences between Cycles 31 to 33 and Cycles 481
to 483
The features and the operating sequences are absolutely identical.
There are only two differences between Cycles 31 to 33 and Cycles
481 to 483:
Cycles 481 to 483 are also available in controls for ISO
programming under G481 to G483.
Instead of a selectable parameter for the status of the
measurement, the new cycles use the fixed parameter
Q199.
