1 fundamentals, Overview, Fundamentals – HEIDENHAIN TNC 640 (34059x-05) Cycle programming User Manual
Page 448

Touch Probe Cycles: Automatic Measurement of Workpiece Misalignment
14.1 Fundamentals
14
448
TNC 640 | User's Manual Cycle Programming | 1/2015
14.1
Fundamentals
Overview
When running touch probe cycles, Cycle 8 MIRROR
IMAGE, Cycle 11 SCALING and Cycle 26 AXIS-
SPECIFIC SCALING must not be active.
HEIDENHAIN only gives warranty for the function of
the probing cycles if HEIDENHAIN touch probes are
used.
The TNC must be specially prepared by the machine
tool builder for the use of a 3-D touch probe.
Refer to your machine manual.
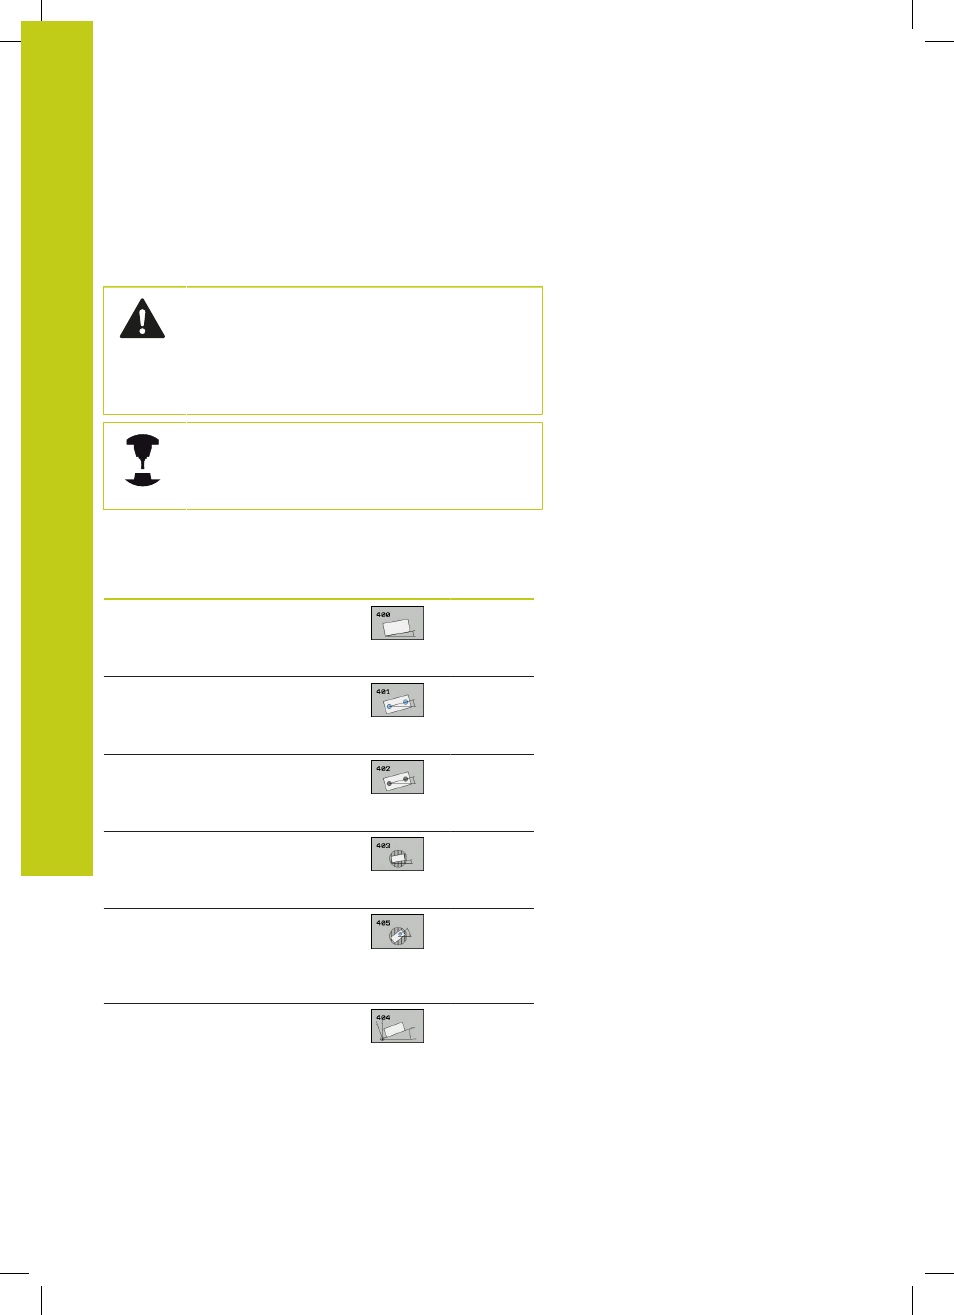
The TNC provides five cycles that enable you to measure and
compensate workpiece misalignment. In addition, you can reset a
basic rotation with Cycle 404:
Cycle
Soft key
Page
400 BASIC ROTATION
Automatic measurement using two
points. Compensation via basic
rotation.
401 ROT OF 2 HOLES
Automatic measurement using
two holes. Compensation via basic
rotation.
402 ROT OF 2 STUDS
Automatic measurement using
two studs. Compensation via basic
rotation.
403 ROT IN ROTARY AXIS
Automatic measurement using two
points. Compensation by turning the
table.
405 ROT IN C AXIS
Automatic alignment of an angular
offset between a hole center and the
positive Y axis. Compensation via
table rotation.
404 SET BASIC ROTATION
Setting any basic rotation.
