Step 5: configure the channel – Epiphan Networked VGA Grid User Manual
Page 27
Networked VGA Grid User Guide
Quick Start
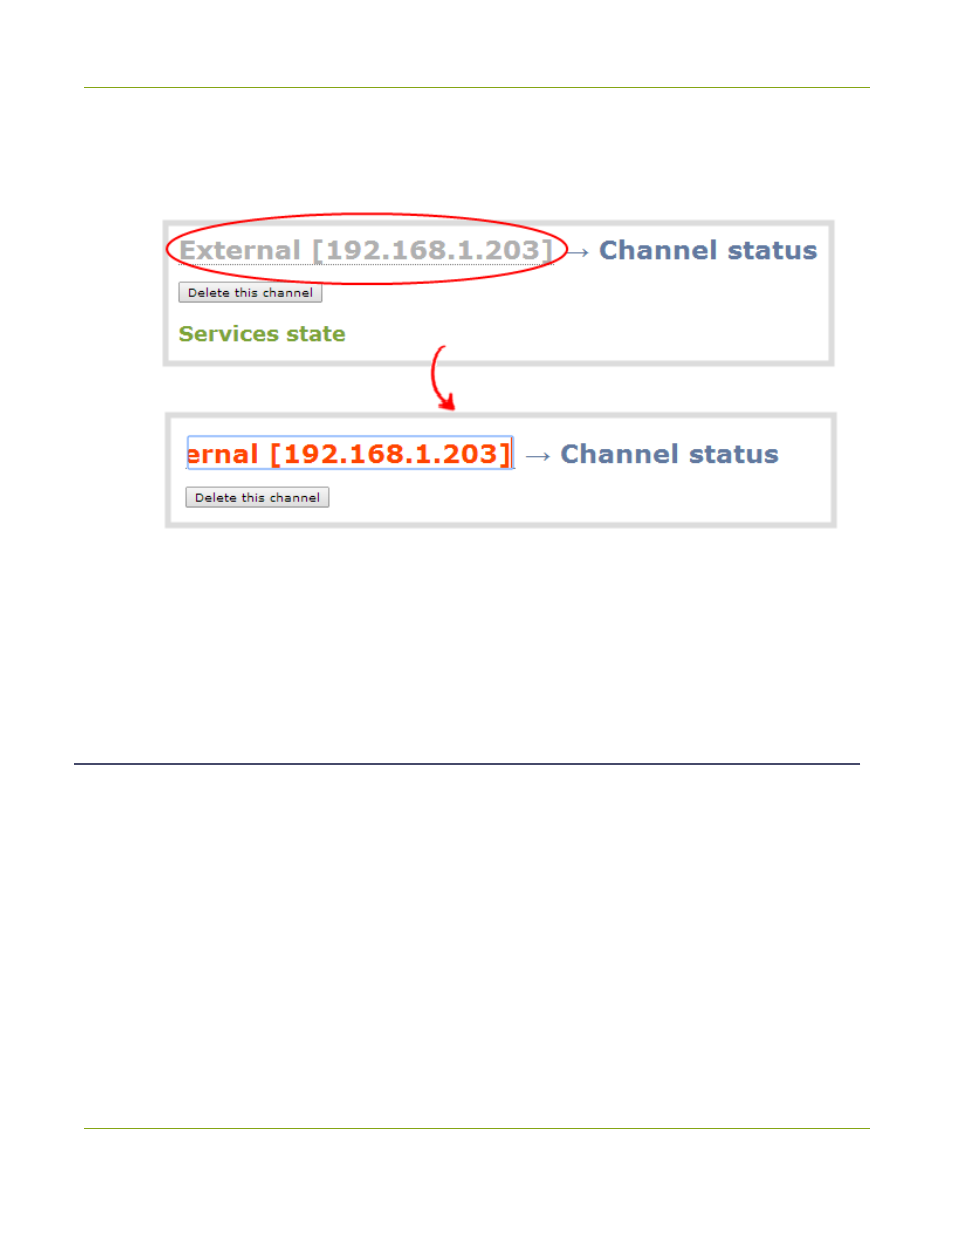
7. Rename the channel:
a. Click on the channel name at the top of the channel configuration window. The name text
becomes red.
b. Edit the name to reflect the VGA Grid HD Encoder serial number, or the data it is capturing. The
following characters are supported: a-z; A-Z; 0-9; + (plus); - (hyphen); _ (underscore); , (comma), .
(period); ~ (tilde); # (hash); [ ]; ( ). Although spaces are also supported, it is suggested you use
underscores to separate words.
c. Press Enter on the keyboard. The name is updated at the top of the screen and in the list of
channels at the left side.
Step 5: Configure the Channel
Now that you have confirmed the system sees your source it is time to configure the channel.
To review and configure the channel:
1. From the web interface, scroll to the Channels section
2. Click the link for your channel; the channel expands.
3. Click Encoding for your channel
4. No need to change anything right now. Review some of the default settings. The four most useful
settings to know about are codec, frame size, frame rate and bitrate.
a. The codec is set to H.264 by default.
b. The frame size should reflect the resolution provided by your source. You can set it to something
different by typing in the fields or selecting an option from the different sizes shown. Scaling the
15