Pitney Bowes MapMarker USA User Manual
Page 177
Chapter 7:
Table Attribution with MapMarker
MapMarker USA 25
177
User Guide
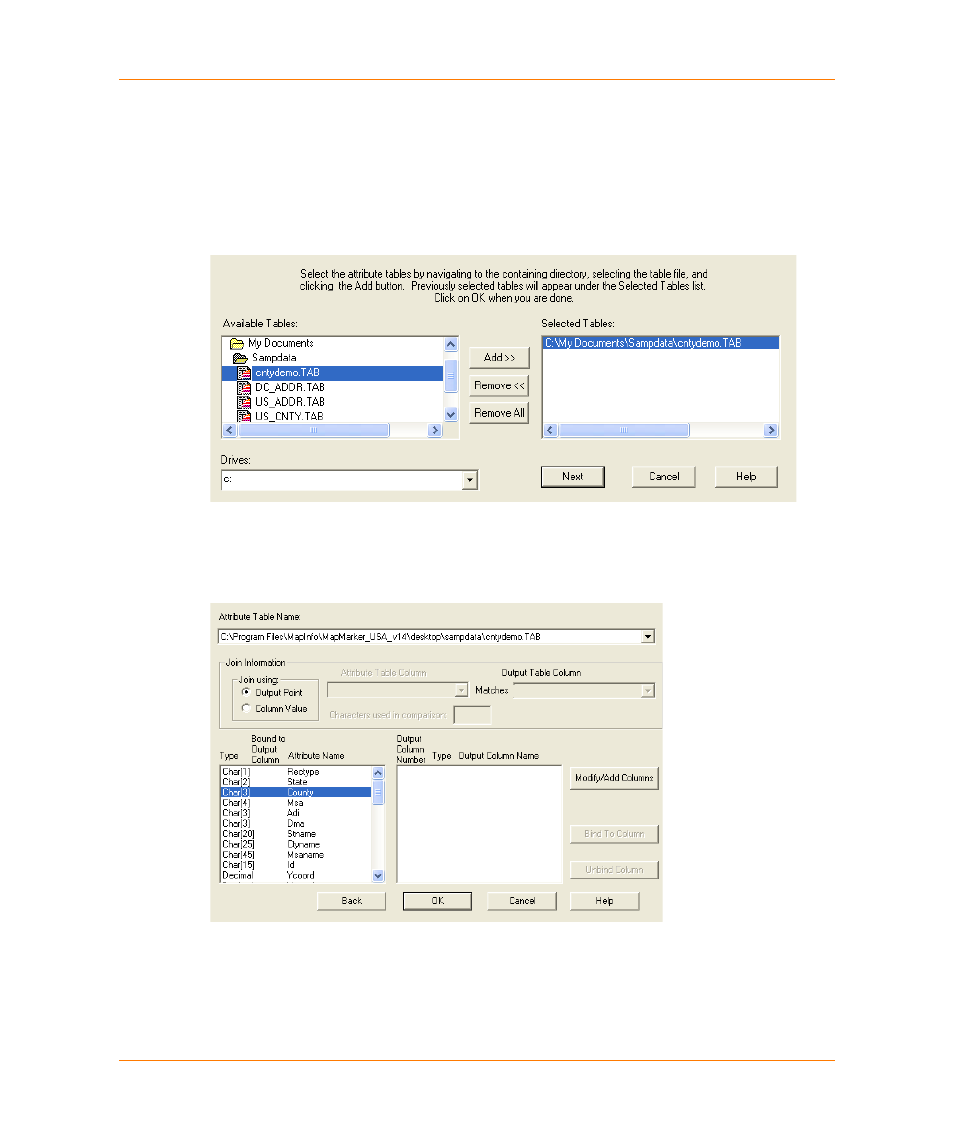
2. Navigate to the location of the attribute table that you wish to pull attributes from. Use the Drives
list to select the drive containing the attribute table, and then navigate that drive.
MapMarker provides a sample attribution table in the <install>\desktop\MapMarker\sampdata
directory called CNTYDEMO.TAB. You can use this table to try out the attribution feature using
Output Point attribution.
3. When you locate the attribute table you wish to use, click it and then click Add. The full path to
the table appears in the Selected Tables box. Repeat to add additional tables.
When finished selecting attribution tables, click Next.
4. The Bind Attribute Table Columns to Output Columns dialog box appears. In the Join Using
group, select Output Point (this example describes output point attribution).
You must now create a new column to contain the attribution data. Do not click OK at this point,
but continue to
Creating a Column to Receive Attribution Data on page 178
.