Selecting split view, Behavior of split view and single view, Setting multiple viewing areas of a terminal chart – Jeppesen FliteDeck 3 User Manual
Page 155
JeppView FliteDeck User's Guide
158
1. Chart Header (Briefing Strip)
2. Chart Profile
3. Approach Minimums
Selecting Split View
To switch to or from split view, do one of the following:
• Click the Split View/Single View icon.
• Press S.
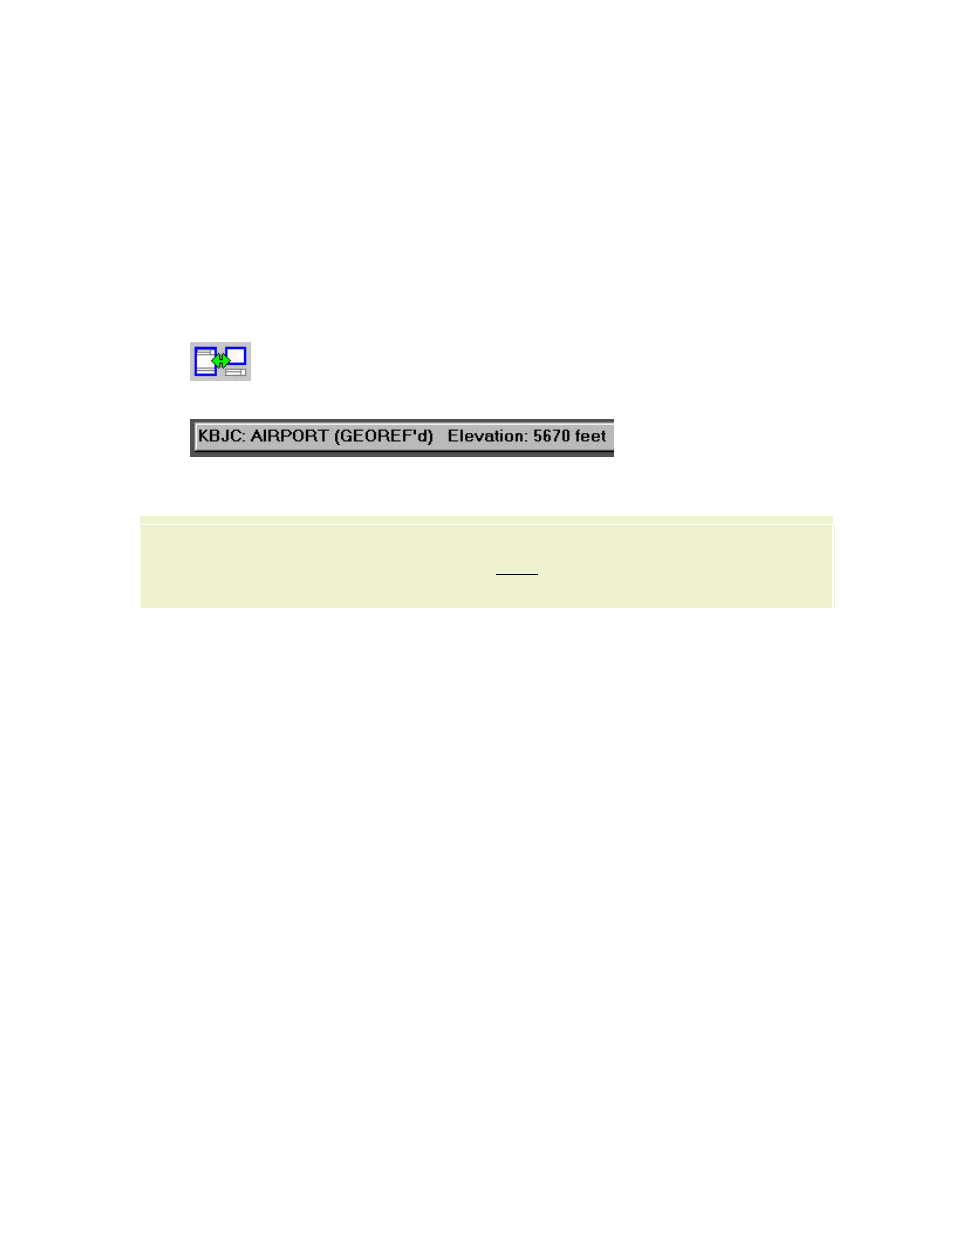
The status bar indicates whether the chart is geo-referenced.
If the chart is not geo-referenced, you will see a copy of the full chart in both
components, only smaller in the bottom component.
TIP
Although split view is not specifically designed for non-geo-referenced charts,
you can use the extra component to zoom in on one part of the chart, while
keeping a different part of the chart visible in the other component.
Behavior of Split View and Single View
• Before you can zoom, scroll, or otherwise work with the upper and lower
components, you must first make the component active (highlighted with a
color border):
• With a mouse or pointer, click inside the component.
• With a keyboard, press TAB or SHIFT+TAB to move to another
component. You can then press the ENTER key to perform the same
actions as further clicking in the component. Use the PLUS SIGN (+)
and the MINUS SIGN (-) keys to zoom, and the ARROW keys to scroll.
• When viewing a chart in split view, changing the display to single view
presents the chart at the same scale with the plan view. To view the full
chart, click within the component or press ENTER. If the chart is zoomed in on
a location, click
• FliteDeck remembers the last view setting on a terminal chart before you
switch to view another type of chart.
Setting Multiple Viewing Areas of a Terminal Chart
FliteDeck remembers what was last viewed on a terminal chart for each page. Any
chart viewed during a session, whether in the Clipboard or in a chart list, displays the
same location set as it was left before switching to another chart view.