Samsung GT-P7510FKYXAR User Manual
Page 15
Getting Started 10
Wi-Fi
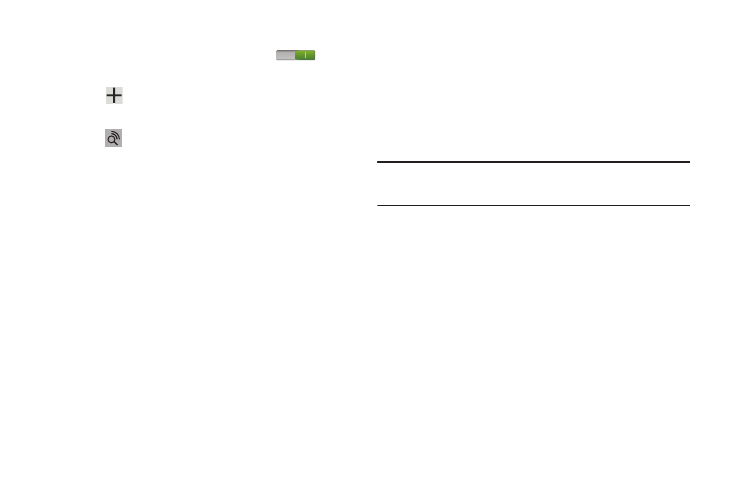
Make sure the Wi-Fi OFF / ON icon is set to ON
and
choose one of the following options:
Ⅲ Touch
Add network to enter a Network SSID that is
not listed.
Ⅲ Touch
Scan to make sure you have an accurate list
of Wi-Fi networks.
Ⅲ Touch one of the Wi-Fi networks in the list, enter the
password, and touch Connect. Touch and connect to
another Wi-Fi network or touch Next to continue.
Ⅲ Touch Skip to perform this task later. For more
information, refer to “Wi-Fi” on page 171.
Set Date and Time
1. Touch the time zone field (GMT+00:00) and select the
correct time zone.
2. Under Date, set the date (month, day, year), if
necessary.
3. Under Time, set the time (hour, minute, and AM or PM),
if necessary.
4. Touch Next.
Make it Google
Your new device uses your Google account to fully use its
Android features, including Gmail, Maps, Navigation, Google
Talk, and Google Play
TM
.
The Make it Google screen allows you to create a new
Google account or sign in, if you already have a Google
account.
Note: If you skipped Wi-Fi setup, the Wi-Fi setup screen
displays and you must connect through a Wi-Fi network.
Ⅲ Touch Sign in and then enter the email address and
password of your existing account.
– or –
Ⅲ Touch Get an account or enter the email address and
password of your existing account.
– or –
Ⅲ Touch Not now to perform this task later. For more
- GT-P7510MADXAR GT-P7510UWAXAB GT-P7510UWYXAB GT-P7510MADXAB OG-P7510MAVXAR GT-P7510UWBXAR GT-P7510UWVXAR GT-P7510FKASPR SEG-P7510UWXAR GT-P7510UWDVZW GT-P7510UWFXAR GT-P7510MAVXAR GT-P7510ZKDXAR GT-P7510FKAVZW GT-P7510MAAXAB GT-P7510MAYXAR GT-P7510UWGXAR GT-P7510UWDXAR GT-P7510MADSPR GT-P7510FKDVZW GT-P7510UWYXAR GT-P7510UWDSPR GT-P7510ZKAXAR GT-P7510UWASPR GT-P7510ZKVXAR GT-P7510FKDSPR GT-P7510MAVXAB GT-P7510FKBXAR GT-P7510ZKYXAR GT-P7510MAAXAR GT-P7510FKVXAR GT-P7510UWSXAR GT-P7510UWDXAB GT-P7510FKAXAR GT-P7510FKSXAR GT-P7510UWAVZW GT-P7510UWVXAB GT-P7510MAYXAB GT-P7510ZKDSPR GT-P7510FKDXAR