Figure 340 menu 12. 1: edit ip static route, Table 195 menu 12. 1: edit ip static route – ZyXEL Communications ZyWALL 2 Plus User Manual
Page 520
Chapter 35 IP Static Route Setup
ZyWALL 2 Plus User’s Guide
520
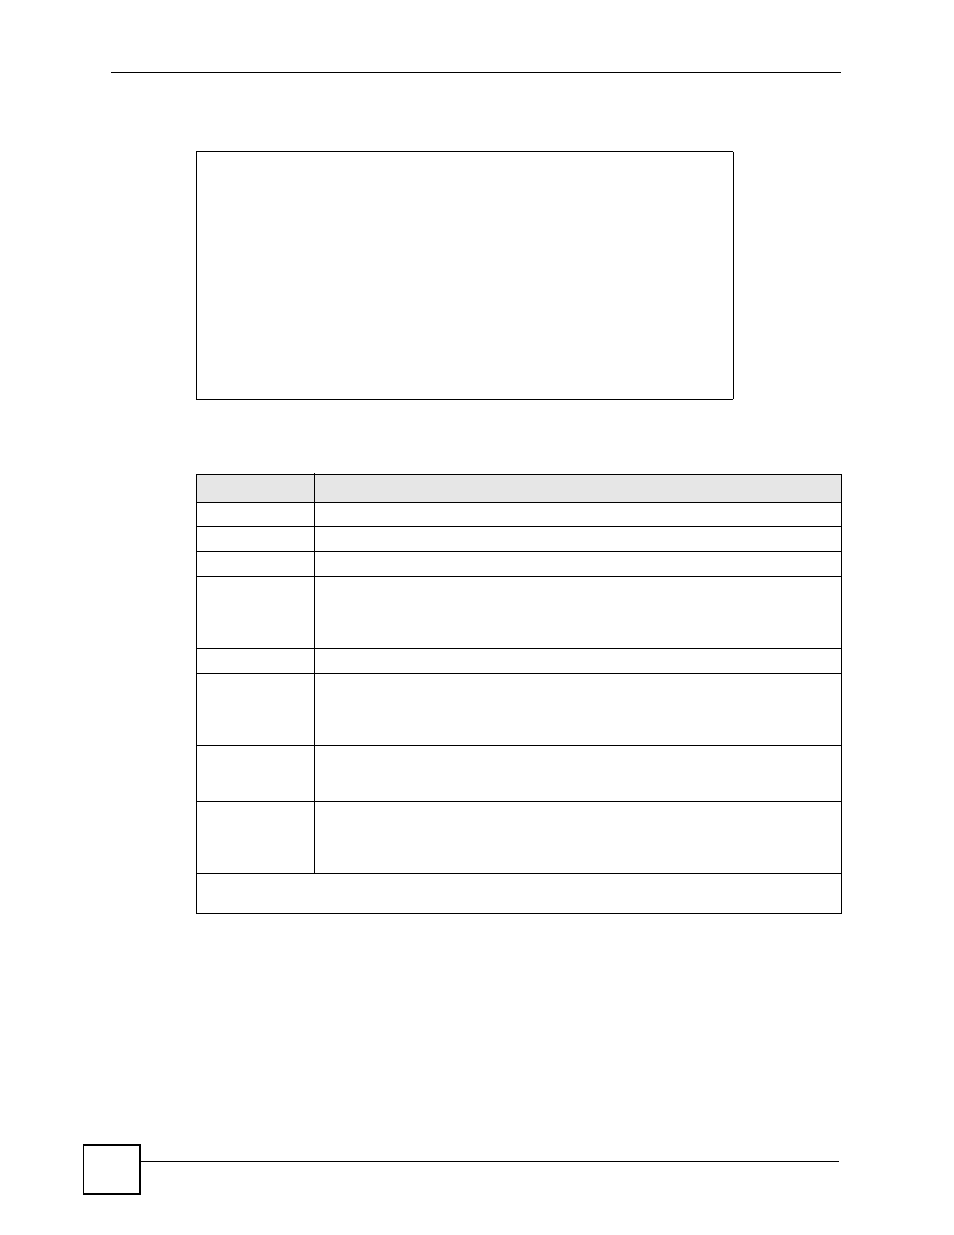
Figure 340 Menu 12. 1: Edit IP Static Route
`The following table describes the IP Static Route Menu fields.
Menu 12.1 - Edit IP Static Route
Route #: 3
Route Name= ?
Active= No
Destination IP Address= ?
IP Subnet Mask= ?
Gateway IP Address= ?
Metric= 2
Private= No
Press ENTER to CONFIRM or ESC to CANCEL:
Table 195 Menu 12. 1: Edit IP Static Route
FIELD
DESCRIPTION
Route #
This is the index number of the static route that you chose in menu 12.
Route Name
Enter a descriptive name for this route. This is for identification purposes only.
Active
This field allows you to activate/deactivate this static route.
Destination IP
Address
This parameter specifies the IP network address of the final destination. Routing is
always based on network number. If you need to specify a route to a single host,
use a subnet mask of 255.255.255.255 in the subnet mask field to force the network
number to be identical to the host ID.
IP Subnet Mask
Enter the IP subnet mask for this destination.
Gateway IP
Address
Enter the IP address of the gateway. The gateway is an immediate neighbor of your
ZyWALL that will forward the packet to the destination. On the LAN, the gateway
must be a router on the same segment as your ZyWALL; over the WAN, the
gateway must be the IP address of one of the remote nodes.
Metric
Enter a number from 1 to 15 to set this route’s priority among the ZyWALL’s routes
). The smaller the number, the higher priority the route
has.
Private
This parameter determines if the ZyWALL will include the route to this remote node
in its RIP broadcasts. If set to Yes, this route is kept private and not included in RIP
broadcast. If No, the route to this remote node will be propagated to other hosts
through RIP broadcasts.
Once you have completed filling in this menu, press [ENTER] at the message “Press ENTER to
Confirm…” to save your configuration, or press [ESC] to cancel.