9 secure telnet using ssh examples, 1 example 1: microsoft windows, Figure 254 advanced > remote mgmt > ssh – ZyXEL Communications ZyWALL 2 Plus User Manual
Page 387: Table 121 advanced > remote mgmt > ssh
Chapter 21 Remote Management
ZyWALL 2 Plus User’s Guide
387
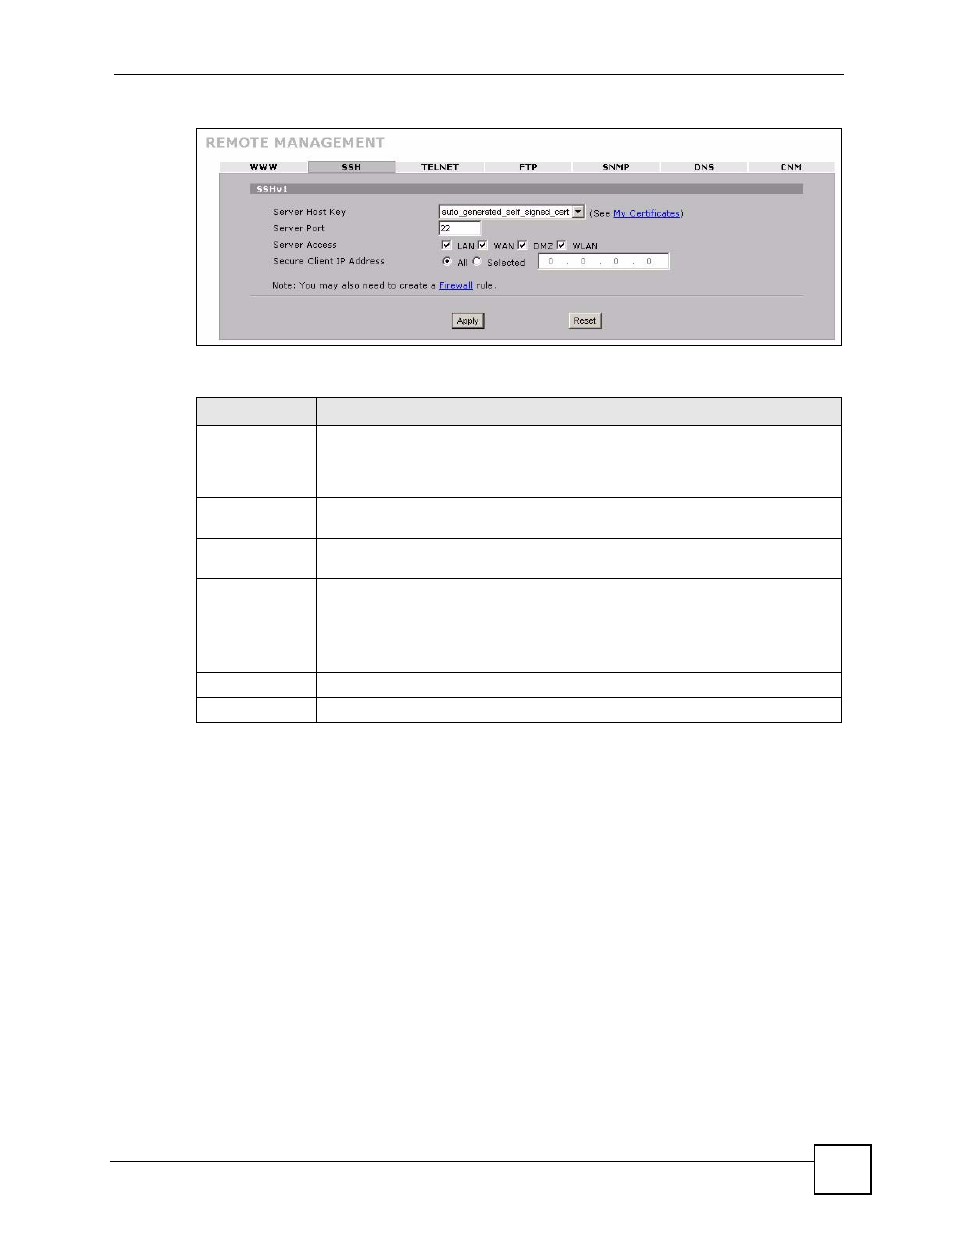
Figure 254 ADVANCED > REMOTE MGMT > SSH
The following table describes the labels in this screen.
21.9 Secure Telnet Using SSH Examples
This section shows two examples using a command interface and a graphical interface SSH
client program to remotely access the ZyWALL. The configuration and connection steps are
similar for most SSH client programs. Refer to your SSH client program user’s guide.
21.9.1 Example 1: Microsoft Windows
This section describes how to access the ZyWALL using the Secure Shell Client program.
1 Launch the SSH client and specify the connection information (IP address, port number
or device name) for the ZyWALL.
2 Configure the SSH client to accept connection using SSH version 1.
3 A window displays prompting you to store the host key in you computer. Click Yes to
continue.
Table 121 ADVANCED > REMOTE MGMT > SSH
LABEL
DESCRIPTION
Server Host Key
Select the certificate whose corresponding private key is to be used to identify the
ZyWALL for SSH connections. You must have certificates already configured in the
My Certificates screen (Click My Certificates and see
for
details).
Server Port
You may change the server port number for a service if needed, however you must
use the same port number in order to use that service for remote management.
Server Access
Select the interface(s) through which a computer may access the ZyWALL using
this service.
Secure Client IP
Address
A secure client is a “trusted” computer that is allowed to communicate with the
ZyWALL using this service.
Select All to allow any computer to access the ZyWALL using this service.
Choose Selected to just allow the computer with the IP address that you specify to
access the ZyWALL using this service.
Apply
Click Apply to save your customized settings and exit this screen.
Reset
Click Reset to begin configuring this screen afresh.