1 firewall edit rule – ZyXEL Communications ZyWALL 2 Plus User Manual
Page 208
Chapter 11 Firewall
ZyWALL 2 Plus User’s Guide
208
11.9.1 Firewall Edit Rule
In the Rule Summary screen, click the edit icon or the insert icon to display the Firewall Edit
Rule screen.
Use this screen to create or edit a firewall rule. Refer to the following table for information on
the labels.
See
for more information about the firewall.
The following fields summarize the rules you have created that apply to traffic traveling in the selected
packet direction. The firewall rules that you configure (summarized below) take priority over the
general firewall action settings above.
#
This is your firewall rule number. The ordering of your rules is important as rules are
applied in turn. Click + to expand or - to collapse the Source Address, Destination
Address and Service Type drop down lists.
Name
This is the name of the firewall rule.
Active
This field displays whether a firewall is turned on (Y) or not (N). Click the setting to
change it.
Source Address
This drop-down list box displays the source addresses or ranges of addresses to
which this firewall rule applies. Please note that a blank source or destination
address is equivalent to Any.
Destination
Address
This drop-down list box displays the destination addresses or ranges of addresses
to which this firewall rule applies. Please note that a blank source or destination
address is equivalent to Any.
Service Type
This drop-down list box displays the services to which this firewall rule applies.
Custom services have an * before the name. See
for a list
of common services.
Action
This field displays whether the firewall silently discards packets (Drop), discards
packets and sends a TCP reset packet or an ICMP destination-unreachable
message to the sender (Reject) or allows the passage of packets (Permit).
Sch.
This field tells you whether a schedule is specified (Yes) or not (No).
Log
This field shows you whether a log is created when packets match this rule (Yes) or
not (No).
Modify
Click the edit icon to go to the screen where you can edit the rule.
Click the delete icon to delete an existing firewall rule. A window displays asking you
to confirm that you want to delete the firewall rule. Note that subsequent firewall
rules move up by one when you take this action.
Click the insert icon to display the screen where you can configure a new firewall
rule. The insert icon at the top of the row creates the new firewall rule before the
others. The individual firewall rule insert icons create a new firewall rule after the
row’s firewall rule.
Click the move icon, type an index number, and press Enter to move the rule to the
number that you typed. The ordering of your rules is important as they are applied in
order of their numbering.
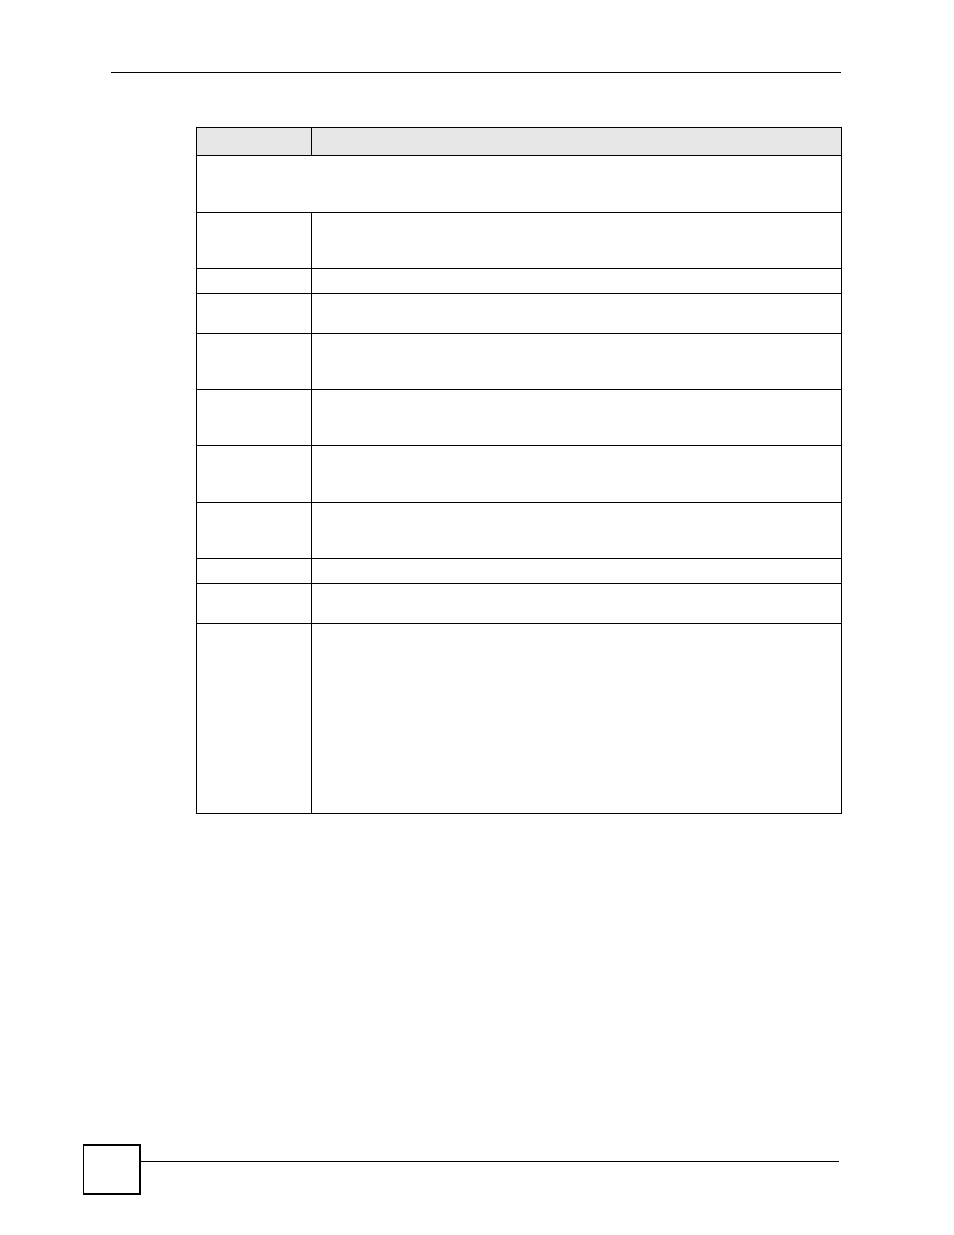
Table 50 SECURITY > FIREWALL > Rule Summary
LABEL
DESCRIPTION