3 configuring a server behind nat, Figure 164 menu 15.1.1.1: address mapping rule, Table 110 menu 15.1.1.1: address mapping rule – ZyXEL Communications G.SHDSL.bis 4-port Security Gateway P-793H User Manual
Page 288
P-793H User’s Guide
288
Chapter 28 NAT Setup
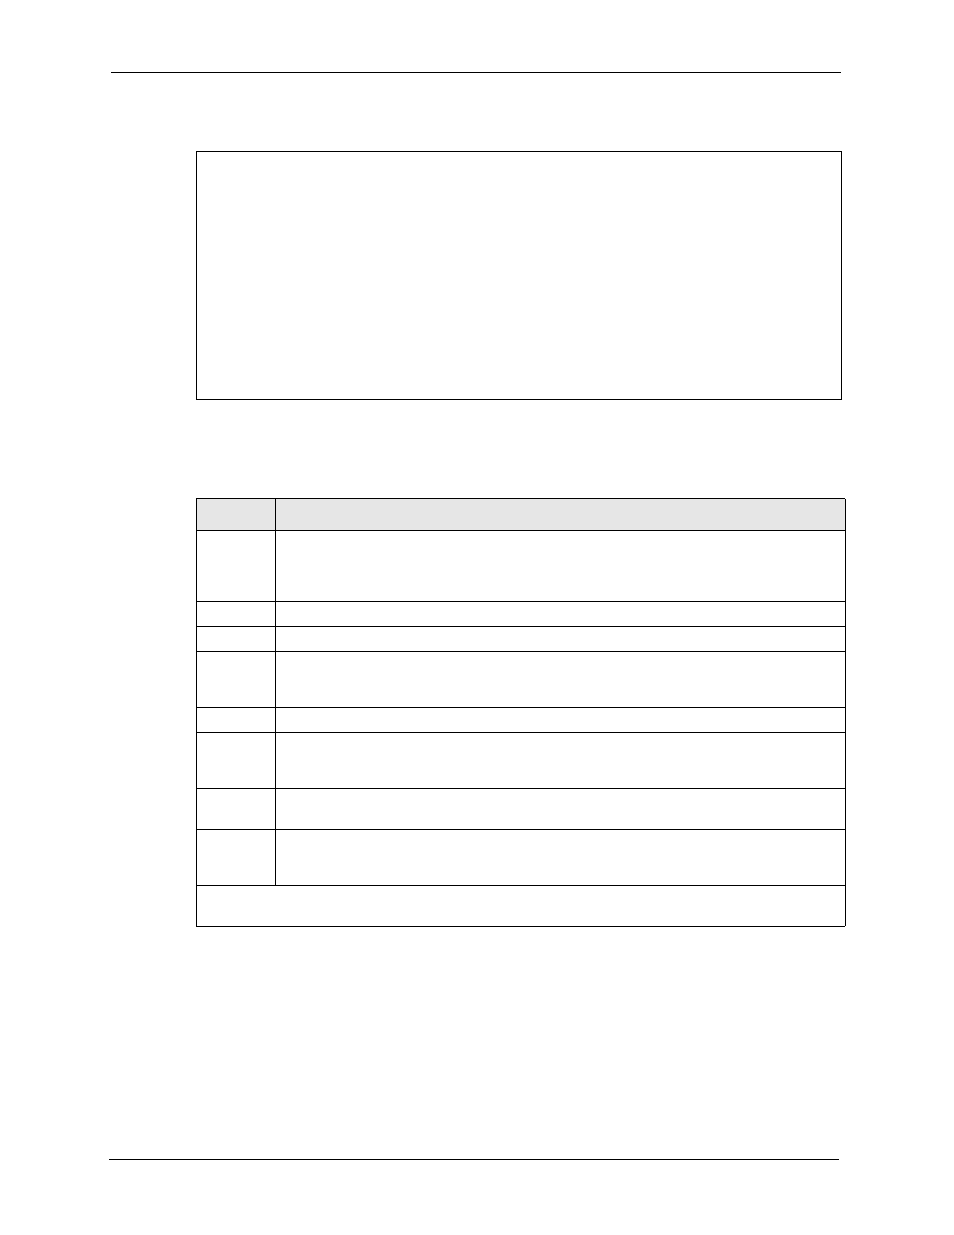
Figure 164 Menu 15.1.1.1: Address Mapping Rule
The following table describes the fields in this menu.
28.3 Configuring a Server behind NAT
Note: If you do not assign a Default Server IP address, the ZyXEL Device discards
all packets received for ports that are not specified here or in the remote
management setup.
Menu 15.1.1.1 Address Mapping Rule
Type= Server
Local IP:
Start= N/A
End = N/A
Global IP:
Start= 0.0.0.0
End = N/A
Server Mapping Set= 2
Table 110 Menu 15.1.1.1: Address Mapping Rule
FIELD
DESCRIPTION
Type
Press [SPACE BAR] and then [ENTER] to select from a total of five types. These are the
. Server allows you to specify multiple
servers of different types behind NAT to this computer. See
for
an example.
Local IP
These fields are enabled depending on the Type.
Start
Enter the starting local IP address (ILA).
End
Enter the ending local IP address (ILA). If the rule is for all local IPs, then put the Start IP as
0.0.0.0 and the End IP as 255.255.255.255. This field is N/A for One-to-One and Server
types.
Global IP
These fields are enabled depending on the Type.
Start
Enter the starting global IP address (IGA). If you have a dynamic IP, enter 0.0.0.0 as the
Global IP Start. Note that Global IP Start can be set to 0.0.0.0 only if the types are Many-
to-One or Server.
End
Enter the ending global IP address (IGA). This field is N/A for One-to-One, Many-to-One
and Server types.
Server
Mapping
Set
This field is available only when you select Server in the Type field. Select which server
mapping set to use for this rule.
Once you have finished configuring a rule in this menu, press [ENTER] at the message “Press ENTER
to Confirm…” to save your configuration, or press [ESC] to cancel.