Library, Controller, Card – Dell TL2000 User Manual
Page 195: Being, Removed, From
screen
entitled
“VPD
Selection”,
where
it
is
asking
you
to
determine
which
copy
of
VPD
should
be
written
to
the
new
Library
Controller
Card.
If
the
message
″VPD
Selection
″
is
displayed
at
the
Operator
Control
Panel,
carefully
highlight
the
“VPD
from
Enclosure
″
option
to
copy
that
version
of
the
VPD
to
the
new
Library
Controller
Card.
Then
continue
with
the
procedure.
Removal
and
Replacement
1.
Power
OFF
the
library
by
pressing
and
holding
the
power
button
at
the
front
of
the
library
for
4
seconds.
2.
Disconnect
the
power
cord
from
the
electrical
source,
then
from
the
power
supply
or
supplies
at
the
back
of
the
library.
3.
Loosen
the
two
blue
captive
thumbscrews
on
the
Library
Controller
Card.
4.
Grasp
the
two
thumbscrews
and
pull
the
defective
Library
Controller
Card
out
of
the
library.
5.
Remove
the
packaging
from
the
replacement
Library
Controller
Card.
6.
Grasp
the
two
thumbscrews
and
push
the
replacement
Library
Controller
Card
into
the
library.
7.
Tighten
the
two
blue
captive
thumbscrews
on
the
Library
Controller
Card.
8.
Connect
the
power
cord
to
the
power
supply
or
supplies
at
the
back
of
the
library,
then
to
the
electrical
source.
9.
Power
ON
the
library
using
the
power
button
on
the
front
panel.
10.
After
power
is
restored
to
the
Library
Controller
Card,
the
library
will
automatically
restore
the
VPD
on
the
new
Library
Controller
Card
from
the
Library
Enclosure.
If
a
″VPD
Selection
″
message
is
displayed
in
the
Operator
Control
Panel,
see
the
″Read
Me
before
Continuing
″
section
earlier
in
this
procedure
to
determine
how
to
respond
to
the
message.
11.
Upgrade
library
firmware
and
drive
firmware
to
the
latest
version.
See
12.
Run
the
Library
Verify
test
(refer
to
a66mi097
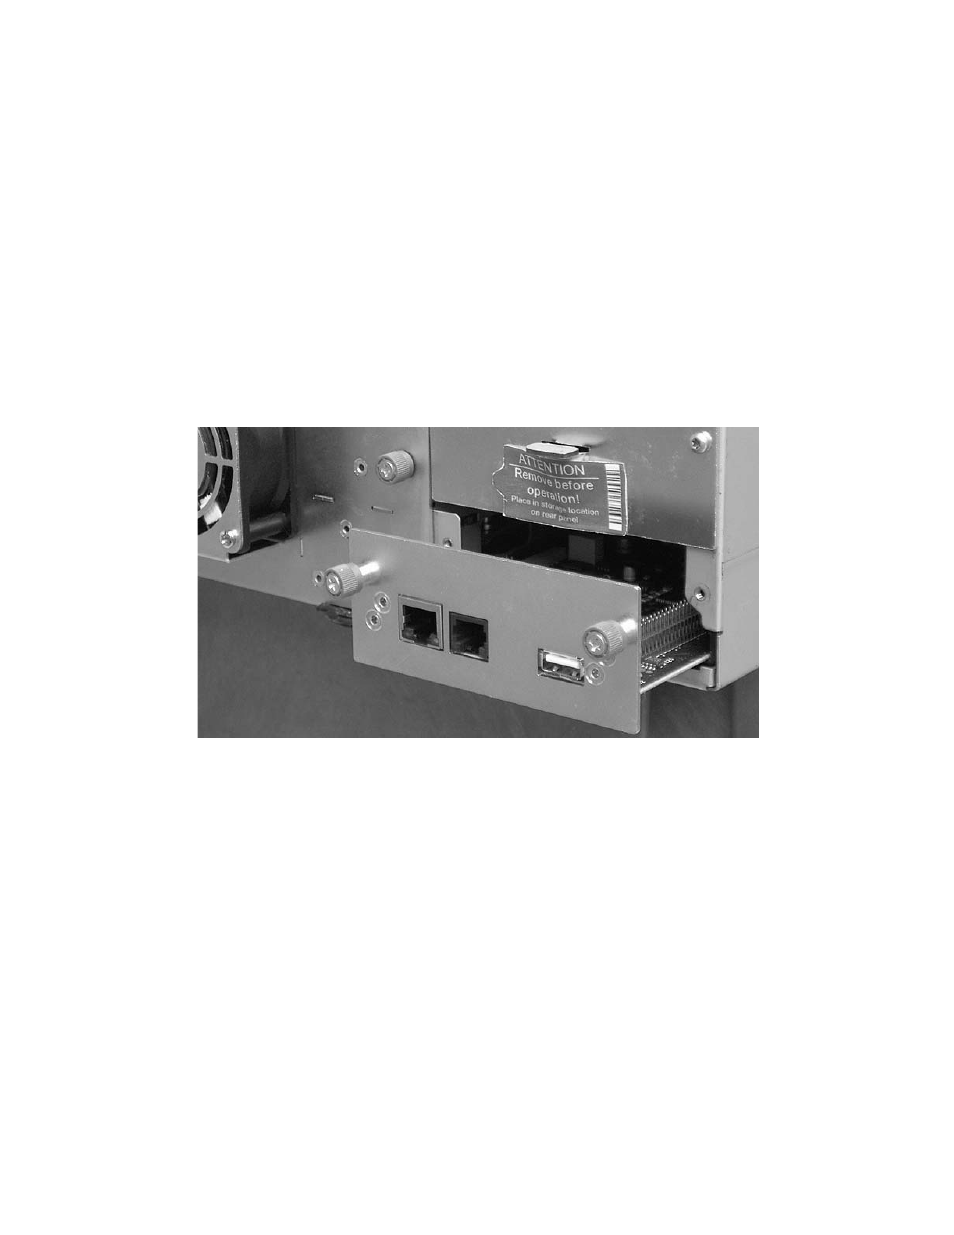
Figure
10-10.
A
Library
Controller
Card
being
removed
from
the
library
Chapter
10.
Check,
Adjust,
Remove,
and
Replace
10-9