Changing the channel on a cps pulse clicker, Changing the channel on a cps spark clicker – Turning Technologies CPS User Manual
Page 11
CPS for PC
11
1
Plug the receiver in to an available USB port and open CPS.
2
Click the Turning Technologies
icon in the notification area and select Device Manager.
3
Select the receiver and then click the wrench icon
. Alternatively, right-click on the receiver and select Properties
from the menu.
The Receiver Properties window opens.
4
Locate (RR)RF Receiver Options and click the arrows next to Base Channel to adjust the channel number or click once
on the channel number and use the keyboard to input a new channel number.
5
Click OK to save the channel number.
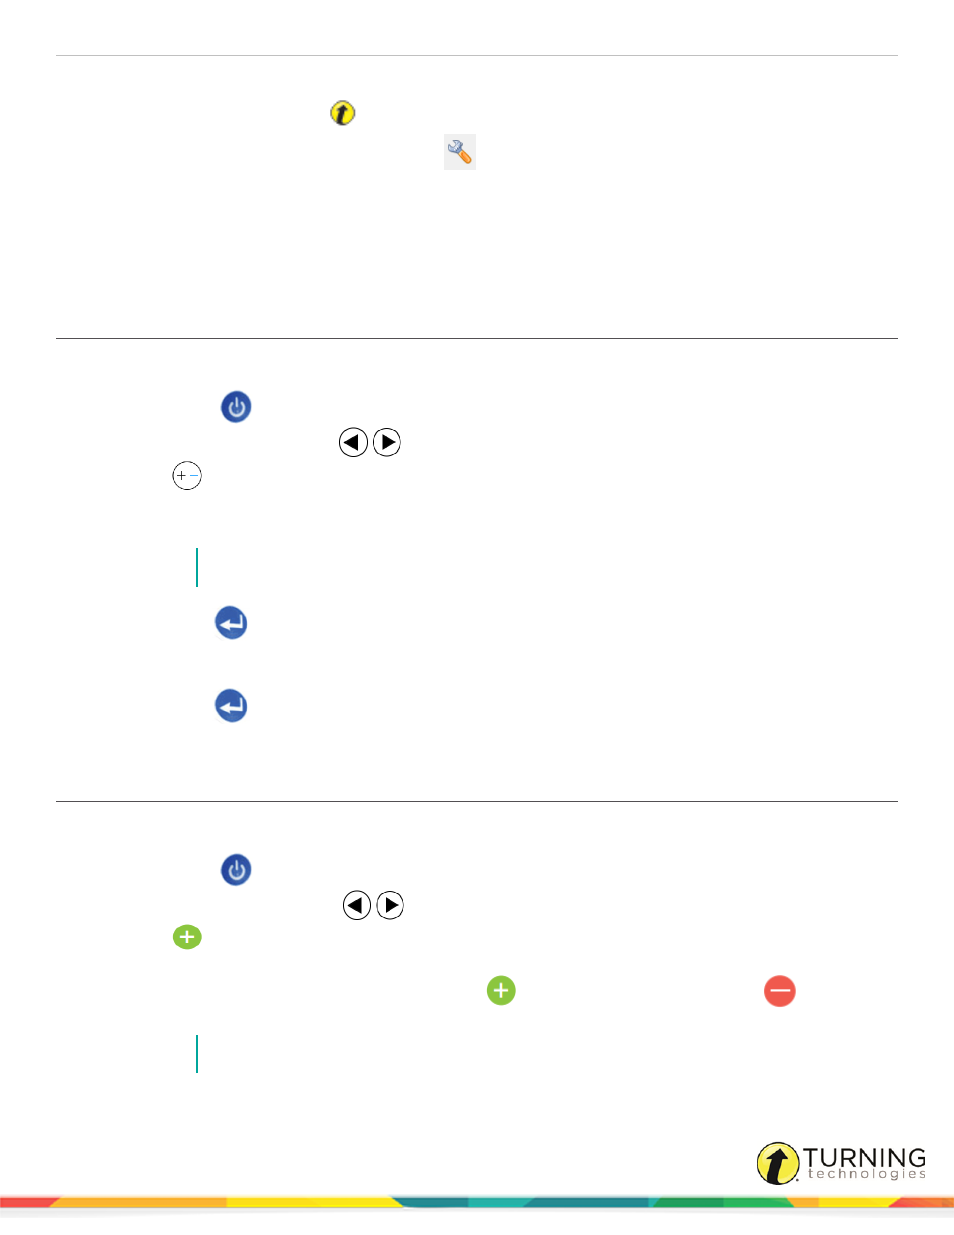
Changing the Channel on a CPS Pulse Clicker
The clickers need to be set to the same channel as the receiver when polling.
1
Press the Power
button.
2
Simultaneously press both arrows
and release.
3
Press the
button.
Channel appears on the screen.
4
Enter the two-digit channel number.
NOTE
The channel number must be between 01 - 75.
5
Press the Enter
button.
Clicker # appears on the screen.
6
Enter the number found on the front of the clicker.
7
Press the Enter
button.
A summary appears on the screen, and the clicker turns off.
Changing the Channel on a CPS Spark Clicker
The clickers need to be set to the same channel as the receiver when polling.
1
Press the Power
button.
2
Simultaneously press both arrows
and release.
3
Press the
button.
Channel appears on the screen.
4
Enter the first digit of the channel number by pressing the
button to increase the number or the
button to
decrease the number.
NOTE
The channel number must be between 01 - 75.
turningtechnologies.com/user-guides