Hepa filter replacement – Labconco PURICARE Procedure Station Models 34812xx User Manual
Page 109
Page 109 of 197
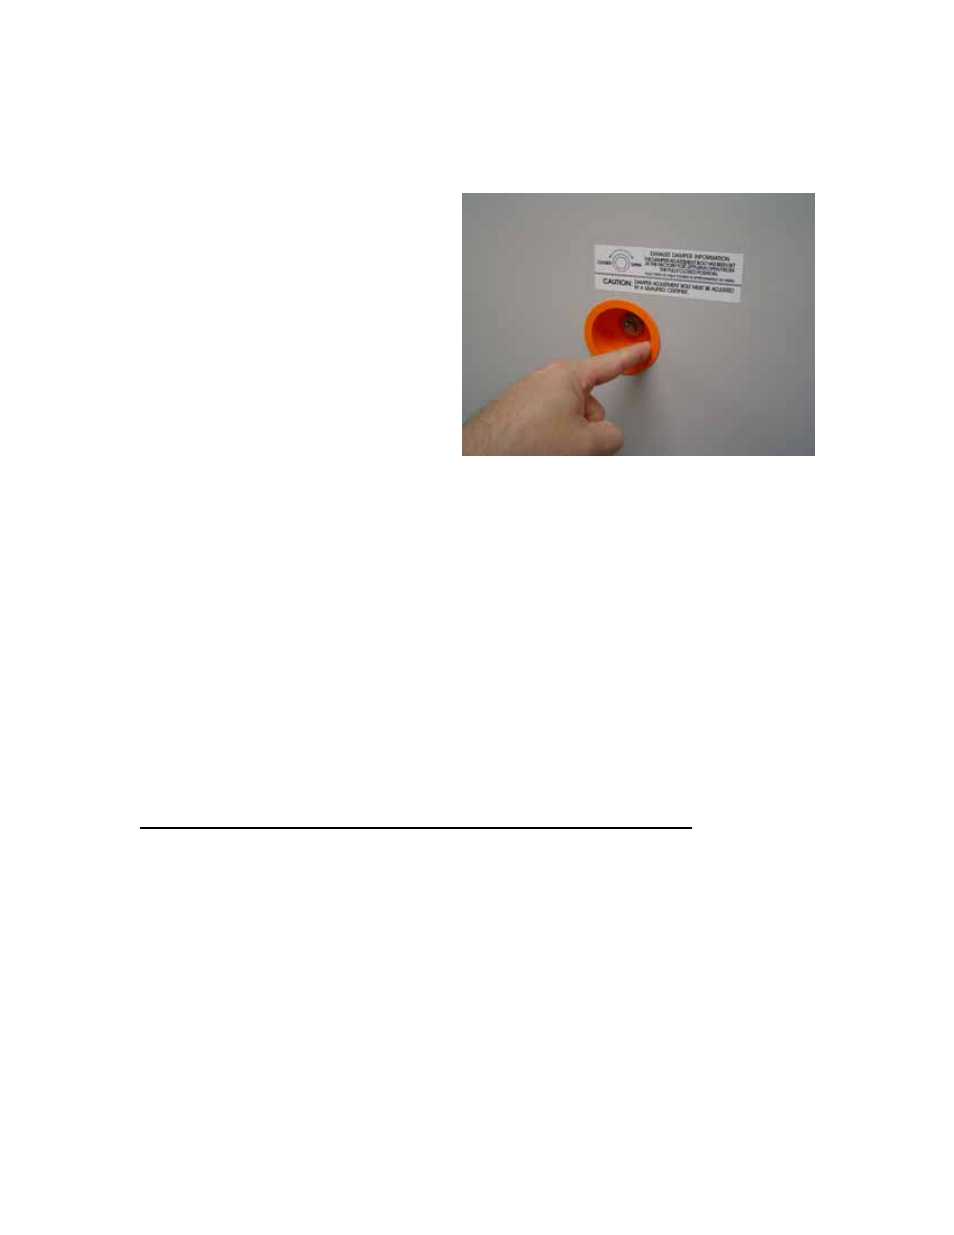
6. When the entire seal has been “set”, run a finger around the edge of the seal to
ensure it is properly oriented, as shown in Figure 7-13.
Figure 7-13
HEPA Filter Replacement
CAUTION: The cabinet must be properly decontaminated before servicing the
supply HEPA filter. Following replacement of a HEPA filter, the cabinet must
be recertified.
CAUTION: Always remove the exhaust HEPA filter first. The exhaust filter pan
or plenum can be damaged if the plenum is raised with the Exhaust HEPA
filter in place.
CAUTION: HEPA filters can be awkward to handle and heavy. Use appropriate
lifting techniques to remove and handle it. Use two people to remove the
larger filters if possible.
To Remove the Exhaust HEPA Filter on 4-, 5- and 6-foot models:
1. Unplug the cabinet.
2. Remove the front dress panel as shown in Figure 7-1.
3. Loosen all of the Phillips screws on the blower chamber cover. Remove all of the
screws except two screws on the top center of the panel. This will support the panel.
4. Release the damper seal by pushing the outside edge of the seal towards the bolt
and inside the blower plenum cover, as shown in Figures 7-14 and 7-15.
- PURICARE Procedure Station Models 34810xx PURICARE Procedure Station Models 34802xx PURICARE Procedure Station Models 34800xx Type B2 Biosafety Cabinets Models 34610xx Type B2 Biosafety Cabinets Models 34410xx Type A2 Biosafety Cabinets Models 34609 Type A2 Biosafety Cabinets Models 34509 Type A2 Biosafety Cabinets Models 34409 Type A2 Biosafety Cabinets Models 34309 Type A2 Biosafety Cabinets Models 34608xx Type A2 Biosafety Cabinets Models 34508xx Type A2 Biosafety Cabinets Models 34408xx Type A2 Biosafety Cabinets Models 34308xx Type A2 Biosafety Cabinets Models 34600xx Type A2 Biosafety Cabinets Models 34500xx Type A2 Biosafety Cabinets Models 34400xx Type A2 Biosafety Cabinets Models 34300xx