Date/time/location, N o t e – ETC Unison Paradigm ACP Configuration Manual v2.1.2 User Manual
Page 49
3
Programming
44
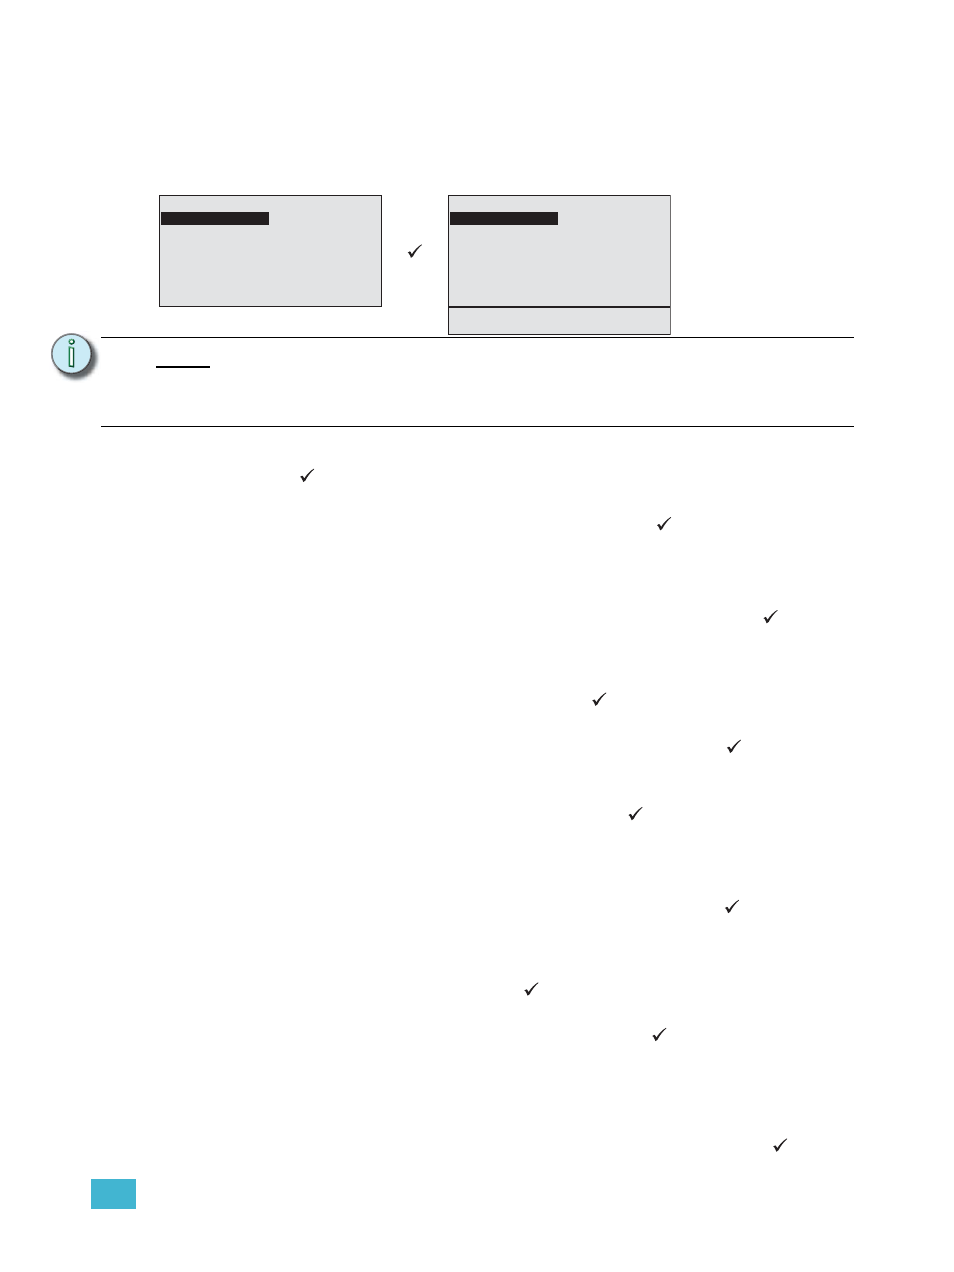
Date/Time/Location
The “Date/Time/Location” menu list includes the current date and time, the time zone, the
location (latitude and longitude), and the daylight saving time dates. The settings displayed,
except processor date and time, have been specified in the LightDesigner configuration file
and uploaded to the processor.
Step 1:
To change any of these settings, scroll to “Change Settings” and press enter
(
). The “Change Settings” menu list displays.
Step 2:
Change the “DateStyle” format from the default setting, mm/dd/yyyy, to the
alternative setting, dd/mm/yyyy, by pressing enter (
). This toggles the
selection between the two formats.
Step 3:
Change the date to reflect the current date. Date settings stay with the ACP not
the configuration file.
a: Scroll to the “Date” selection in the menu list and press enter (
). The
selection changes to the first field. The date style selected in step 2 is also
reflected in the date fields.
b: Scroll to select the desired value for the first field or use the button pad to
specify a numeric value. Press enter (
) to move the selection to the
second date field.
c: Repeat for each date field. When complete, press enter (
) to move back
to the “Date” selection in the menu list.
Step 4:
Change the “Time Style” format from the default setting, 12 Hour, to the
alternative setting, 24 Hour, by pressing enter (
). This toggles the selection
between the two formats.
Step 5:
Change the time to reflect the current time. Time settings stay with the ACP not
the configuration file.
a: Scroll to “Time” selection in the menu list and press enter (
). The selection
changes to the first field. The time style selected in step 4 is also reflected in
the time fields.
b: Scroll to select the desired hour value or use the button pad to specify a
numeric value. Press enter (
) to move the selection to the minutes time
field.
c: Repeat for the minutes time field. Press enter (
). If the time style is set to
“12 Hour” clock, the selection moves to the “am” or “pm” field. Use the scroll
wheel to make the selection.
Step 6:
Change the time zone for accurate time when timed events are scheduled. This
setting is contained in the architectural configuration.
a: Scroll to “Time Zone” selection in the menu list and press enter (
). Select
N o t e :
Editing the current date and/or time settings of a processor prompts you, when
exiting the menu, to synchronize the new settings for scheduled Timed Events.
Selecting “Yes” results in all processors running the same project performing the
synchronization to the new set time.
Change Settings
07/01/11
08:05am
Central (GMT-6)
Lat: 43-8 Lon: 89-20
DST: 3/9 - 10/21
Change Settings
DateStyle:
mm/dd/yyyy
Date:
07/01/11
Time Style:
12 hour
Time:
08:05
am
Time Zone: GMT-06.00
Latitude:
43 8 N
Longitude:
89 20 W
DST:
US
Dates
Manual DST Dates
Change Settings