Nematron Pointe Controller User Manual
Page 31
Pointe Controller User Guide
Chapter 2: Initial Setup
29
The secondary server is the PC to which the Pointe Controller unit will
attempt to connect when it first powers on.
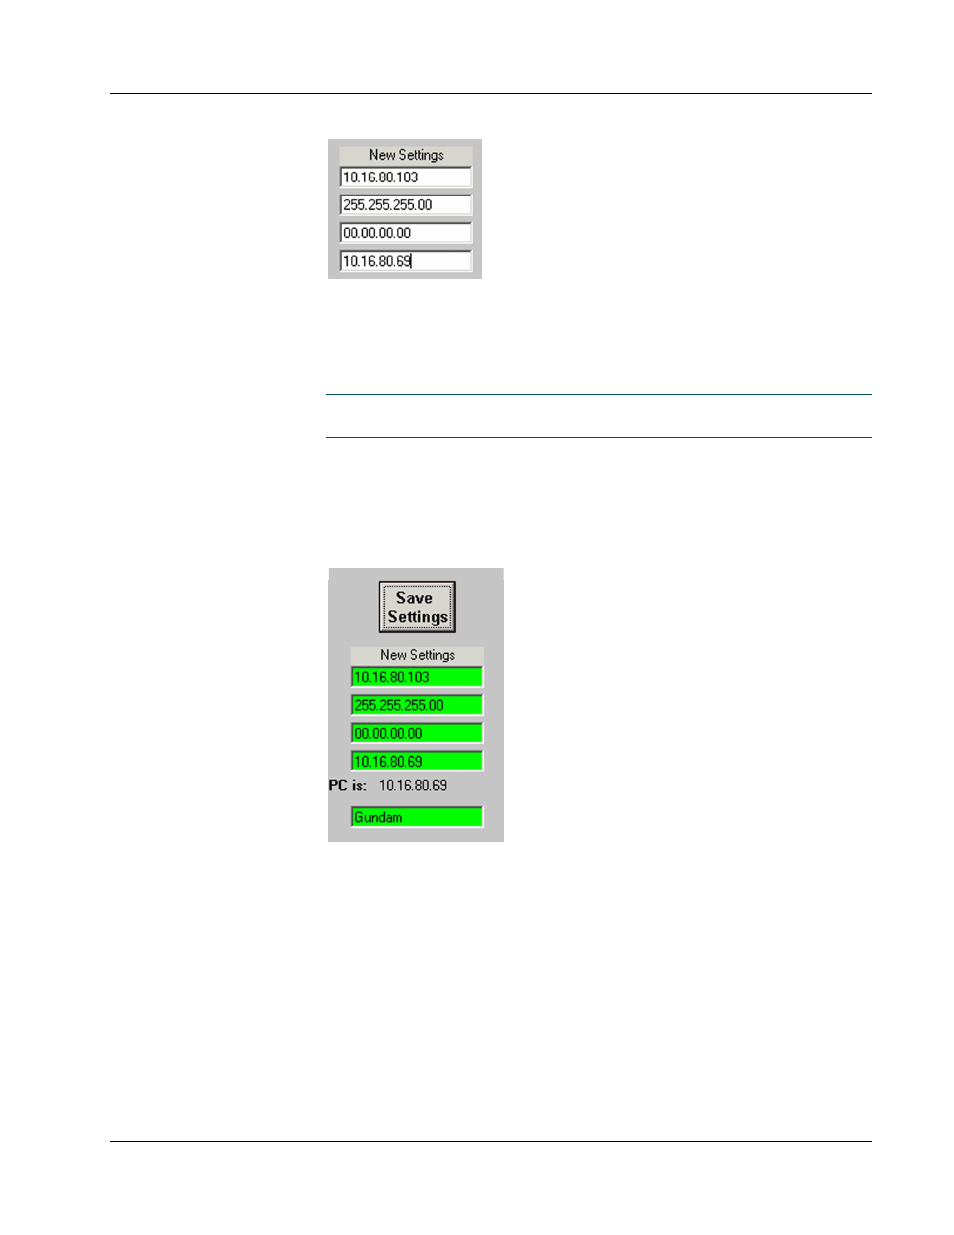
7. For the Node Name pane, enter the name by which the Pointe Controller
unit will identify itself to PointeControl Monitor. For example, “Gundam.”
NOTE: If you do not want or need to change the Node Name, you can skip
this step and leave the factory default setting.
For more information on PointeControl Monitor, see Chapter 6,
“Downloading to the Controller,” and Chapter 7, “Monitoring and
Debugging.”
8. Click the Save Settings button to save your settings to the Pointe
Controller unit. When the settings are saved, the fields will turn green.
9. Click the Read Current Settings button to verify that the new settings
were saved correctly. The current settings should now match the IP
address, subnet mask, secondary server, and node name that you entered.
10. Exit the Update Tool application by clicking the Exit button.
11. Power off the Pointe Controller unit.
12. Disconnect the RS-232 serial cable.