Starting your capture, Starting your, Capture – Matrox MXO2 PCIe Host Adapter User Manual
Page 298
274
Chapter 20, Using Matrox MAX H.264 Capture
size limit has been reached (available only when capturing to Matrox
.mp4
files with or without
.wav
files).
$
Every n minutes
Select this option to specify the number of minutes
after which you want the capture to switch to the next clip.
$
Every n GB
Select this option to specify the maximum file size (in
gigabytes) after which you want the capture to switch to the next clip.
¦
Note
If you select both automatic file switch options, the capture will switch
to the next clip based on the limit that is reached first (minutes or file size).
Be aware that your captured clips won’t have exactly the same duration or file
size because the capture must always end at a GOP boundary.
4
If you’d like to save your changes as a custom preset, click the
Save
(
)
button beside the preset list in the
Matrox MAX H.264 Capture
dialog box.
You’ll then be prompted to enter a name for your custom preset.
¦
Note
To delete a custom preset, select the preset and click the
Delete
(
)
button.
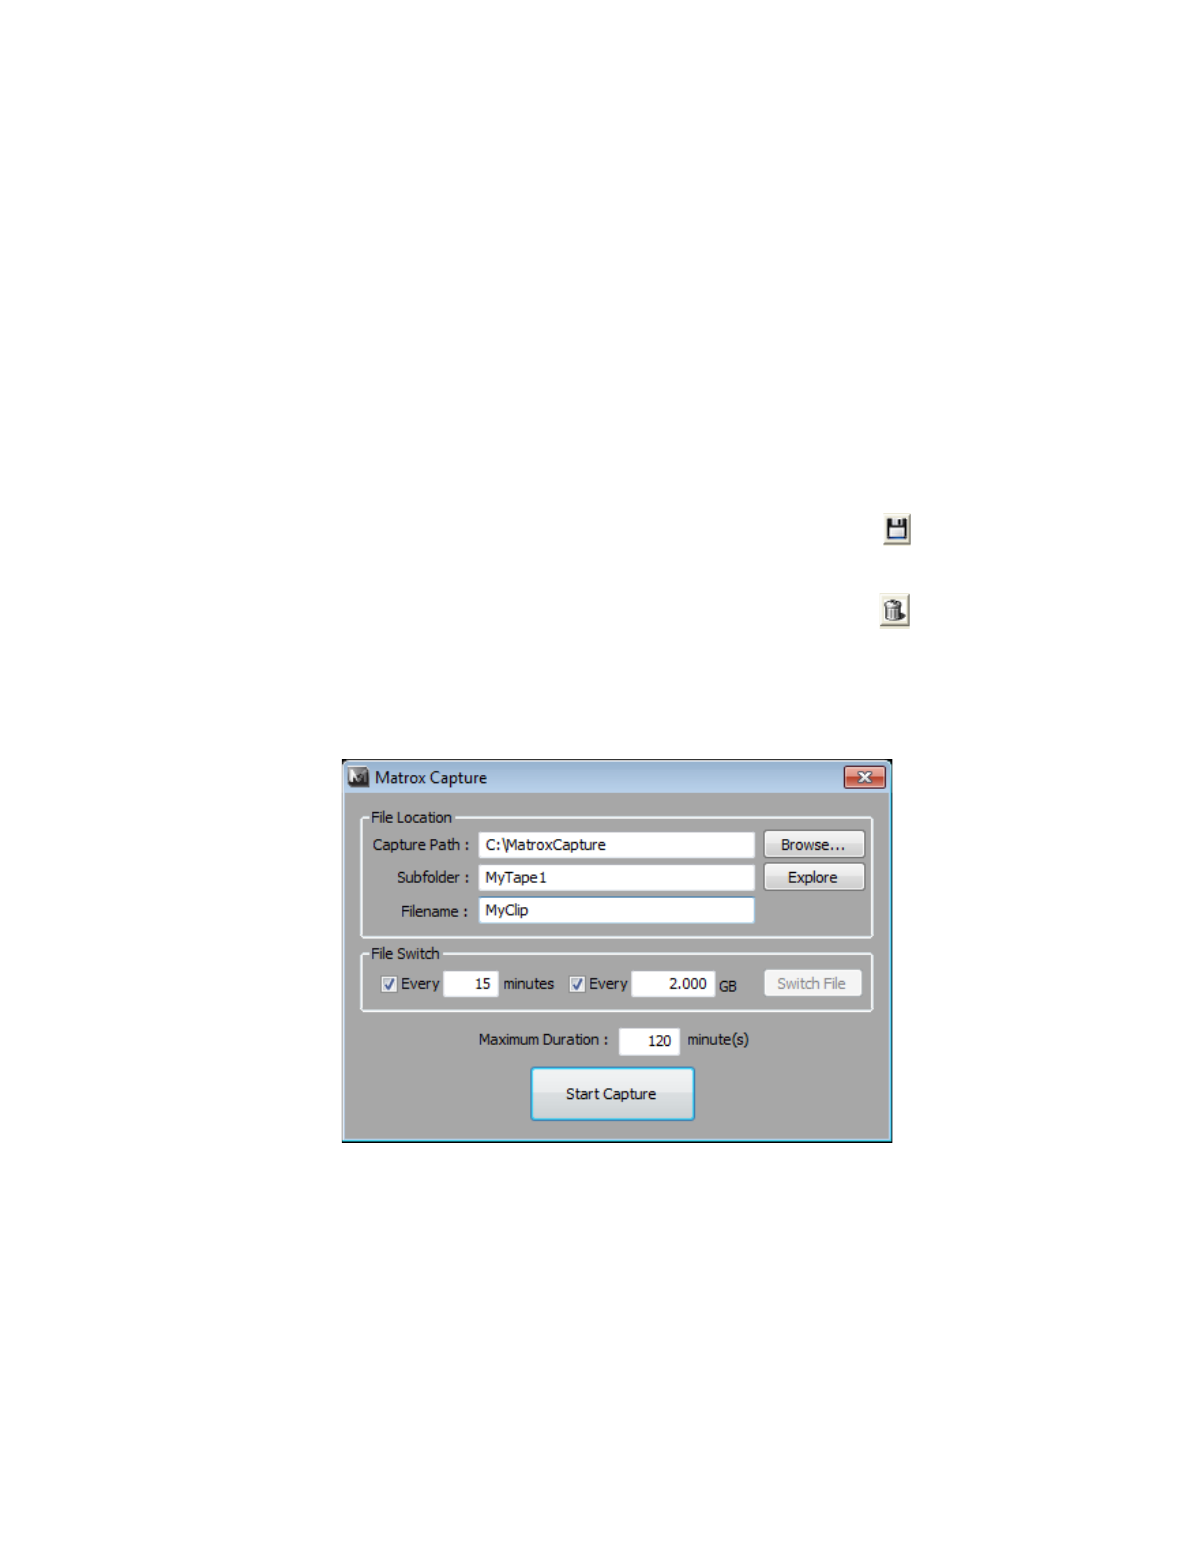
Starting your capture
Once you’ve specified your input, output, and capture format settings, you’re
ready to start capturing clips. To do this, click the
Capture
button.
1
Enter the capture path and subfolder where you want to store your captured
clips, or click
Browse
to select the location that you want.
2
A default filename will be provided as the base name for your captured clips.
You can change this name if you want. When capturing to Matrox .
mp4
files
using the automatic file switching feature, your clips will be numbered