Matrox MXO2 PCIe Host Adapter User Manual
Page 192

168
Chapter 11, Using Matrox MXO2 with Avid Editing Applications
1
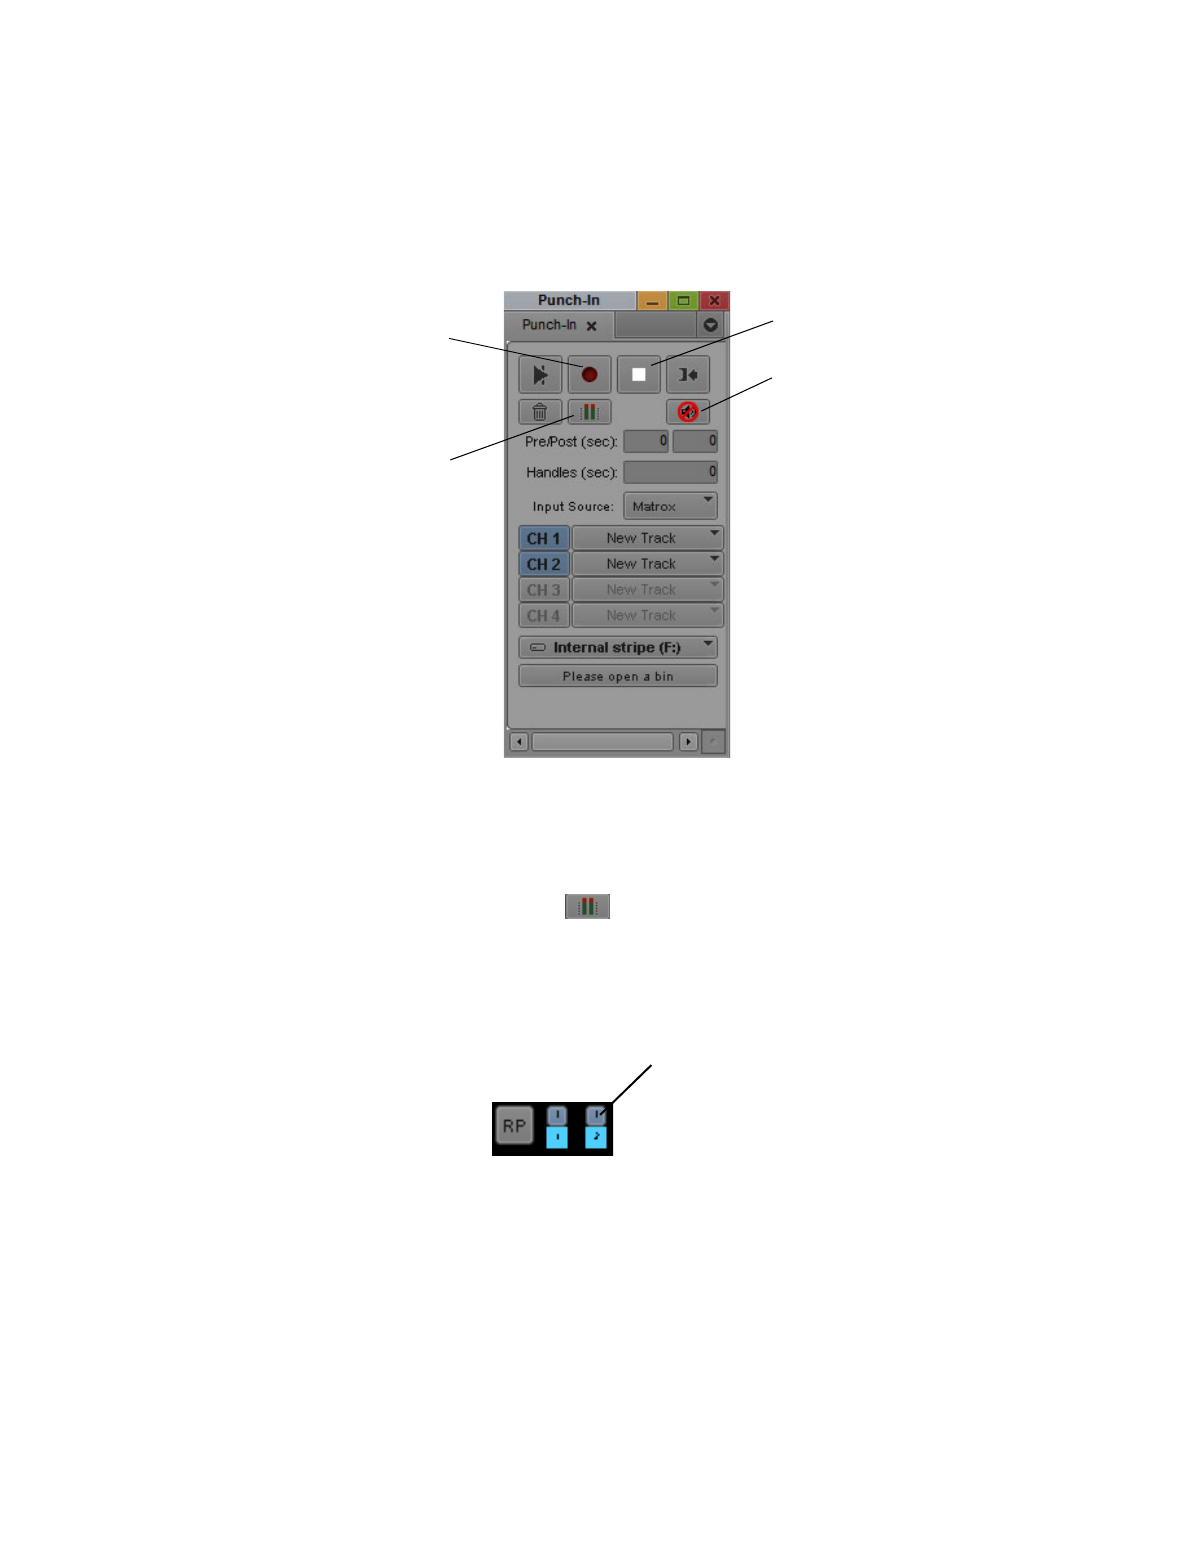
With a sequence loaded in the
Timeline
, choose
Tools > Audio Punch-In
.
2
Make sure that the
Input Source
is set to
Matrox
.
3
Select the input channels that you want to record (
CH1
and/or
CH2
), and
select the corresponding tracks on which you want to record. If you select an
existing track, you can replace all or part of the audio on the track with your
voice-over.
4
Click the
Audio
tool button (
), and use the controls and meters in the
Audio
tool to test the audio input levels while speaking into the microphone.
If needed, adjust the audio level on your source device so that the input
levels are sufficiently high but not clipping.
¦
Note
To see the meters in the
Audio
tool, make sure that the In/Out toggle
buttons for channels 1 and 2 are set to
I
(for Input):
For details on using the
Audio
tool, see your Avid documentation.
5
Set In and Out points to specify the section of the
Timeline
to which you
want to add your voice-over, and specify preroll and postroll values if
desired.
Audio tool button
Record button
Punch-in
monitoring is
disabled
Stop
button
Input
selected
