Recording your voice-over – Matrox MXO2 PCIe Host Adapter User Manual
Page 191
167
Adding a voice-over to your sequence
3
Select
Audio Punch-in mode
and click
Configure
.
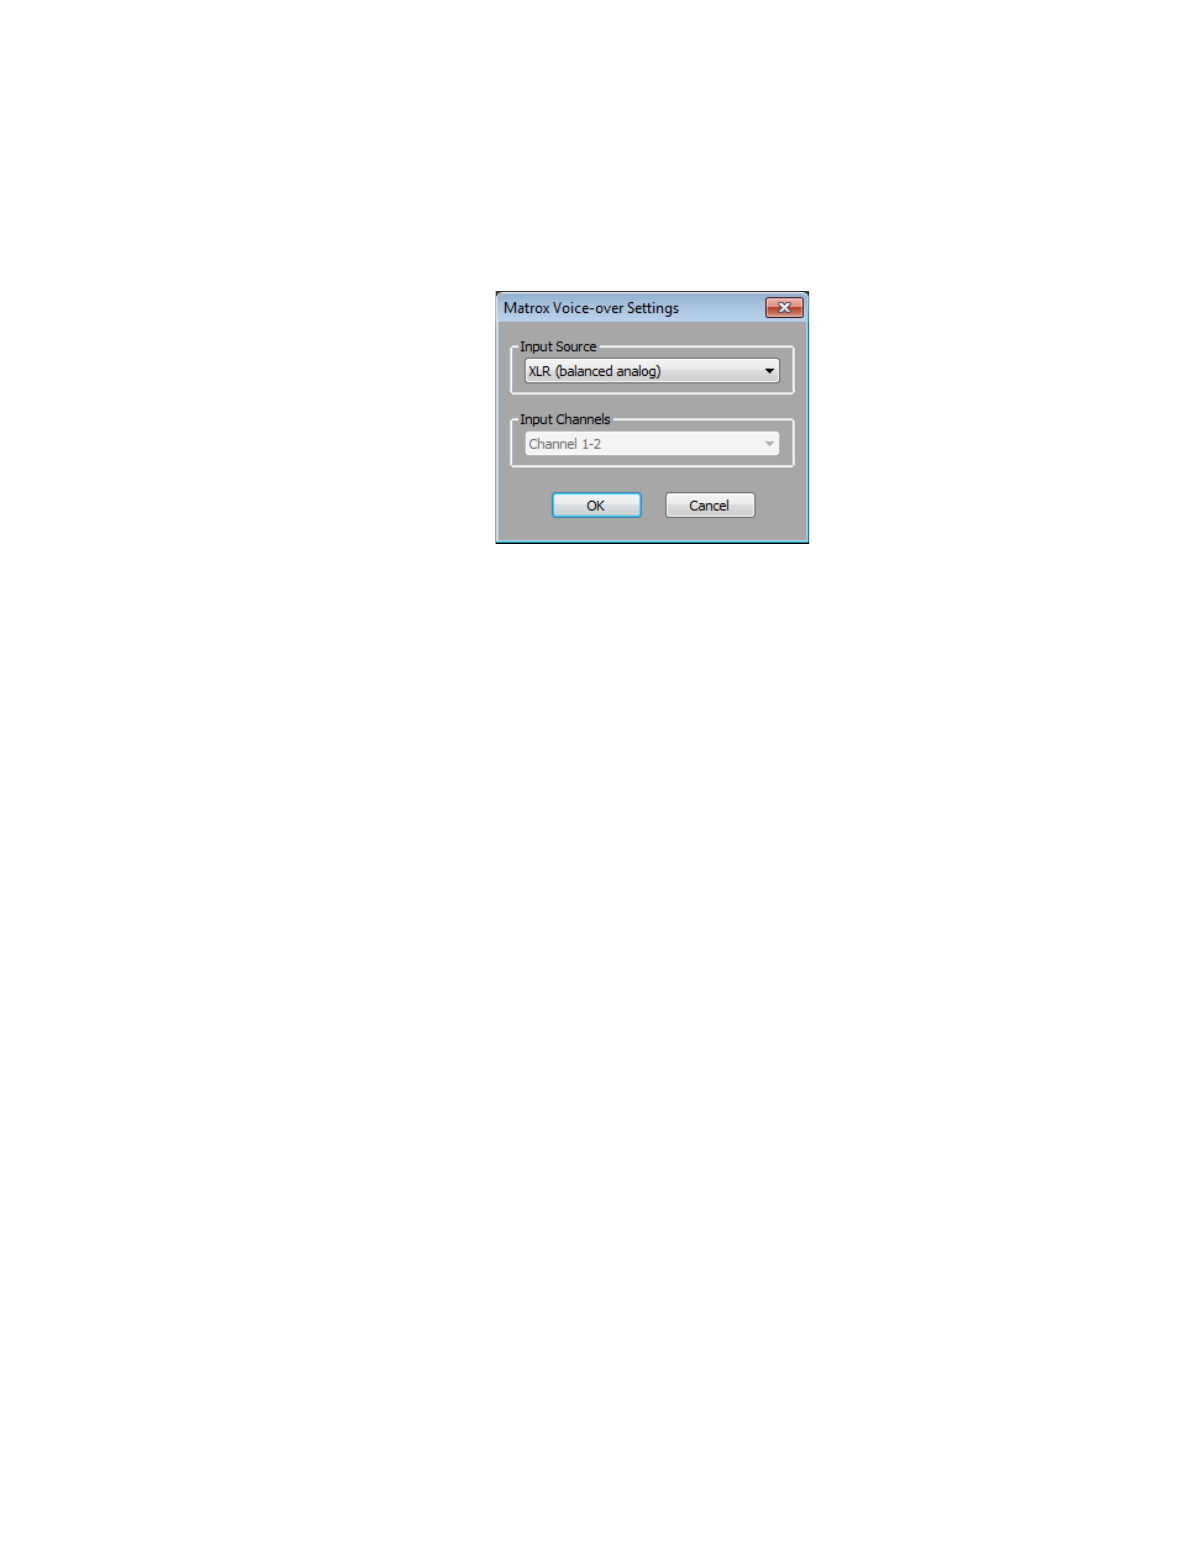
4
From the
Input Source
list, select the audio source type corresponding to
the device to which the microphone is connected.
5
The audio input channels are set to
Channel 1-2
. On MXO2 Rack, make
sure that your XLR or AES/EBU audio input source is connected to the
channel 1/2 connector(s) only.
6
Click
OK
to save your settings, and then click
OK
to close the
Matrox
Capture Settings
dialog box.
¡ Important
When you’ve finished recording your voice-over, you’ll need to
clear
Audio Punch-in mode
before performing a capture as explained in
“Defining your capture settings”
.
Recording your voice-over
You use the
Audio Punch-In
tool to record your voice-over. The following steps
provide guidelines for recording a voice-over. For details on using the
Audio
Punch-In
tool, see your Avid documentation.