Installing a new aib or eaib chassis – Adept s800 s800 User Manual
Page 64

Chapter 5: Maintenance
17. Tag the chassis with the appropriate fault diagnosis faults/errors and robot serial
number information.
Installing a New AIB or eAIB Chassis
NOTE: Use care when installing the AIB or eAIB chassis in the following steps:
1. Remove the new chassis from its packaging, check it for any signs of damage, and
remove any packing materials or debris from inside the chassis.
2. Hang the chassis on the Supporting Bolt located on the side of the robot base. Refer to
3. Connect the ground wire to the chassis.
4. Carefully reconnect the cables you removed from their connectors on the PMAI/ePMAI
board (see Figure 5-5). Engage the securing latches on the connectors.
5. Connect the “white” amplifier cable to the amplifier connector located on the chassis
bracket.
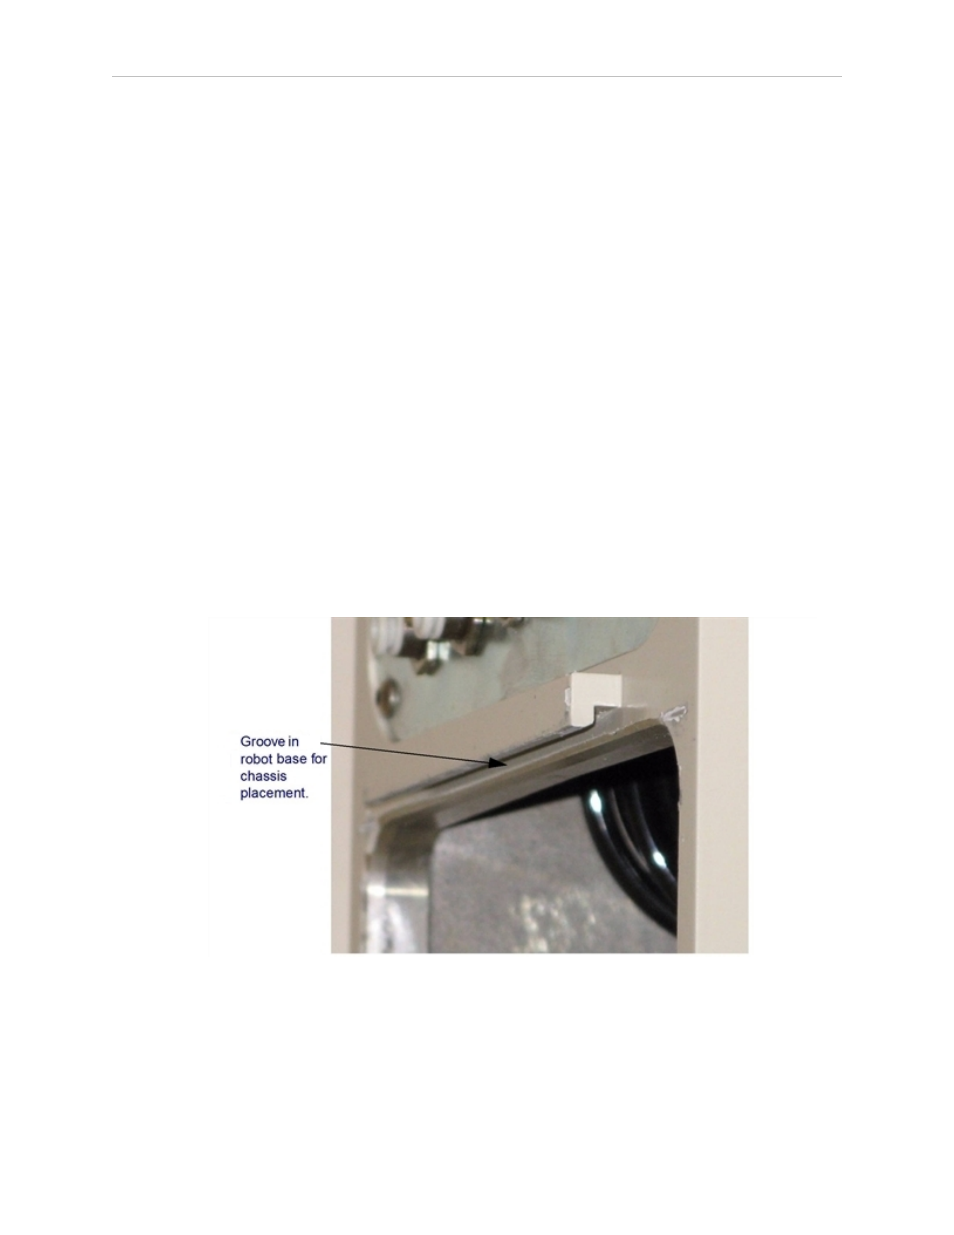
6. Insert the top of the chassis into the robot base in the groove at the top of the base—see
the following figure. Tilt the bottom of the chassis down and into place against the
robot, making sure that none of the cables get trapped or pinched and that the chassis
O-ring is not damaged during installation.
Figure 5-9. Installing Chassis in Robot Base
7. Once the chassis is in place, before securing the screw, push the chassis up to properly
seat it and use a 5 mm hex key to tighten the chassis securing screw shown in Figure 5-
2.
Adept Cobra s800 Inverted Robot User's Guide, Rev H1
Page 64 of 142
