Red Lion IndustrialPr 6000 Router User Manual
Page 38
Software User Guide
38
Admin Tab
Type: Select the type of certificate that you will be uploading. Each certificate is stored in a unique repository, depend‐
ing on the service that will be using it. The certificate file name can contain only upper and/or lower case letters, dig‐
its, ‘‐’, ‘_’ and must end with a
.ca
,
.csr
,
.crt
,
.key
or
.pem
.
Possible choices include:
•
IPsec Cert: This will specify a certificate to be used to authenticate a VPN connection. A server and client certificate
will be required.
•
IPsec Key: An RSA key must be provided for any client certificate uploaded. If this is signed with a password, that will
need to be entered in the IPsec as well.
•
IPsec CA: This specifies a Certificate Authority. Please include a CA valid for each signed certificate.
•
SSL: This certificate will be available for SSL Connections as a Server Certificate, or a Client Certificate.
•
SSLVPN: This certificate will be available for SSL VPN tunnels.
File Name: Once you have entered a value into the Name field, the Browse button will be enabled and can be clicked
to select a file from your local system for upload. When a valid file name is selected, the Upload button is enabled and
can be clicked to upload the selected file to the device. The certificate file name can contain only upper and/lower
case letters, digits, ‘‐’, ‘_’ and must end with a
.ca
,
.csr
,
.crt
,
.key
or
.pem
.
Note: SSL type certificates must include the key and cert portions, and the key must not be password encrypted.
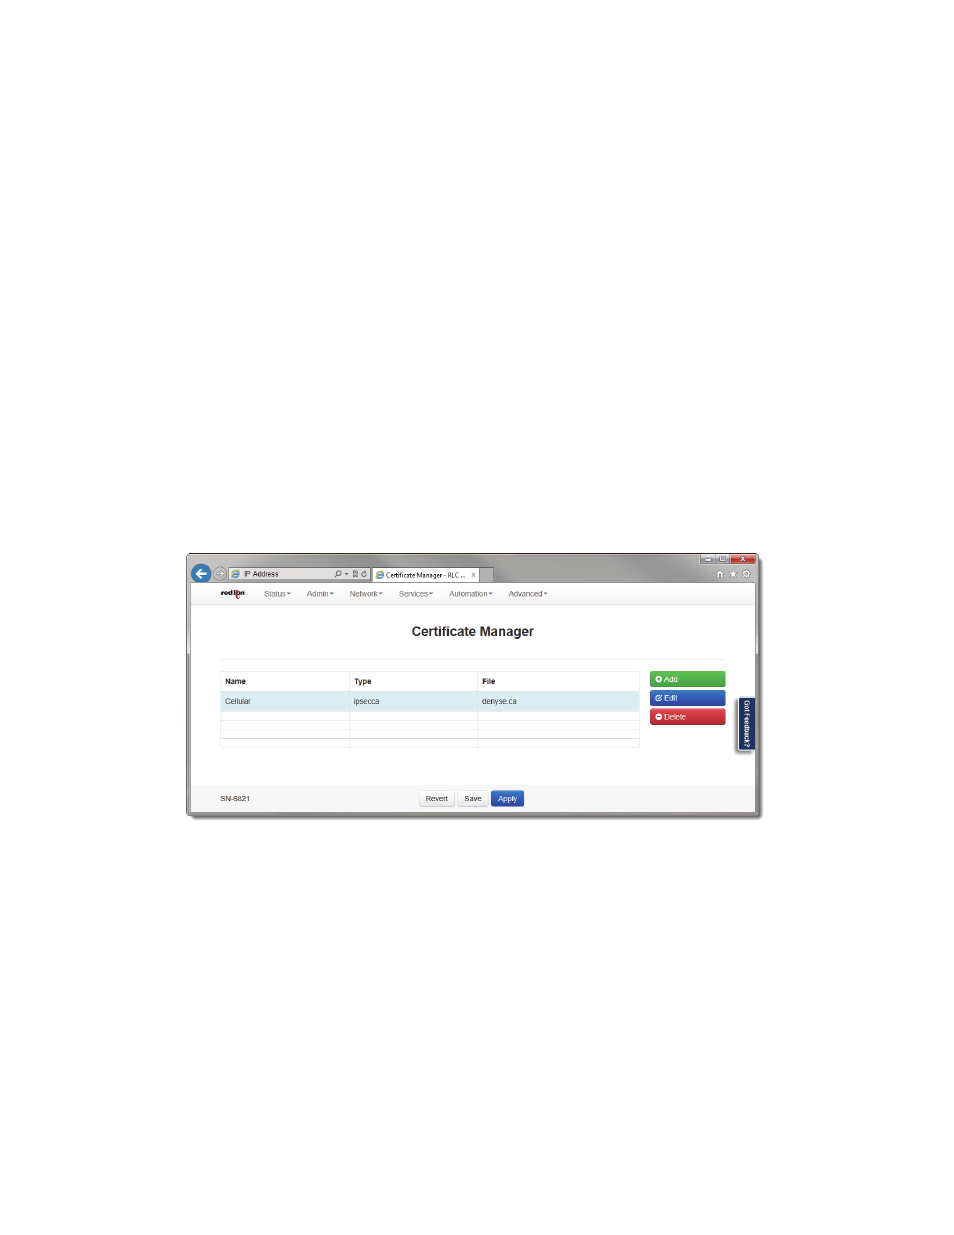
•
Click on the Finish button and you will be directed to the Certificate Manager dialog window and the table will be
populated with the entered data.
•
To delete an existing rule, select it in the table and click on the Delete button. To edit an existing rule, select it in
the table and click on the Edit button.
•
Click on the “Save” button for changes to be saved without activating the interface until you reboot the unit, the
“Apply” button will save your settings and apply them immediately. To revert to the previous defaults, click on the
“Revert” button.