J adding/deleting device files, J-1 device files setup, Jadding/deleting device files – Yokogawa FieldMate User Manual
Page 306: Startup
J-1
IM 01R01A01-01E
9th Edition : May 31, 2013-00
J
Adding/Deleting Device Files
The DD and selected device DTM of Yokogawa devices are installed with FieldMate. The
selected DD/DTM of other manufacturers are also installed. In the following cases, it is
necessary to start Device Files Setup or use the Device Files Media and install additional
DD and DTM separately.
Table J-0-1
Expected Case
Media to Use
Requirement for DTM Setup*
The installation of the Yokogawa
device DTM or the DD/DTM of other
manufacturers’ is required after you
install FieldMate.
Device Files Media
Not required
Adding DD/DTM of Yokogawa or other
manufacturers’ after the Device Files
Media was issued.
Media for the device files.
Required
*
DTM Setup means assigning the device DTM to the model.
J-1 Device Files Setup
The following describes the case of installing the additional DD of a HART/FOUNDATION
fieldbus/PROFIBUS/ISA100 device that is directly connected to FieldMate on the Segment
Viewer or Device Navigator. The HART/FOUNDATION fieldbus/PROFIBUS /BRAIN/ISA100
device icon can also be changed.
For new Yokogawa products that have been delivered or DD/DTM that has been updated
after FieldMate revision R2.06 (May 2013), DD and DTM need to be separately installed. It
needs to be performed for the devices of other manufacturers’.
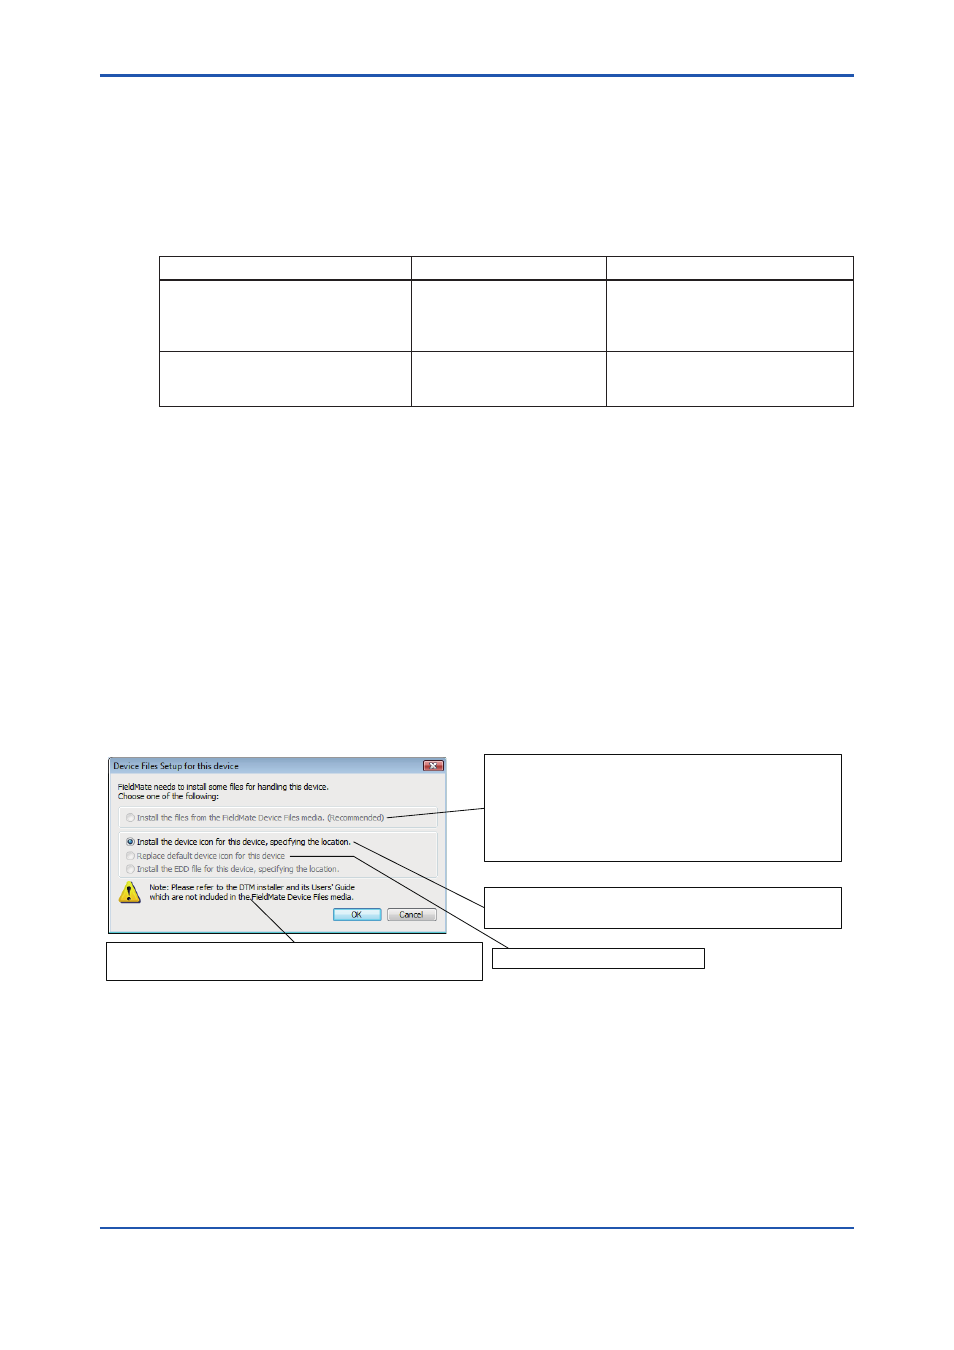
Startup
Select a device in Segment Viewer or Device Navigator and start the setup by selecting “Device
Files Setup for this device” from the Action menu. The following dialog box appears.
J010101E.ai
A dialog box prompting to you to “Insert the Media” appears. Insert
the Media and click OK. The DD for the device are installed.
Default is “Use FieldMate Device Files Media.”
You can also obtain and download the device files from the Web.
The installed DTM of other manufacturers' is assigned to the
device. (DTM Setup starts in the background and performs the
assignment.)
A file selection dialog box appears. Select a bitmap file. The
selected file becomes the icon for the model of the device.
Dialog will display to select folder.
Follow the procedure 1 and 2 on the next sheet.
Sets the device icon back to default.
Figure J-1-1
Device Files Setup for this Device