Processing the samples, Automatic sampling, Difference result – Ohaus Voyager Balances User Manual
Page 190: Enter number of samples, No tare - initial weighing, 37 balance modes, Enter
37
Balance modes
DIFF WEIGHING SETUP
Enter
DIFF WEIGHING SETUP
Enter
LIBRARY NAME
TARE SETUP
AUTO SAMPLEOFF
DIFF RESULT WEIGHT
NUMBER OF SAMPLES
VIEW RESULTS
CLEAR ALL DATA
RUN
Processing the samples
Since there are three options of taring, each procedure will be covered
separately. Follow either NO TARE, SINGLE TARE or DUAL TARE methods
depending upon which you have selected.
LIBRARY NAME
TARE SETUP
AUTO SAMPLE
OFF
DIFF RESULT
WEIGHT
NUMBER OF SAMPLES
VIEW RESULTS
CLEAR ALL DATA
RUN
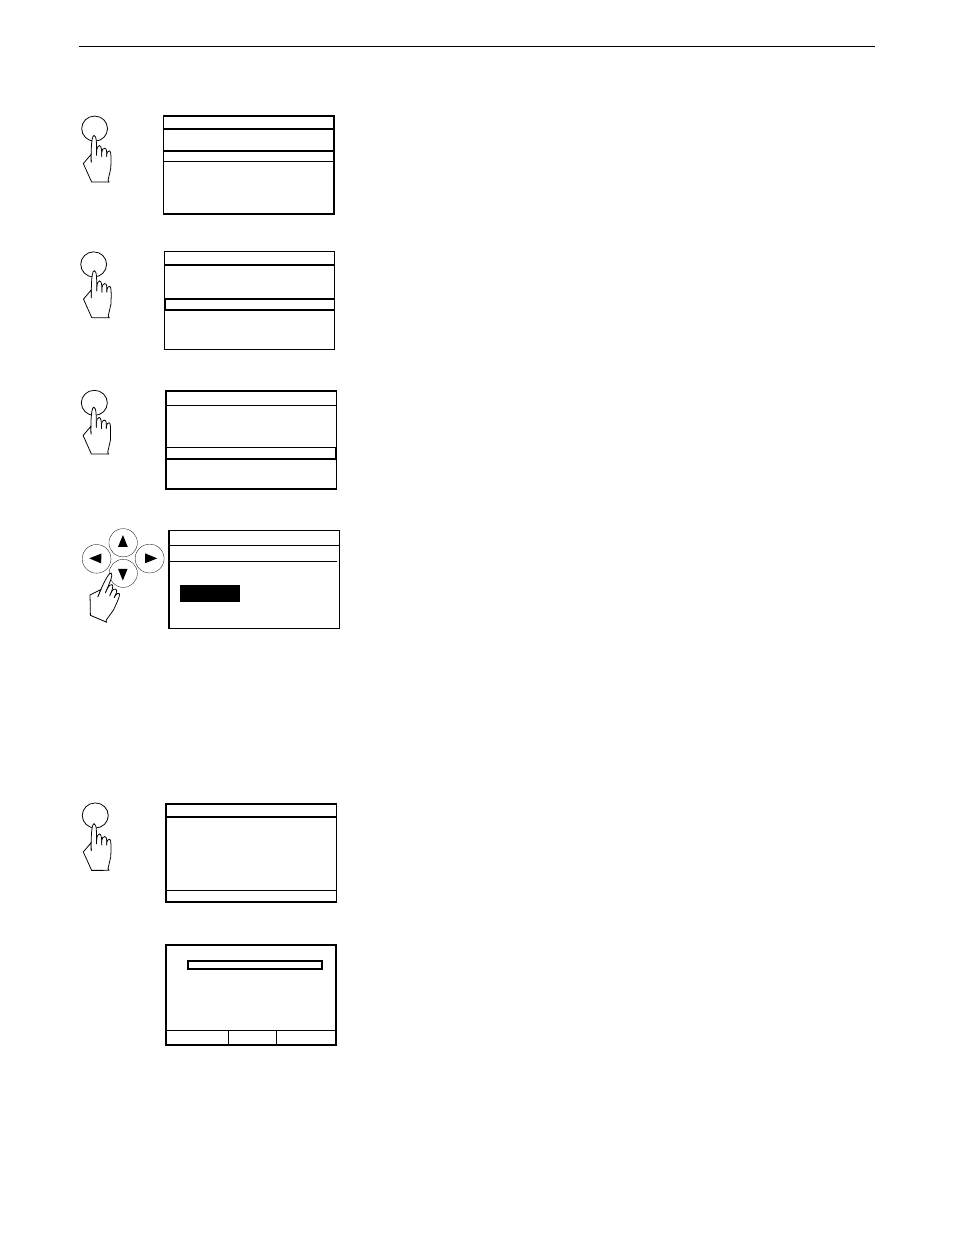
Automatic sampling
Enter AUTO SAMPLE. Auto Sampling permits repetitive sampling
automatically. Select ON or OFF. Display advances to DIFF RESULT.
LIBRARY NAME
TARE SETUP
AUTO SAMPLE
OFF
DIFF RESULT
WEIGHT
NUMBER OF SAMPLES
VIEW RESULTS
CLEAR ALL DATA
RUN
DIFF WEIGHING SETUP
Difference result
Enter DIFF RESULT. Difference result enables final weighing results to be
shown by weight, percentage (for sieve analysis), or % retention. Select
appropriate result for your process.
Enter
Select RETURN and press Enter. Display advances to DIFF WEIGHING SETUP
with NUMBER OF SAMPLES highlighted. Enter the NUMBER OF SAMPLES
display.
NUMBER OF SAMPLES
Enter number of samples
Enter the number of samples you want to test. A maximum of 80 samples
can be run per library entry. After specifying number of samples, press Enter
button, display returns to DIFF WEIGHING SETUP with RUN highlighted.
DIFF WEIGHING SETUP
DIFF WEIGHING SETUP
Enter
LIBRARY NAME
TARE SETUP
AUTO SAMPLE
OFF
DIFF RESULT
WEIGHT
NUMBER OF SAMPLES
VIEW RESULTS
CLEAR ALL DATA
RUN
No Tare - Initial weighing
After pressing the Enter button, the display indicates PUT INITIAL SAMPLE #
1 ON PAN. This first sample is your unprocessed sample.
0.000
DIFF WEIGHING
TARE WT:
TARE WT:
IN IT WT:
FINAL WT:
PUT INITIAL SAMPLE #1 ON PAN STABLE
START/SAMPLE EDIT SETUP
Put first unprocessed sample on the pan. When the weight has stabilized,
press Enter button with START/SAMPLE highlighted on the display. This
advances to the next sample. Continue adding samples and pressing the
Enter button for each sample until all samples have been weighed. When
the last sample has been weighed, the display indicates the initial weight of
all samples.