Xerox MAX 200 User Manual
Page 250
248
How to customize the MAX 200
How to change the storage/disk manager features
(continued)
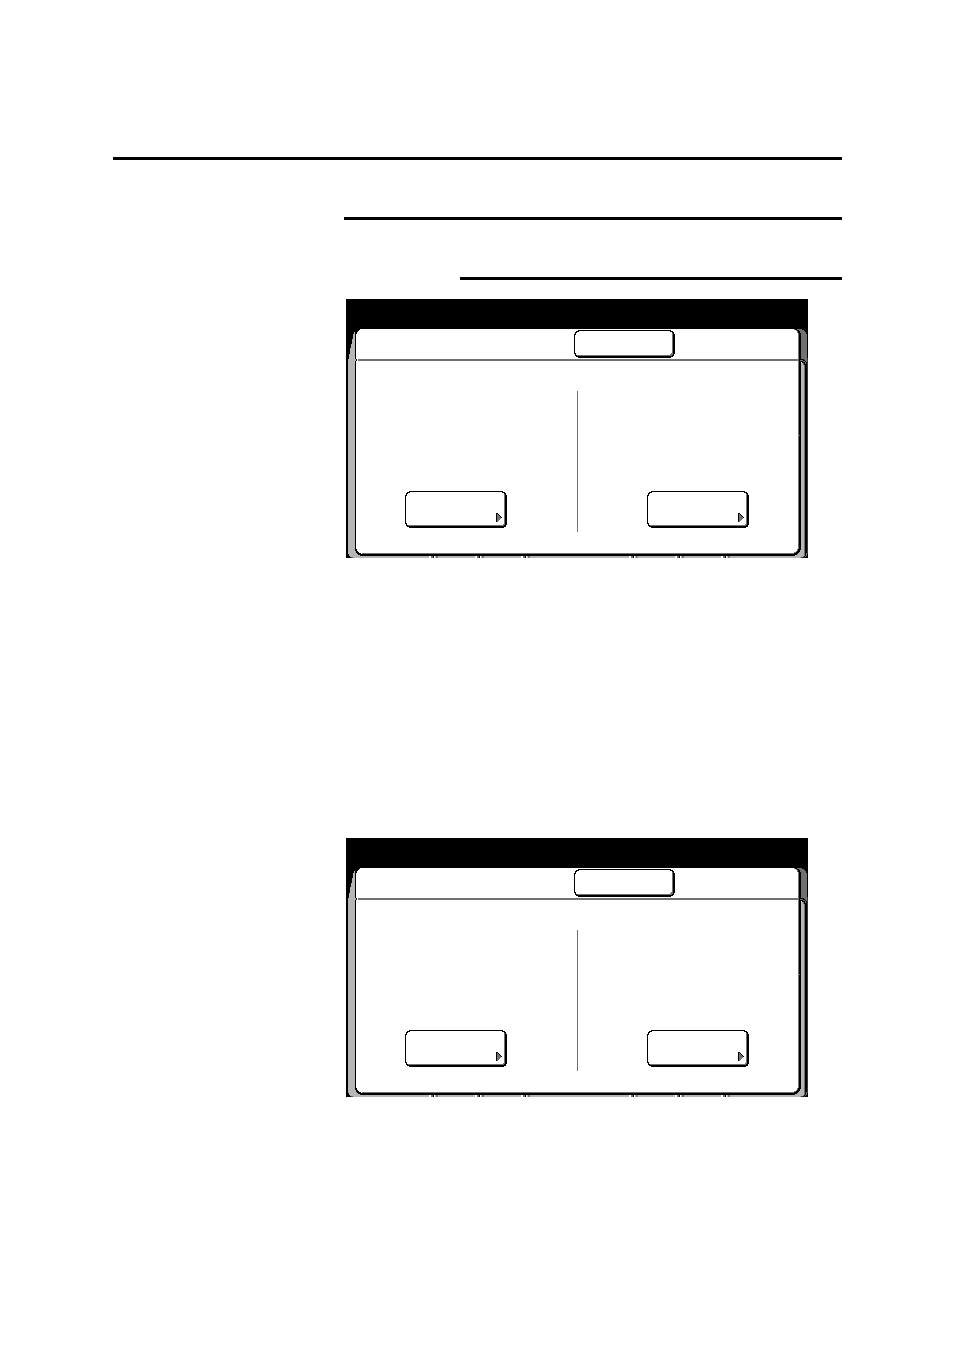
Disk manager (format/duplication) (continued)
Duplication (continued)
5. Select
copy disk.
The copy disk for screen is displayed.
6. Load the source disk (containing the data) into the disk drive.
7. Select
start.
When complete, remove the source disk from the floppy drive.
8. Load a (MAX 200 formatted) destination disk into the disk drive.
If needed, refer to page 245.
9. Select
start.
10. When the duplication process is complete, select confirm.
The disk manager screen is displayed.
11. Select close to exit the disk manager screen.
12. To exit custom presets, press the custom presets button.
Format Disk
Close
Disk Manager
Custom Presets
Copy Disk
Format Disk
Close
Disk Manager
Custom Presets
Copy Disk
- WorkCentre M118-M118i-18317 (2 pages)
- 9200-II (2 pages)
- C75 (16 pages)
- 701P40211 (110 pages)
- C55 (1 page)
- 3600 (3 pages)
- 6135 (2 pages)
- C3545 (20 pages)
- C3545 (20 pages)
- WorkCentre 7665 (19 pages)
- WORKCENTRE 4250 (8 pages)
- WorkCentre M123-M128-6379 (3 pages)
- 5 (104 pages)
- DOCUSP 50.XX (32 pages)
- Copier (2 pages)
- C2424 (10 pages)
- WorkCentre C2424-6003 (16 pages)
- 701P47169 (308 pages)
- DCC400 (6 pages)
- WORKCENTRE M3035 MFP (4 pages)
- CopyCentre C123/C128 M123/M128 123/128 (168 pages)
- WorkCentre M118-M118i-18327 (2 pages)
- COLOR LASER PRINTER Phaser 6100 (7 pages)
- 2830 (2 pages)
- 701P28020 (80 pages)
- 320 (22 pages)
- 701P44973 (206 pages)
- COPYCENTRE PE114E 958 (2 pages)
- 7335 (1 page)
- WORKCENTRE 4260 (16 pages)
- 50 LP/ST (142 pages)
- WorkCentre 7655-7665-7675-5906 (4 pages)
- 2300 (2 pages)
- STACKER 8855/721P (11 pages)
- COPYCENTRE/WORKCENTRE 118 (2 pages)
- 9210 W/O (3 pages)
- 7328 (1 page)
- DocuColor 242-252-260 con built-in Fiery controller-18101 (1 page)
- DocuColor 3535 con Creo Spire CXP3535-18135 (1 page)
- WorkCentre M20-M20i-18306 (2 pages)
- WorkCentre M123-M128-18348 (3 pages)
- WorkCentre M118-M118i-18320 (4 pages)
- WorkCentre 7655-7665-7675-18266 (1 page)
- 4112-4127 ST con Xerox EX Print Server powered by Fiery-18152 (72 pages)