How to change the copy features (continued), Color recognition range (continued) – Xerox MAX 200 User Manual
Page 229
How to customize the MAX 200
227
How to change the copy features (continued)
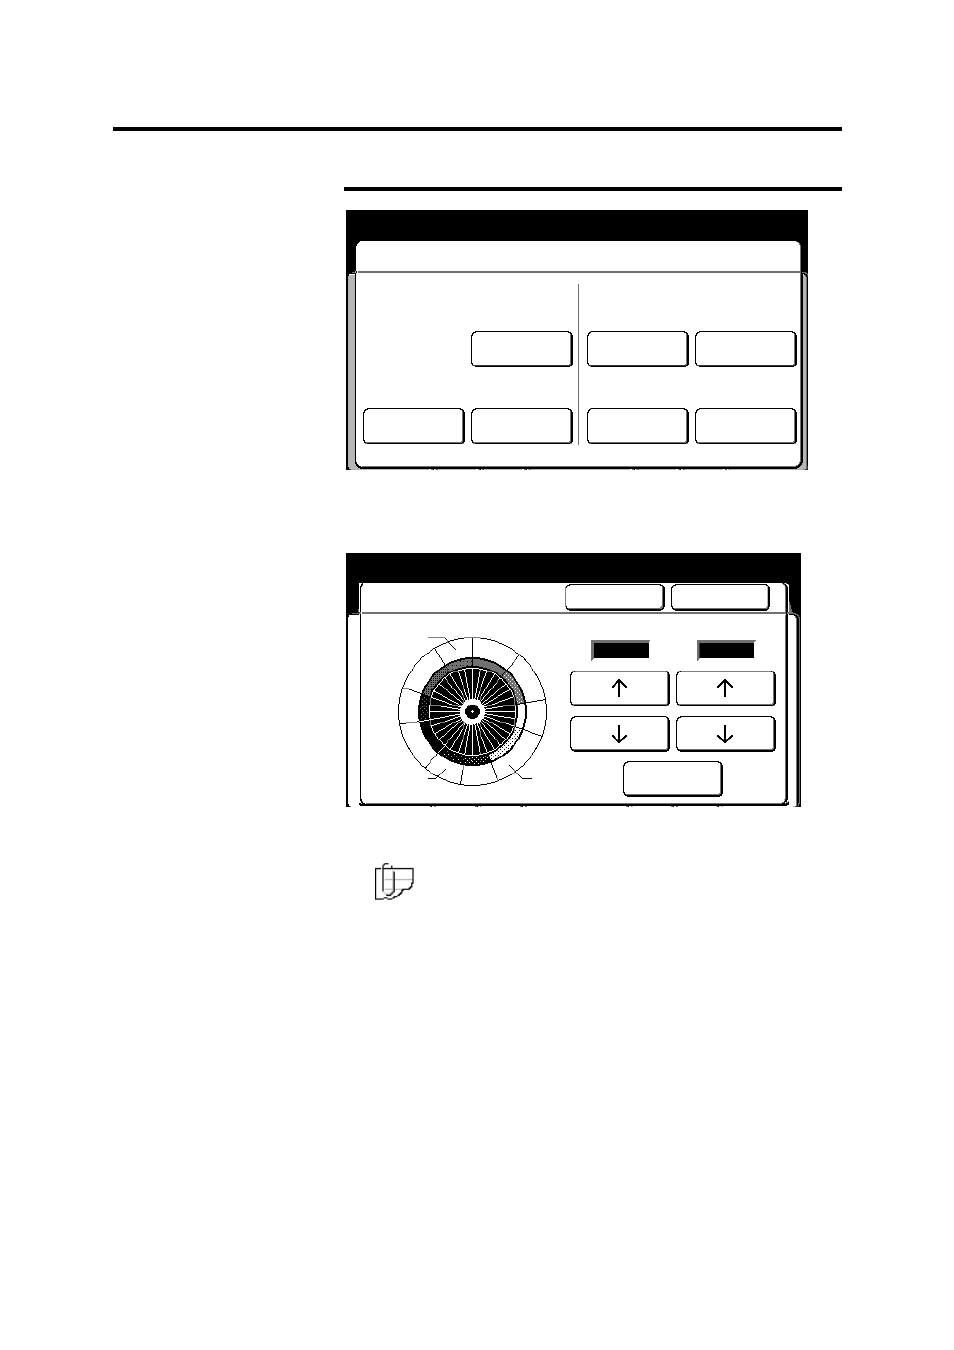
Color recognition range (continued)
5. Select the desired scanner sensitivity color range, you want to
change; red, green, blue, or yellow.
The color recognition wheel screen is displayed.
6. If needed, there is an example on how to change the range on
page 228. Else continue to the next step.
Note: You do not want the color ranges to overlap. If you
increase the range on one color, be sure to decrease the range
for the adjacent color.
7. Use the left arrow buttons to specify the beginning point of the
recognition range. Use the right arrow buttons to specify the end
point of the recognition range
Select the reset, to return to the default settings.
To cancel the changes and exit from this screen, select cancel.
8. If needed, repeat step 4 – 6, to change other color ranges. Else
continue to the next step.
9. Select
done to store your changes and exit from this screen.
10. To exit, press the custom presets button.
Red
Color recognition range
Cancel
Done
Custom Presets
Yellow
Red
Green
Yellow
Blue
Marker Color
195 -230
340 - 5
185
– 236
0
– 28
50 - 70
28 – 90
Red
236 – 0
Scanner Sensitivity
Cancel
Done
Custom Presets
Recognition Range
Reset
Orange
Red
Magenta
Purple
Violet
Yellow
Green
Blue
Cyan
Yellow
0
70
Green
Red (Scanner Sensitivity)