Stamper (continued), Stamp pattern (continued) – Xerox MAX 200 User Manual
Page 142
140
Finishing touch screen features
Stamper (continued)
Stamp pattern (continued)
Note: The format used by the floppy drive is unique to MAX 200; it
can not read or write PC, Macintosh, or UNIX files. You must format
your floppy disk from the MAX 200. If needed, refer to page 245.
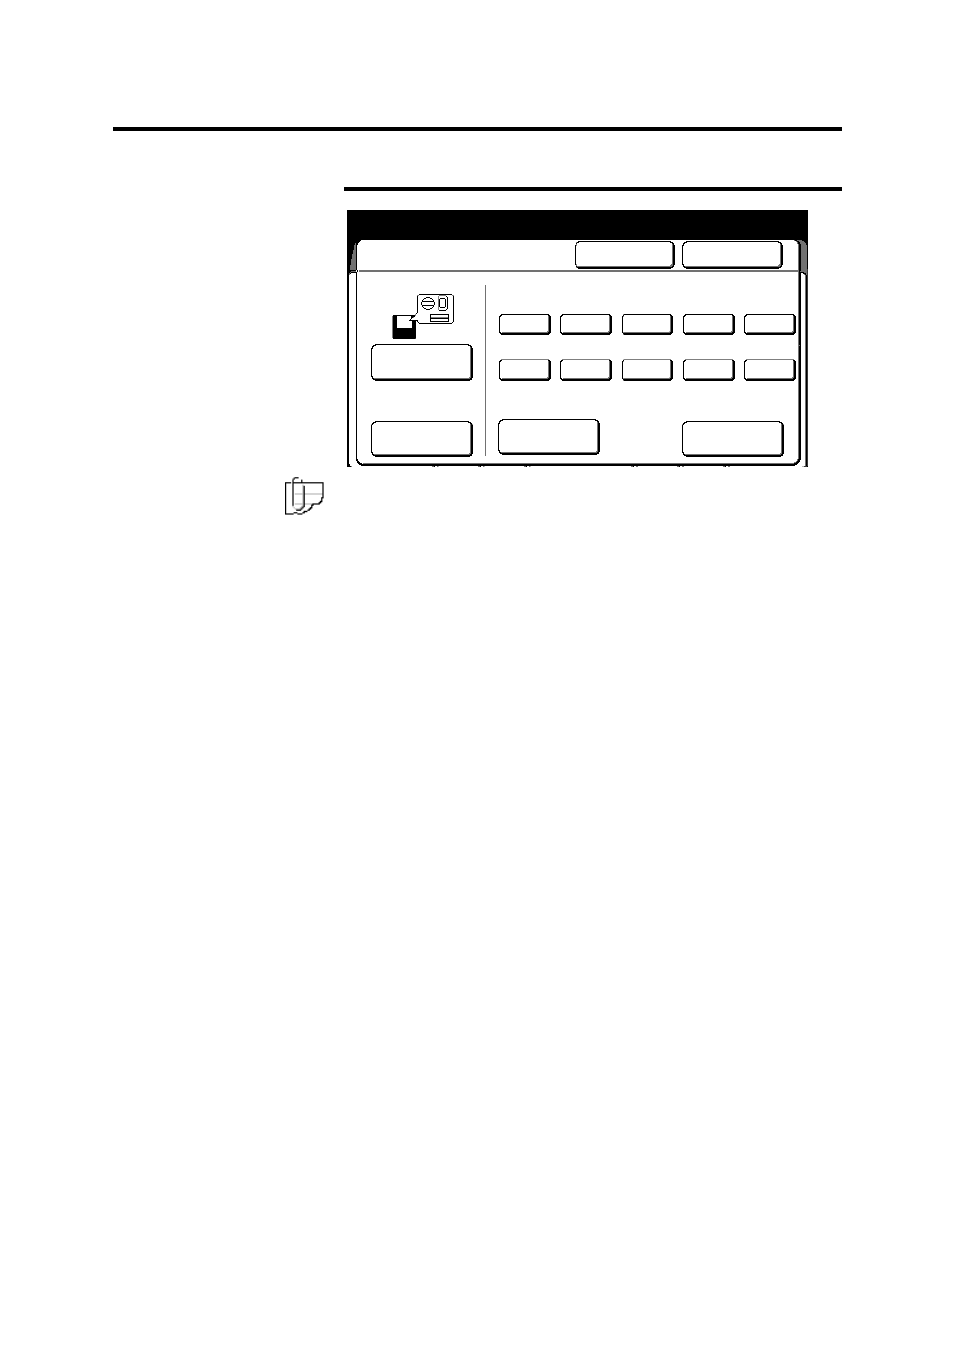
5. Select the desired selection button:
Select a stamp pattern
number, 1 - 40.
Select the desired loaded stamp
pattern number. Insert the
document into the scanner.
Print stamp list
Select print stamp list. All
stored stamps are printed.
Load floppy disk.
Select load floppy disk. All
stamp data is loaded to memory.
Clear memory
Select clear memory. All stamp
data is removed from memory.
To cancel selection, select cancel.
6. Select
done.
The stamper screen is displayed.
7. To exit the stamper screen, select done or select another
desired feature (refer to the selected feature in this section for
the procedure).
To cancel the changes and exit from this screen, select cancel.
8. Insert the document to make copies, or select done as required
to select additional features.
Insert Stamp disk into Drive 1
Press Load Floppy Disk
Selected
01
Stamp Pattern
Cancel
Done
Load Floppy
Disk
Clear Memory
1
More
(11 – 20)
Print Stamp
List
2
3
4
5
6
7
8
9
10