Age 237, Stamp creation/deletion (continued) stamp creation – Xerox MAX 200 User Manual
Page 239
How to customize the MAX 200
237
How to change the storage/disk manager features
(continued)
Stamp creation/deletion (continued)
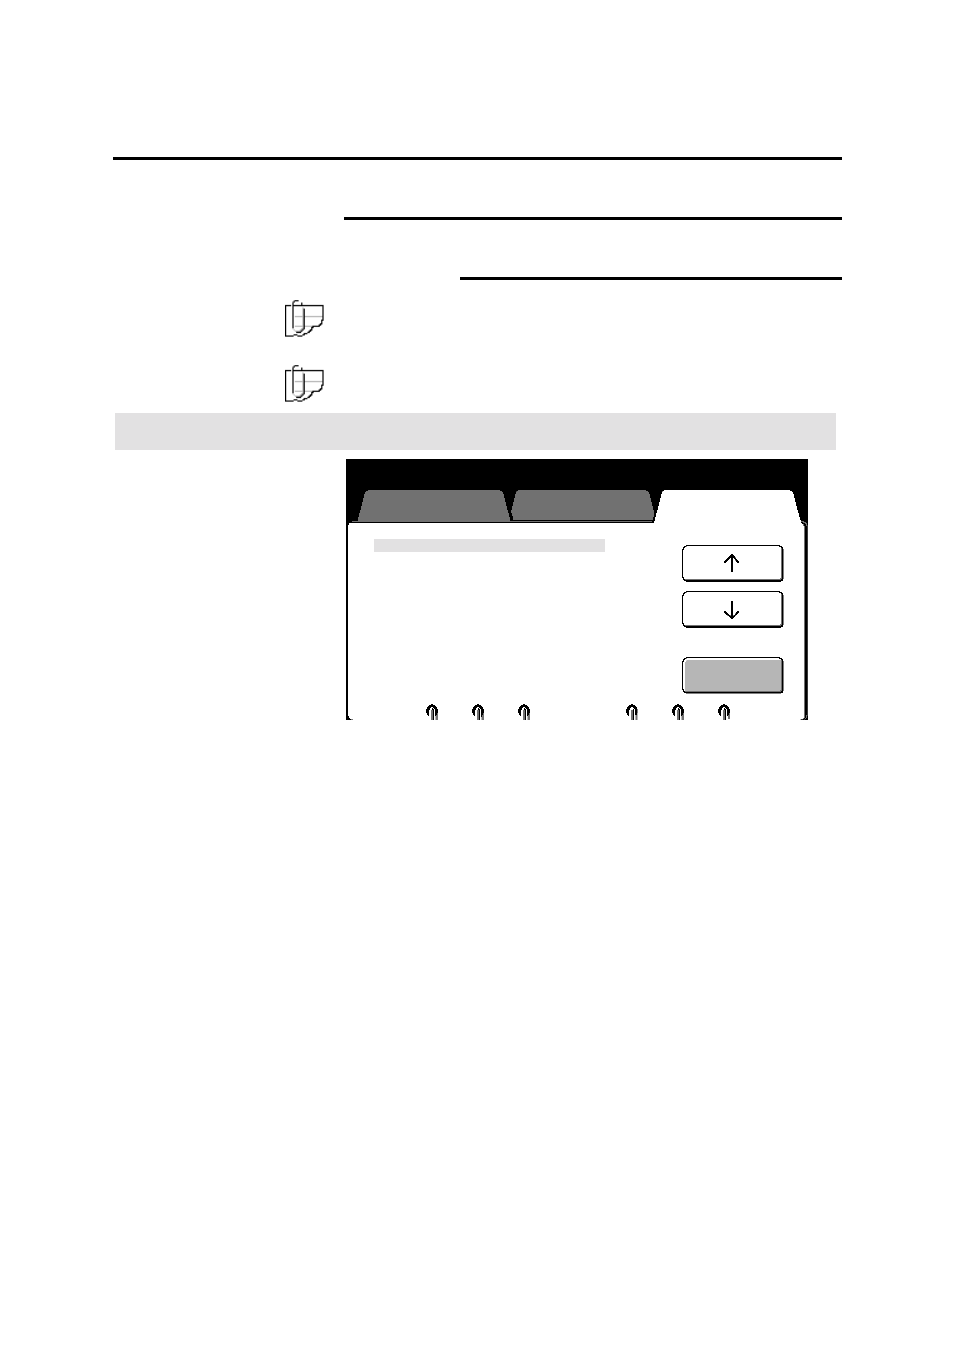
Stamp creation
Note: If needed, you can setup your start position, for the stamp
location, to be the lead edge or trail edge of your document. If
needed, refer to page 192.
Note: Ensure to have a formatted disk to save the stamp pattern you
have created. If needed, refer to the format procedure on page 245.
Procedure
1. Enter custom presets. If needed, refer to page 174.
2. Select
the
storage/disk manager tab.
3. Use the arrow buttons to select the stamp creation/ deletion
feature.
4. Select
open.
The stamp creation/deletion screen is displayed.
Press [Custom Presets] to return to
Previous screen.
Stamp Creation/Deletion
Disk Manager (Format/ Duplication)
E-sorter (Programme) Settings
System features
Copy features
Storage/Disk
Manager
Open
- WorkCentre M118-M118i-18317 (2 pages)
- 9200-II (2 pages)
- C75 (16 pages)
- 701P40211 (110 pages)
- C55 (1 page)
- 3600 (3 pages)
- 6135 (2 pages)
- C3545 (20 pages)
- C3545 (20 pages)
- WorkCentre 7665 (19 pages)
- WORKCENTRE 4250 (8 pages)
- WorkCentre M123-M128-6379 (3 pages)
- 5 (104 pages)
- DOCUSP 50.XX (32 pages)
- Copier (2 pages)
- C2424 (10 pages)
- WorkCentre C2424-6003 (16 pages)
- 701P47169 (308 pages)
- DCC400 (6 pages)
- WORKCENTRE M3035 MFP (4 pages)
- CopyCentre C123/C128 M123/M128 123/128 (168 pages)
- WorkCentre M118-M118i-18327 (2 pages)
- COLOR LASER PRINTER Phaser 6100 (7 pages)
- 2830 (2 pages)
- 701P28020 (80 pages)
- 320 (22 pages)
- 701P44973 (206 pages)
- COPYCENTRE PE114E 958 (2 pages)
- 7335 (1 page)
- WORKCENTRE 4260 (16 pages)
- 50 LP/ST (142 pages)
- WorkCentre 7655-7665-7675-5906 (4 pages)
- 2300 (2 pages)
- STACKER 8855/721P (11 pages)
- COPYCENTRE/WORKCENTRE 118 (2 pages)
- 9210 W/O (3 pages)
- 7328 (1 page)
- DocuColor 242-252-260 con built-in Fiery controller-18101 (1 page)
- DocuColor 3535 con Creo Spire CXP3535-18135 (1 page)
- WorkCentre M20-M20i-18306 (2 pages)
- WorkCentre M123-M128-18348 (3 pages)
- WorkCentre M118-M118i-18320 (4 pages)
- WorkCentre 7655-7665-7675-18266 (1 page)
- 4112-4127 ST con Xerox EX Print Server powered by Fiery-18152 (72 pages)