Xerox MAX 200 User Manual
Page 245
How to customize the MAX 200
243
How to change the storage/disk manager features
(continued)
Stamp creation/deletion (continued)
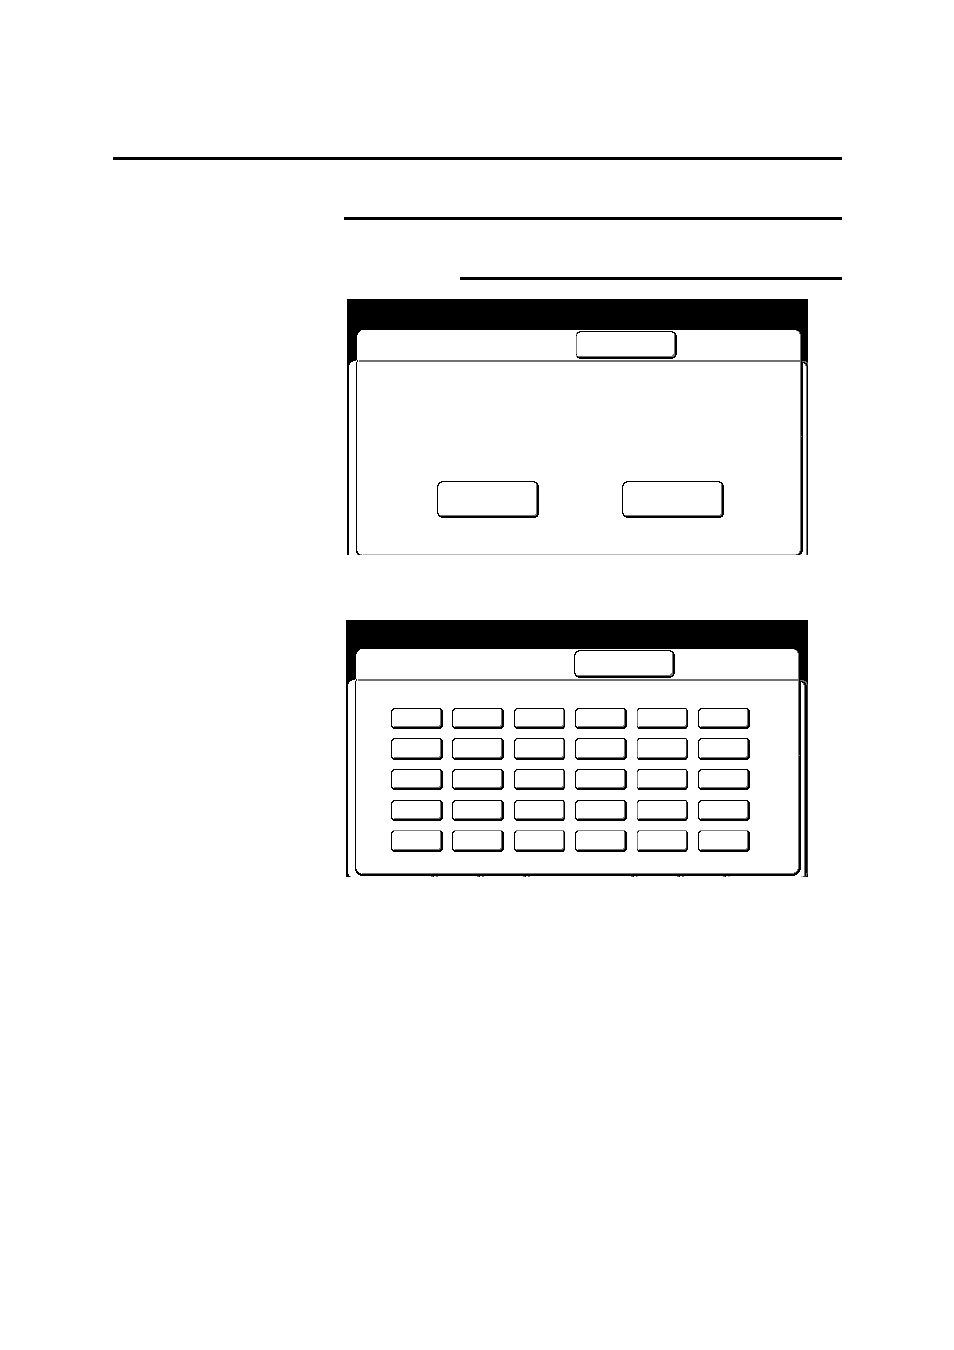
Stamp deletion (continued)
5. Select
delete.
The stamp deletion screen is displayed.
6. Select the desired stamp pattern number you want to delete.
•
Only raised buttons are available for deletion.
An overlay screen is displayed.
7. Select
yes to delete, no to cancel deletion.
If yes is selected, a confirm screen is displayed. Select
confirm. The selected stamp pattern is deleted from the floppy
disk.
1
Close
Stamp Deletion
Custom Presets
2
3
4
5
6
7
8
9
10
11
12
13
14
15
16
17
18
19
20
21
22
23
24
25
26
27
28
29
30
Custom Presets
Close
Stamp Creation/Deletion
Create/Store
Delete
See also other documents in the category Xerox Copiers:
- WorkCentre M118-M118i-18317 (2 pages)
- 9200-II (2 pages)
- C75 (16 pages)
- 701P40211 (110 pages)
- C55 (1 page)
- 3600 (3 pages)
- 6135 (2 pages)
- C3545 (20 pages)
- C3545 (20 pages)
- WorkCentre 7665 (19 pages)
- WORKCENTRE 4250 (8 pages)
- WorkCentre M123-M128-6379 (3 pages)
- 5 (104 pages)
- DOCUSP 50.XX (32 pages)
- Copier (2 pages)
- C2424 (10 pages)
- WorkCentre C2424-6003 (16 pages)
- 701P47169 (308 pages)
- DCC400 (6 pages)
- WORKCENTRE M3035 MFP (4 pages)
- CopyCentre C123/C128 M123/M128 123/128 (168 pages)
- WorkCentre M118-M118i-18327 (2 pages)
- COLOR LASER PRINTER Phaser 6100 (7 pages)
- 2830 (2 pages)
- 701P28020 (80 pages)
- 320 (22 pages)
- 701P44973 (206 pages)
- COPYCENTRE PE114E 958 (2 pages)
- 7335 (1 page)
- WORKCENTRE 4260 (16 pages)
- 50 LP/ST (142 pages)
- WorkCentre 7655-7665-7675-5906 (4 pages)
- 2300 (2 pages)
- STACKER 8855/721P (11 pages)
- COPYCENTRE/WORKCENTRE 118 (2 pages)
- 9210 W/O (3 pages)
- 7328 (1 page)
- DocuColor 242-252-260 con built-in Fiery controller-18101 (1 page)
- DocuColor 3535 con Creo Spire CXP3535-18135 (1 page)
- WorkCentre M20-M20i-18306 (2 pages)
- WorkCentre M123-M128-18348 (3 pages)
- WorkCentre M118-M118i-18320 (4 pages)
- WorkCentre 7655-7665-7675-18266 (1 page)
- 4112-4127 ST con Xerox EX Print Server powered by Fiery-18152 (72 pages)