Image density, How to change the copy features (continued) – Xerox MAX 200 User Manual
Page 225
How to customize the MAX 200
223
How to change the copy features (continued)
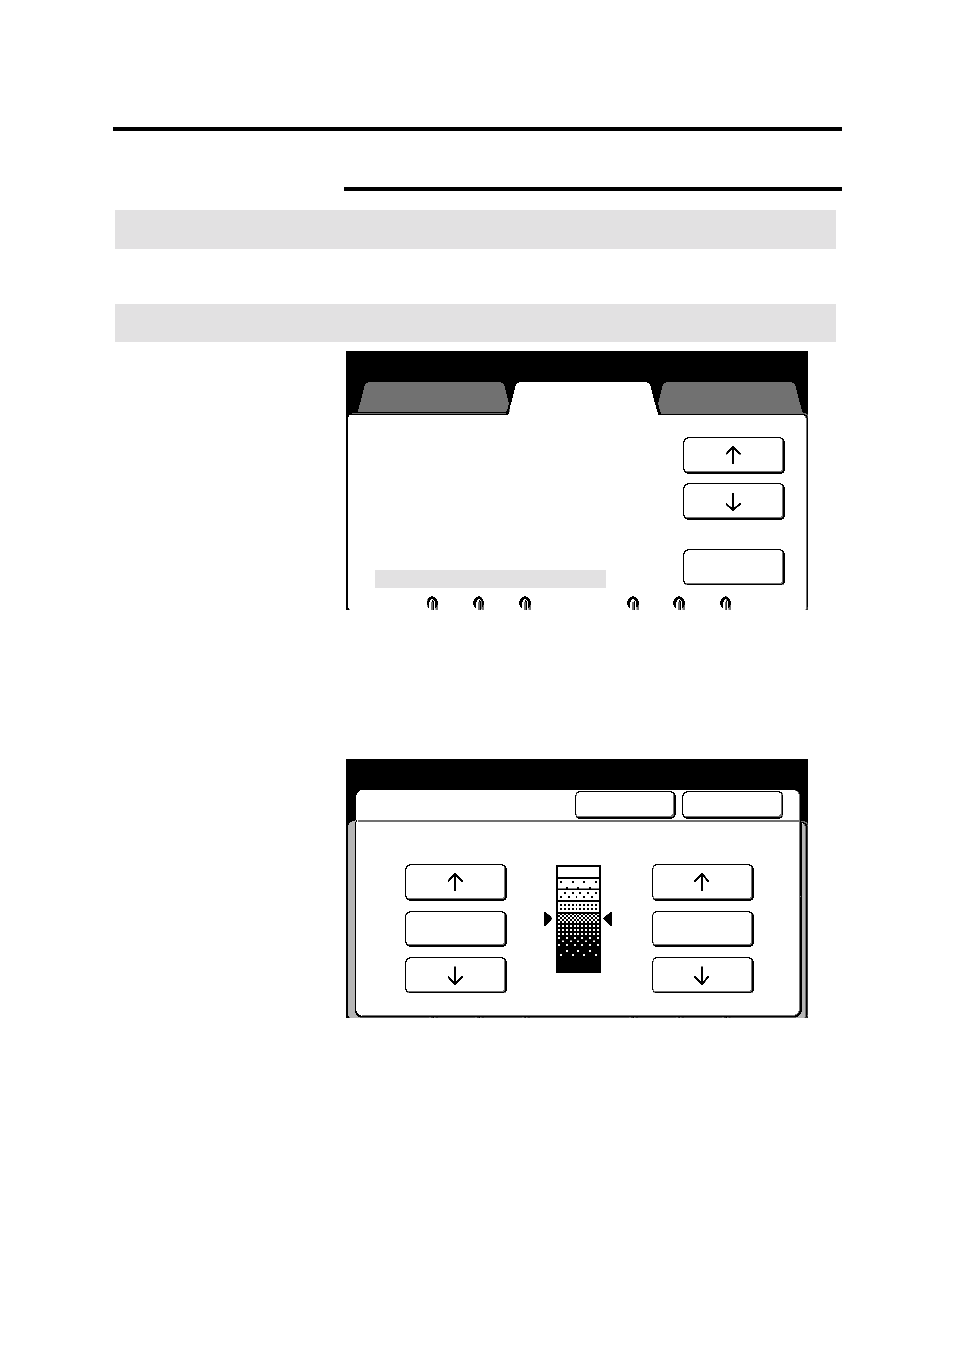
Image density
Introduction
The image density feature sets up the image density default on the
image density screen, located on page 87.
Procedure
1. Enter custom presets. If needed, refer to page 174.
2. Select
the
copy features tab.
3. Use the arrow buttons to select the image density feature.
4. Select
open.
The image density screen is displayed.
5. Use the arrow buttons to set the default image density for black
and red.
6. Select
done to store your changes and exit from this screen.
To cancel the changes and exit from this screen, select cancel.
7. To exit, press the custom presets button.
Press [Custom Presets] to return to
Previous screen.
Date Stamp Format
Folder Setup
Auto/ Manual Mode
Media Cut Mode and Document
Orientation
Lead/Trail Edge Default Synchro
Variable length default
Background Suppression Level Default
Image Density
System features
Copy features
Storage/Disk
Manager
Open
Custom Presets
Image Density
Cancel
Done
Black
Lighter
Normal
Darker
Normal
Red