E-sorter (continued), Collated (continued) – Xerox MAX 200 User Manual
Page 135
Finishing touch screen features
133
E-sorter (continued)
Collated (continued)
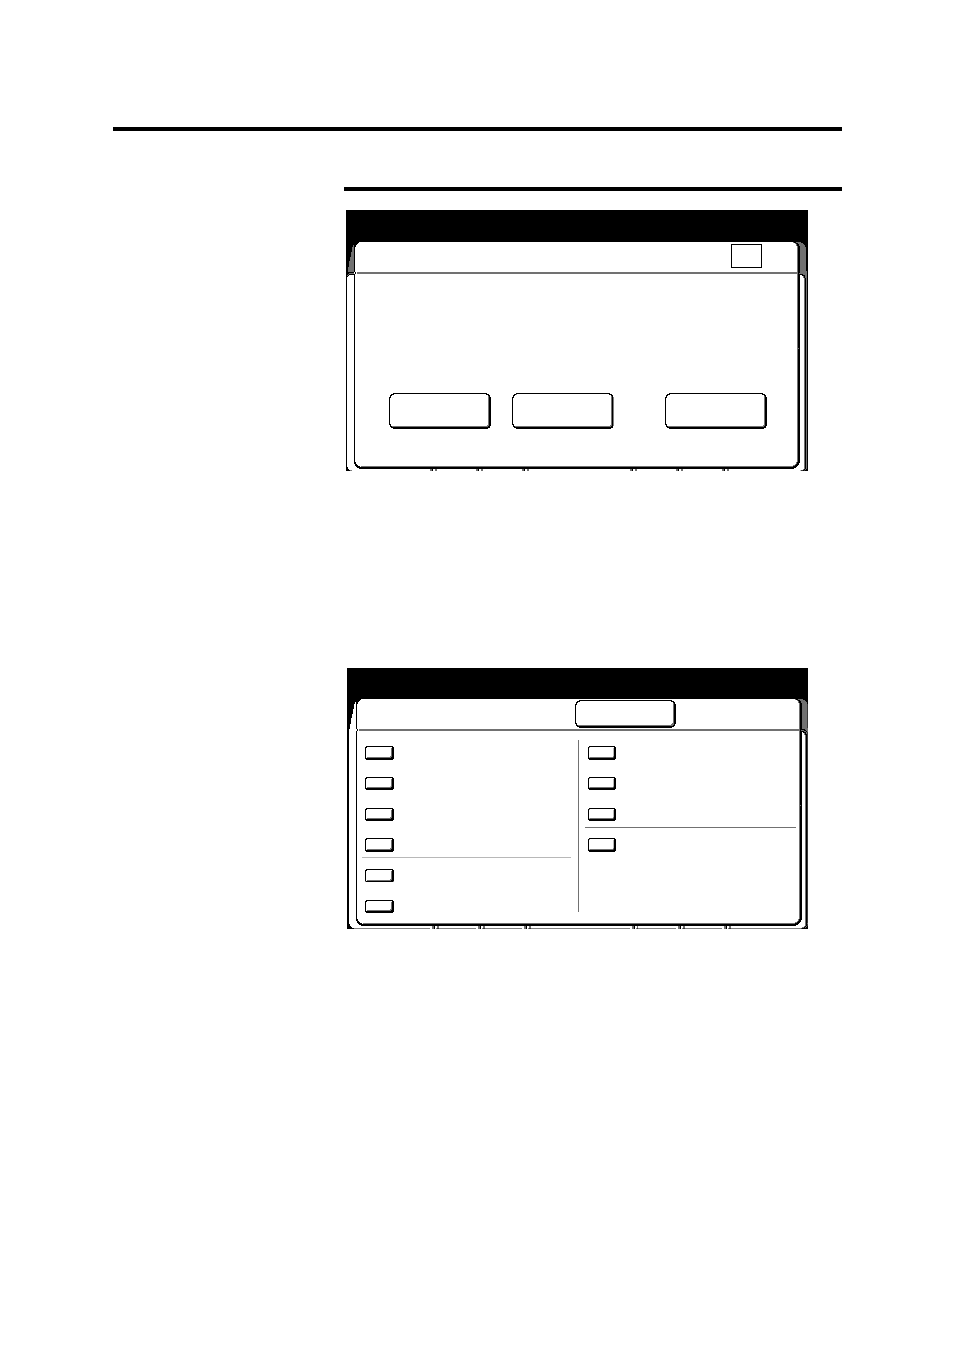
7. Check the copy. If the copy features are Ok, continue to step 9.
If not, continue to the next step.
•
If you need to delete the last document scanned, select
delete.
•
If you need to change any of the copy features of the
scanned document, select change setup. Else continue to
step 9.
The change setup screen is displayed.
8. Select the desired feature button. Select the new settings.
Select done to return to the change setup screen. When all
changes are complete, select close on the change setup
screen.
9. Insert the next document to be scanned. If needed select
additional features as required. Repeat step 7 for each
document.
The E-sorter (collated) screen is displayed.
Ready to copy [E-
sorter/Collated]
Counted
01/04
E-sorter (Collated)
Available Memory
Done
After loading all documents press [Done]
to start printing the remaining sets.
Press [Stop Copy] or [All Clear] on panel
to stop operation.
Delete
Change Setup
**
%
Ready to Copy (E-Sort/Collated)
Load document face down
Change Setup
Close
Media
Standard
R/E
Image B:
Normal
Density
R: Normal
Document
Line/
Image Type
Fixed
Black Only
Image
Off
Location
Editing
Off
Sharpness
Normal
Background
Off
Suppression
Scan Color
Off
Stamper Off
Counted
01/04