Xerox MAX 200 User Manual
Page 243
How to customize the MAX 200
241
How to change the storage/disk manager features
(continued)
Stamp creation/deletion (continued)
Stamp creation (continued)
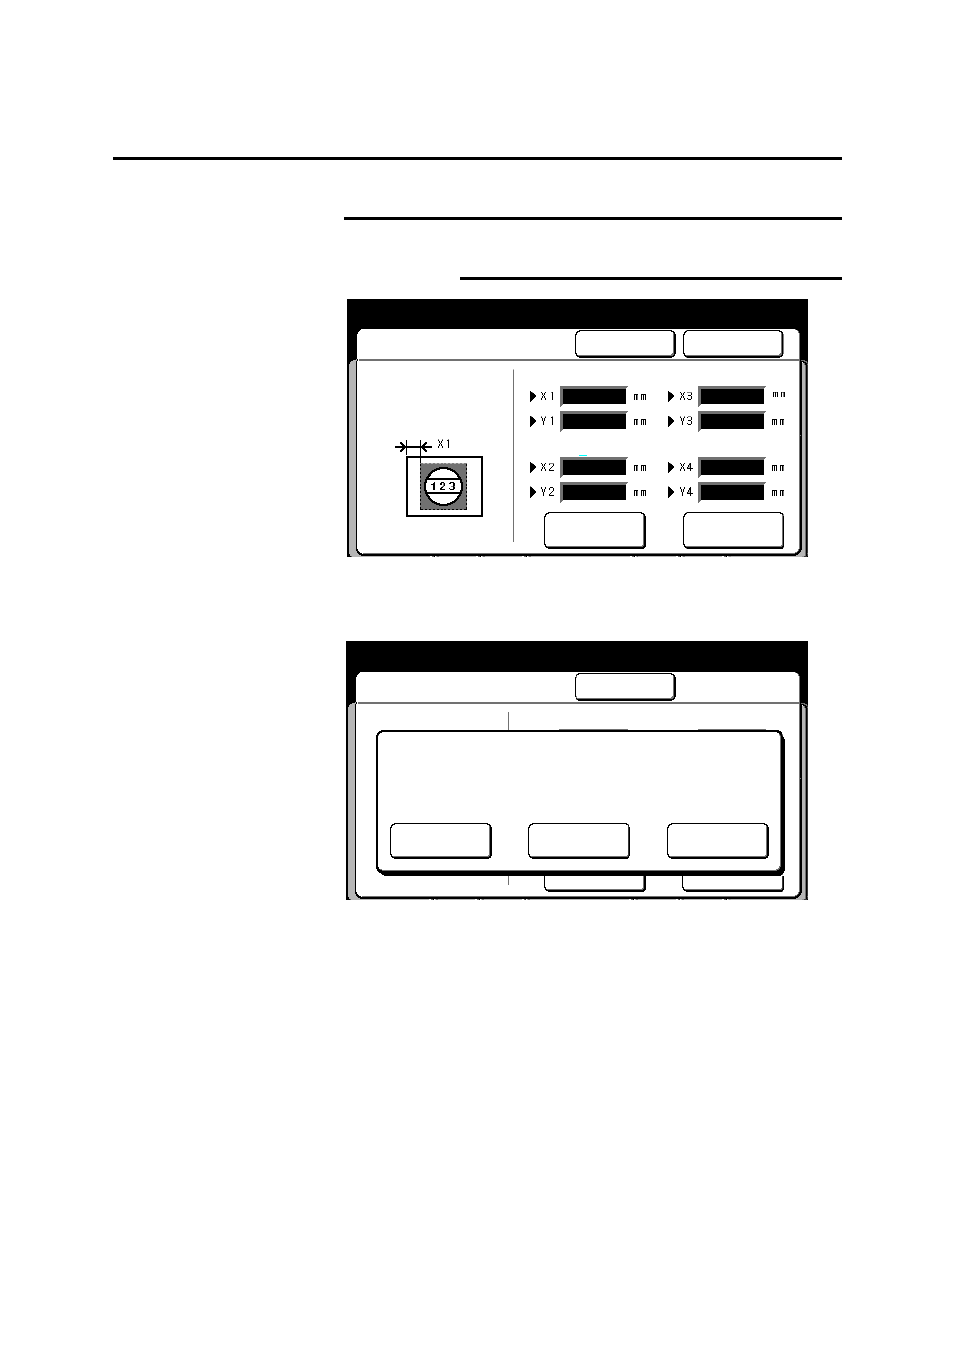
13. Insert the document with the stamp image, face down into the
scanner.
The stamp create/store screen is displayed.
14. Select the desired button.
Test print Select to print the stamp pattern for review.
Off
Select to modify the stamp pattern. When all
modifications are complete select done and go to
step 11.
Store
Select to store the stamp pattern to the formatted
floppy. You can store up to 40 stamp patterns.
Before the stamp is stored, a confirm screen is
displayed. Select confirm.
The stamp creation/deletion screen is displayed.
15. To exit from the stamp creation/deletion screen, select done or
cancel.
16. To exit custom presets, press the custom presets button.
Close
Stamp Create/Store
Test Print
Ready to store image on floppy disk
Off
Store
Use [Test Print] to print a sample of
the stamp image.
Use [Store] to load stamp image onto
Floppy Disk in Drive 1.
Done
Ready to store image on floppy disk
Cancel
Stamp Creation/Store
Enter Size of
Stamp Area on
Document to be
Scanned
Scanning
Setup
Scroll
Start Position
End Position
Position of Date
Position of Number
0
0
0
0
0
0
0
0