Monitor b controls, Talkback, Setup section – Panasonic WR-DA7 User Manual
Page 37
MONITOR B Controls
The
MONITOR B selection LED buttons route the input selected (green) to
the
MONITOR B OUTPUT (STUDIO) connections on the Rear Panel of the
mixer. The selections are:
MONITOR A routes the current MONITOR A selection to the studio
monitors.
AUX routes the AUX SEND outputs to the monitors. Press the AUX LED
button to monitor the selections beginning with
AUX SEND 1/2,
followed by
AUX SEND 3/4, and AUX SEND 5/6. The MEMORY
numeric readout on the
Display Bridge will momentarily display the
AUX SEND selections.
TALKBACK
The
TALKBACK ON button controls the talkback microphone installed in
the Top Panel of the DA7. When on (orange), the MIC is active and the
MONITOR A speakers will be dimmed. This can be either a “push-to-talk”
momentary interrupt type button, or a “push on/push off ” type button. This
is selected in the
[UTILITY] window. Talkback routing is selected in the
[SOLO MONITOR] window. There is also a phone jack on the Rear Panel
that allows for remote Talk back operation.
For additional information on the talkback, see Chapter 16, Utility and
Solo monitor.
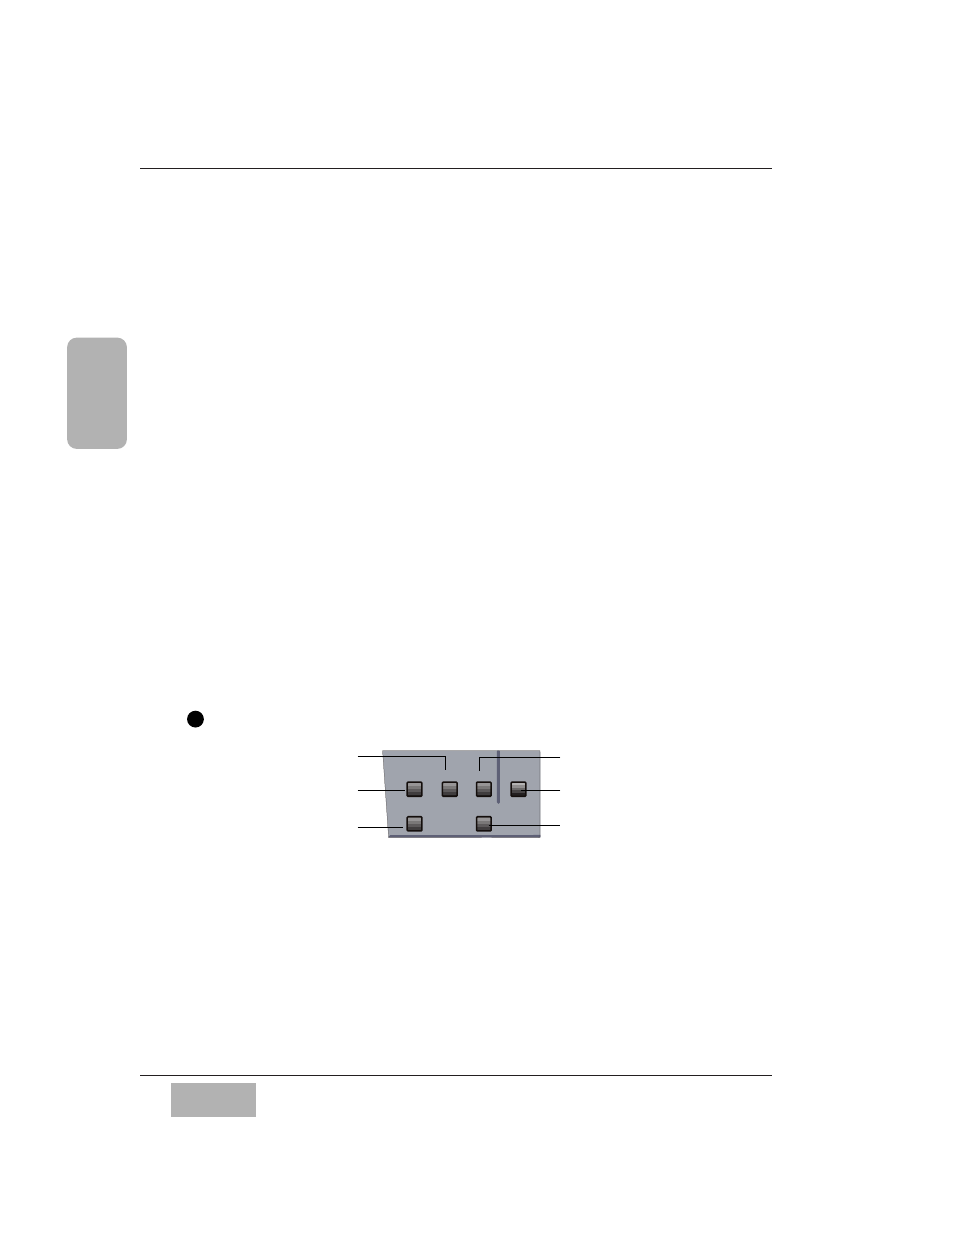
SETUP Section
These are direct-action buttons that will display the selected windows in the
LCD screen of the Display Bridge. In addition, pressing one of these
buttons then one of
the 10 KeyPad buttons, lets you directly recall the
selected window of the window group. See page Appendix B-3, LCD Screen
Displays for more information.
C h a p t e r 2
D A 7 U s e r s ’ G u i d e
2
-
1 6
2
DA7 T
our
SOLO
MONITOR
UTILITY
MIDI
D-I/O
GROUP
AUTOMATION
SET UP
●
●
13
SETUP Section
MIDI button
UTILITY button
GROUP button
D-I/O button
SOLO MONITOR
button
AUTOMATION
button