3 control layout, Stripe 2 stripe 1 – NewTek TriCaster TC1 (2 RU) User Manual
Page 245

P a g e | 229
FIGURE 272
To allow you to manage these control connections, a configuration utility has been included in the list of
TriCaster’s
Add-Ons
.
9.
Click the
Add-Ons
button on the main menu on the
Home page
in the
Launch
pane to show the list of
installed add-on applications.
10.
In the list shown at right, select the
NewTek Control Surfaces
link to launch the utility.
11.
The utility will automatically detect and list qualified control surfaces it detects on the network,
assigning each an ID number.
Note that this ID number is not permanent, and may change as surfaces are added to or removed from the
network. The simplest way to make sure you are selecting a specific surface is to temporarily disconnect all
other surfaces.
12.
Check-mark the desired entry in the list, and set its
Channel
option to 1.
13.
If you like, add a unique name or comment in its
Memo
field to make it easy to distinguish from other
control surfaces that might be detected.
TriCaster will now accepting control instructions from the check-marked entry.
Note: TC1LP communicates with TriCaster exclusively on channel 1. Any other channel setting will fail.
23.1.3
CONTROL LAYOUT
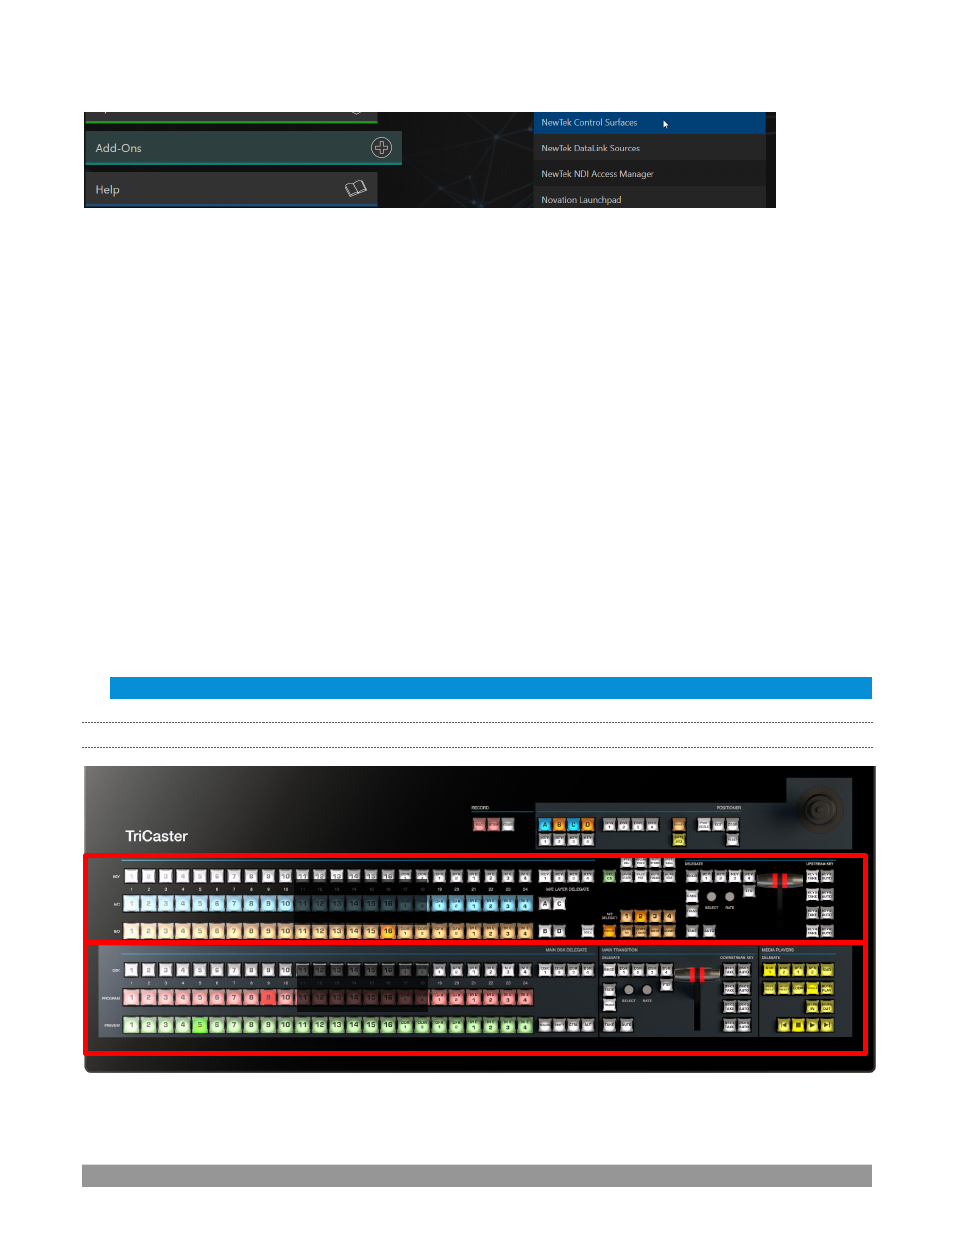
FIGURE 273
Stripe 2
Stripe 1
