NewTek TriCaster TC1 (2 RU) User Manual
Page 162
P a g e | 146
SECTION 14.5
DEFAULT EFFECTS
As mentioned, in
Effect
mode an M/E may support up to four input layers. The
M/E
doesn’t
transition
between
A
and
B
in
Effect
mode. Instead, effects of various types are applied to the selected video inputs.
Let’s consider the effects in the
Default
group as examples:
Click the + sign shown when you move the mouse to the effect icon located beside the effect duration.
This opens the
Media Browser
. Select the effect group labeled
Default
under the
LiveSet
location at left.
With the exception of
Advanced Tracking
effects, these effects are straightforward compositing effects
involving multiple video layers.
Effect
output (i.e., the
background
prior to
KEY
overlays) is the sum of all
input layers.
If the source assigned to input
A
is fully opaque, any content in the layers below is hidden. When input
A
is
at partially transparent, the source assigned to input
B
is blended into the
M/E
background layer, and so on.
Hint: Don’t overlook the fact that the input Position controls, including Borders, let you create
very elaborate
compositions even
with these ‘simple’ compositing effects.
The output of active
KEY
layers is then added to the effect output before passing the combined result onward
as the final
M/E
output.
A
DVANCED
T
RACKER
As w
e mentioned, effects can be ‘simple’ compositing effects, like most of the
Default
group, or more
advanced. Before considering NewTek’s virtual set system (a.k.a, LiveSet™), let’s talk about some of the other
effect types. Effects can vary widely in their types, from relatively simple utilities effects to image processing
and advanced compositing effects.
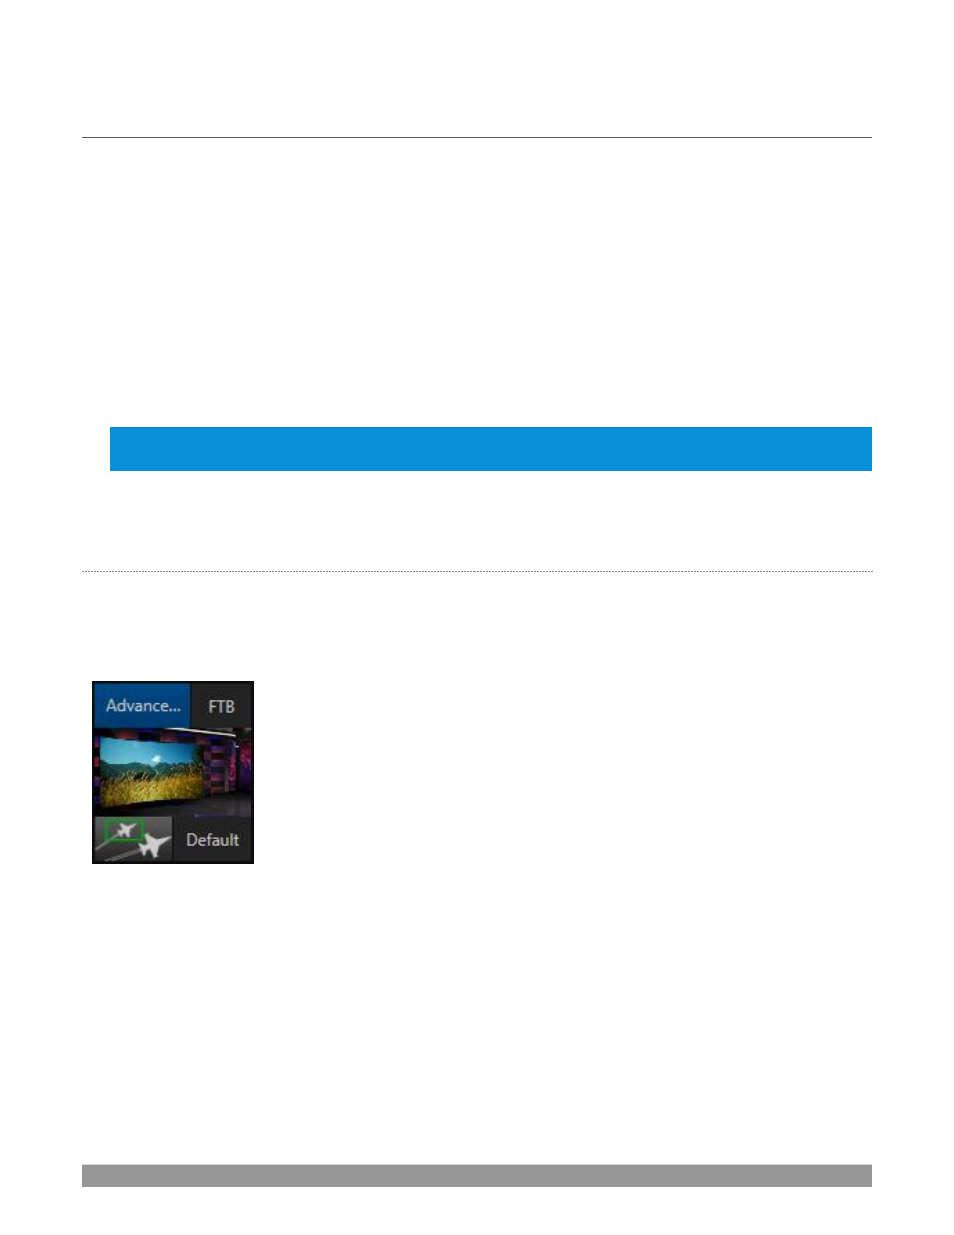
FIGURE 177
For example, we mentioned that one member of the Default group is unique.
The
Advanced Tracking
effect takes three video sources (hence is supplied only
with TriCaster models that support 4-layer M/Es) to produce a result that would
otherwise require the use of an additional
M/E
.
Set up this effect as follows:
1.
Click the label above the
Effect
icon and use the
Media Browser
to select the
Advanced Tracking
effect from the
Default
group.
2.
Add the clip named
Tracking Example.mov
(NewTek>Green Screen group) to
the playlist for
DDR 1
.
3.
Enable
Loop
mode for
DDR 1
.
4.
Add the clip named “
Bumper Cars.mov
” (NewT
ek>Clips group) to
DDR 2
, set it to
Loop
as well.
5.
Add an attractive full frame graphic to the
DDR 3
player.
6.
Select
M/E 1
on the main Switcher’s
Program
row, to make it easy to view the result of the following
steps.