Chapter 20, Record, grab, and replay, Section 20.1 record – NewTek TriCaster TC1 (2 RU) User Manual
Page 213: 1 record configuration, Ee chapter 20, N chapter 20, record, grab, and replay, Chapter 20 record, grab, and replay
P a g e | 197
Chapter 20
RECORD, GRAB, AND REPLAY
You will often want to capture video clips from external sources, as well as to record
your own live productions. Similarly, it can be quite useful to be able to grab stills from
Program output for use in the current production. This chapter will provide
everything you need to know about this topic.
SECTION 20.1
RECORD
NewTek™ live production systems provide
a great
deal of flexibility when it comes to capturing your
program, selected elements of it, and a wide array of
internal and external sources (with embedded
timecode).
NewTek’s
I
soCorder™ technology
delivers powerful
recording capabilities. (The number of sources you
can capture at one time varies by model, software
version, and of course also requires adequate storage
media speed.)
As
TriCaster’s
primary outputs are configurable, you
can use them to capture
Program
,
Program (Clean),
individual
Switcher
sources,
M/E
s, and more.
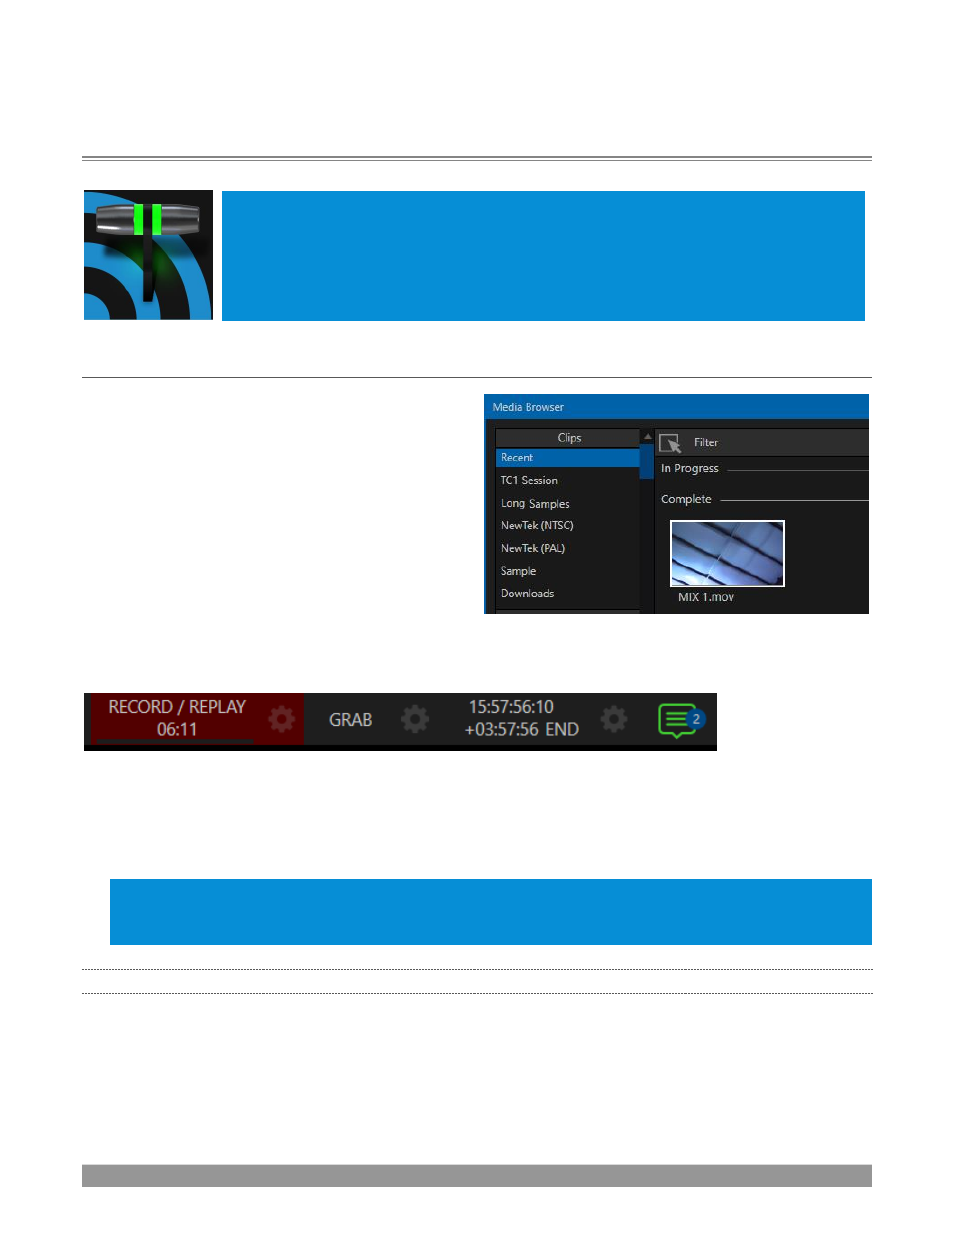
FIGURE 233
Recording is easily enabled and disabled by clicking the large
RECORD
button in the
Dashboard
During capture, a nearby time counter tracks the length of clips recorded with the current base filename, and
a horizontal VU meter beneath the button assures you that you are capturing audio.
Note: It is not necessary to interrupt recording to add a clip that is being captured to a DDR playlist or the
Publish
Bin. Clip icons show a red ‘recording’ indicator on clips currently being captured in playlists, the Publish
Bin, and in the Media Browser.
20.1.1
RECORD CONFIGURATION
Of course, before you
begin recording, you’ll want to determine
what
to record,
where
to record it to, and so
on.
To support IsoCorder’s flexible ability to capture almost anything, s
ettings and controls for recording
are provided in the individual
Input Configuration
panels as well as the
Output Configuration
pane. Click
the
Configure
button (gear) for the control panel of the source you wish to configure to access these
settings.
FIGURE 232