Configuration mapping setup 1/selecting a, Local output/selecting output relay #1 – Hardy HI 3010 Filler/Dispenser Controller User Manual
Page 82
HI-3010 Filler/Dispenser/IBC
66
Service Manual
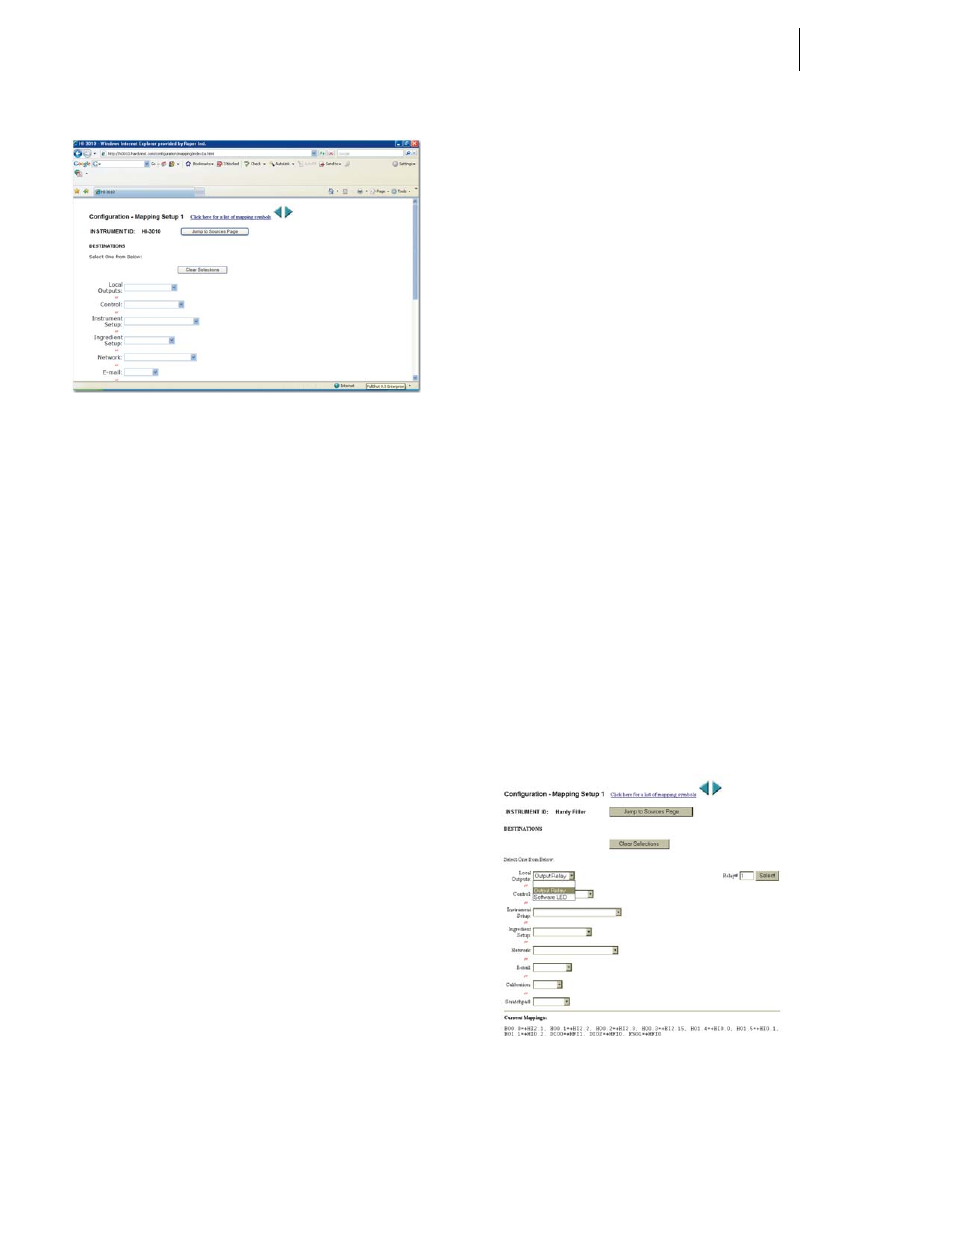
FIG. 6-3 CONFIGURATION MAPPING SETUP 1/
SELECTING A DESTINATION
Step 3. Let’s take a moment to take a look at this page.
•
Local Outputs include the 4 Output
Relays.
•
Control includes parameters that control
the filling or dispensing which includes
the following which is only a partial list:
1.
OK to Fill,
2.
OK to Discharge
3.
Start
4.
Stop
•
Instrument Setup include parameters for
setting up the instrument itself and
includes the following which is only a par-
tial list:
1.
Auto Zero On
2.
Tare Value
3.
Zero Tolerance
4.
Discharge On
•
Ingredient Setup include parameters for
setting up the ingredients to fill or dis-
pense, and includes the following which is
only a partial list:
1.
Max Weight.
2.
Min Weight
3.
Fill Time
4.
Wait Time
•
Network includes the network outputs for
Hardy Control Link, ControlNet, Devi-
ceNet, Profibus etc. which is only a partial
list.
1.
Hardy Control-Link Text Out
2.
Hardy Control-Link Int Out
3.
DeviceNet Text Out
4.
DeviceNet Int Out
•
E-Mail includes E-Mail Outputs such as:
1.
Send E-Mail
2.
Custom Text
•
Calibration includes calibration parame-
ters:
1.
Zero Weight
2.
Span Weight
•
Scratchpad which are empty registers you
can do whatever you want with.
NOTE:
The lists above do not include all the parameters.
For a list of all the parameters and their
addresses please see Appendix A.
Step 4. Back to our example. We want to select Output
Relay #1 as our destination. Click on the Local Out-
puts pull down menu. (See Fig. 6-4)
Step 5. Click on Output Relay. After you click on Output
Relay it is selected and a Number and a Select but-
ton appear to the right of the Local Outputs pull
down menu. (See Fig. 6-4)
Step 6. To select Output Relays from 1 - 4, double click in
the text box and type in the Output Relay number
you want. In our example we selected Output Relay
#1. (See Fig. 6-4)
FIG. 6-4 LOCAL OUTPUT/SELECTING OUTPUT
RELAY #1
Step 7. Click on the Select button to the right of the Relay
#1 text box. An address appears in the Current
Mappings text box below. You will have to scroll