Test data/last calibration time, Test data/last calibration day/month/year, St display/calibrator - units - waversaver – Hardy HI 3010 Filler/Dispenser Controller User Manual
Page 132: T data display/graduation size - span
HI-3010 Filler/Dispenser/IBC
116
Service Manual
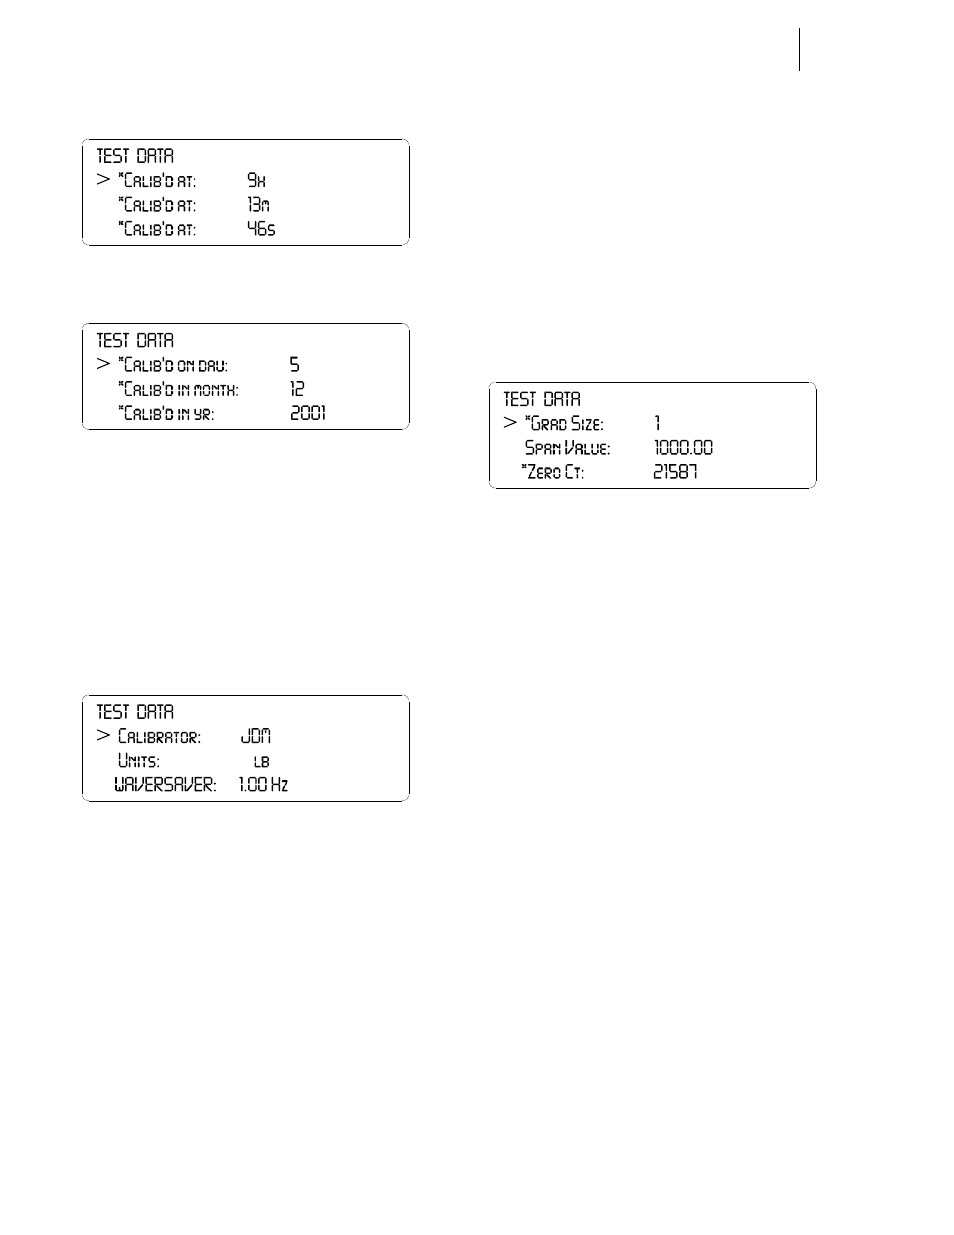
FIG. 7-51 TEST DATA/LAST CALIBRATION TIME
FIG. 7-52 TEST DATA/LAST CALIBRATION DAY/
MONTH/YEAR
•
The Last Cal time is important to deter-
mine if the instrument needs calibration to
correct a problem with the scale. If a cali-
bration has not been done for a long time it
is time to re-calibrate the instrument.
Step 7. Press the down arrow button until the next three
menu items are displayed. (See Fig. 7-53)
FIG. 7-53 TEST DISPLAY/CALIBRATOR - UNITS -
WAVERSAVER
®
Step 8. The Calibrator is read only. However you can
change the Units and the WAVERSAVER settings
from this menu.
Step 9. Press the up or down arrow until the cursor is in
front of *Units.
•
This display shows the last selected Unit.
Press the left or right arrow buttons to
select the Units you want. The selections
are lbs, kg, oz, g.
•
Press the Enter button to set the entry.
•
Press the down arrow to move to the next
parameter you want to view or change.
Step 10. Press the up or down arrow until the cursor is in
front of *WAVERSAVER. This display shows the
last WAVERSAVER selection.
•
Press the left or right arrow buttons to
select the WAVERSAVER selection you
want.
•
Press the Enter button to set the entry.
•
Press the down arrow to move to the next
parameter.
Step 11. Press the down arrow button until the next three
menu items are displayed. (See Fig. 7-54)
FIG. 7-54 TEST DATA DISPLAY/GRADUATION
SIZE - SPAN VALUE - ZERO COUNT
Step 12. The Span Value is read only. The Graduation Size
and Zero counts are for the last calibration only.
The *Grad (Graduations) and *Zero Count can be
changed.
Step 13. Press the up or down arrow until the cursor is in
front of *Grad.
•
This display shows the last selected Grad-
uation size. Press the left or right arrow
buttons to select the Units you want. The
selections are 1, 2, 5, 10, 20, 50, 100, 200,
500, 1000.
•
Press the Enter button to set the entry.
•
Press the down arrow to move to the next
parameter you want to view or change.
Step 14. Press the up or down arrow until the cursor is in
front of Span Value. The Span Value is the value
entered for the last calibration only.
Step 15. Press the up or down arrow until the cursor is in
front of *Zero Count.
•
Changing the Zero Count can nullify your
calibration.
•
The Zero Count is the stored A/D counts
on the last calibration zero.
•
To clear the Zero Count press the Clr
(Clear) button.
NOTE:
Zero counts must be less than Span counts.
•
Press the Enter button to set the entry.