Installation of secure memory module (smm), Transferring a secure memory module, Secure memory module (smm) – Hardy HI 3010 Filler/Dispenser Controller User Manual
Page 35: Installing the secure memory module
19
CHAPTER 3
Installation
NOTE:
If you have one load point you must plug it into
Channel 1. If you have more than one load point
you must make sure that you plug one of the load
points into Channel 1.
Step 6. If you only have 3 load cells, do not use Channel 4.
Installation of Secure Memory Module
(SMM)
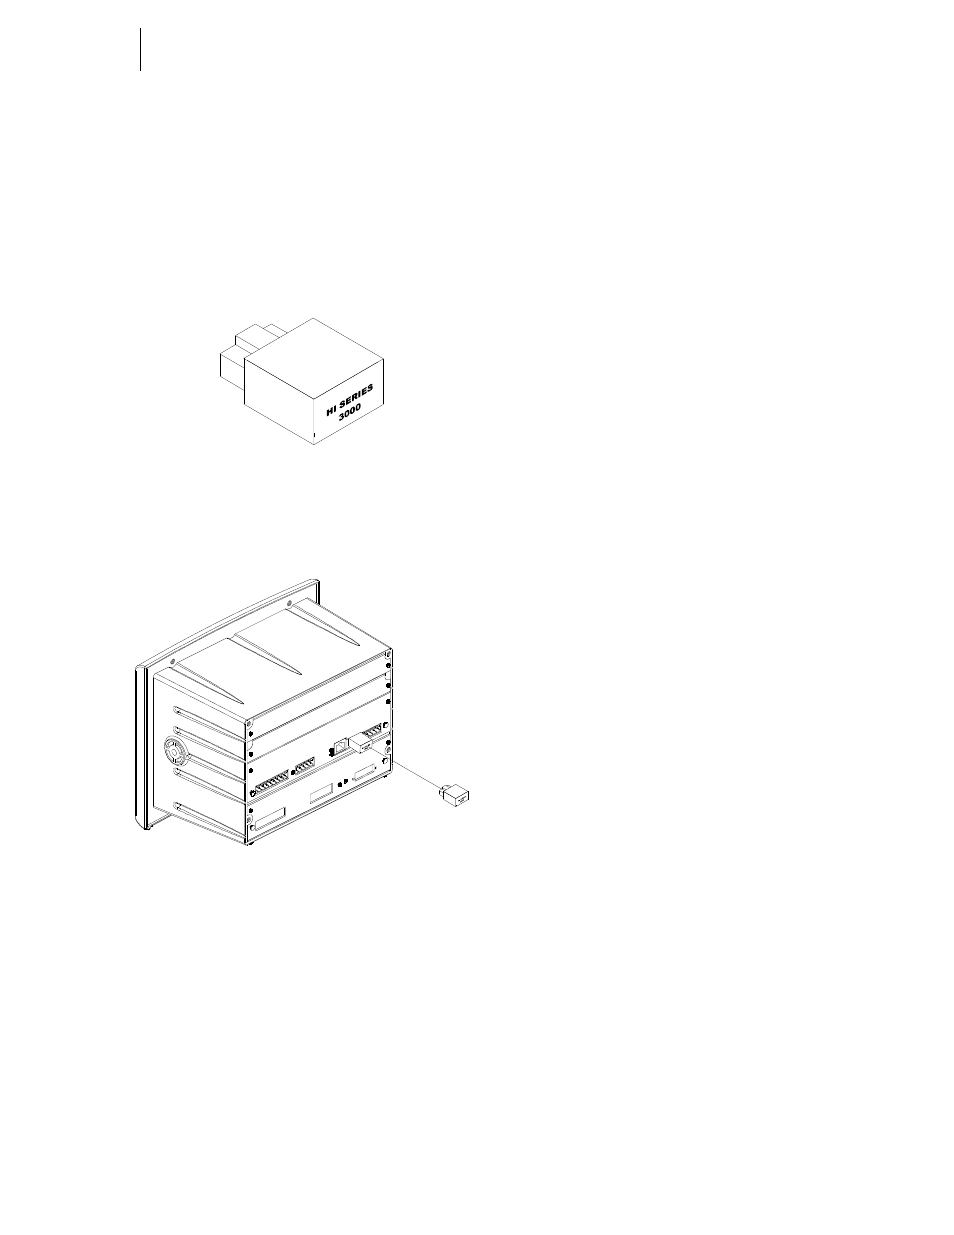
FIG. 3-20 SECURE MEMORY MODULE (SMM)
Step 7. Slide the module with the notch up into the module
housing at the rear panel. (See Fig. 3-20 & 21)
FIG. 3-21 INSTALLING THE SECURE MEMORY
MODULE
Step 8. Press the module in until it stops. Do not force the
module, it should slide in easily.
Step 9. To remove the module pull the module straight out
of the housing. (See Fig. 3-21)
Transferring a Secure Memory Module
NOTE:
Make sure that when you move an SMM to
another instrument that you know what type of
instrument that will receive the SMM. For exam-
ple if you accidently place a Dispenser into a pre-
viously configured Filler, the Filler changes into
a Dispenser and vice versa. Make sure that you
know the type of instrument the SMM was taken
from.
CAUTION: D
O
N
OT
REMOVE
AN
SMM
WITH
THE
POWER
ON
. A
LWAYS
DISCONNECT
THE
POWER
CABLE
FROM
THE
INSTRUMENT
BEFORE
REMOVING
OR
INSTALLING
THE
S
ECURE
M
EMORY
M
ODULE
.
Step 1. Disconnect the power cable from the Instrument.
Step 2. Remove the Secure Memory Module from the
instrument.
Step 3. Install the Secure Memory Module into the new
instrument.
Step 4. Power up the new instrument.