Adobe Photoshop Lightroom CC User Manual
Page 69
64
Importing photos
Last updated 4/20/2015
Note: Connected networks appear in the Source panel. To add a network location, click From or Select A Source, choose
Other Source, and navigate to the networked folder. On Windows, click the Plus button to the right of the Source panel
name and choose Add Network Volume.
3
In the top center of the import window, specify how you want to add the photos to the catalog:
Copy As DNG
Copies photos to the folder you choose and converts any camera raw files to the Digital Negative
(DNG) format.
Copy
Copies the photo files to the folder you choose, including any sidecar files.
Move
Moves the photo files to the folder you choose, including any sidecar files. Files are removed from their
current location.
Add
Keeps the photo files in their current location.
4
Select the photos that you want to import from the preview area in the center of the import window. A check mark
in the upper-left corner of the thumbnail indicates that the photo is selected for import.
• To filter photos in the preview, select any of the following:
All Photos
Removes all filters.
New Photos
Excludes suspected duplicates and previously imported photos.
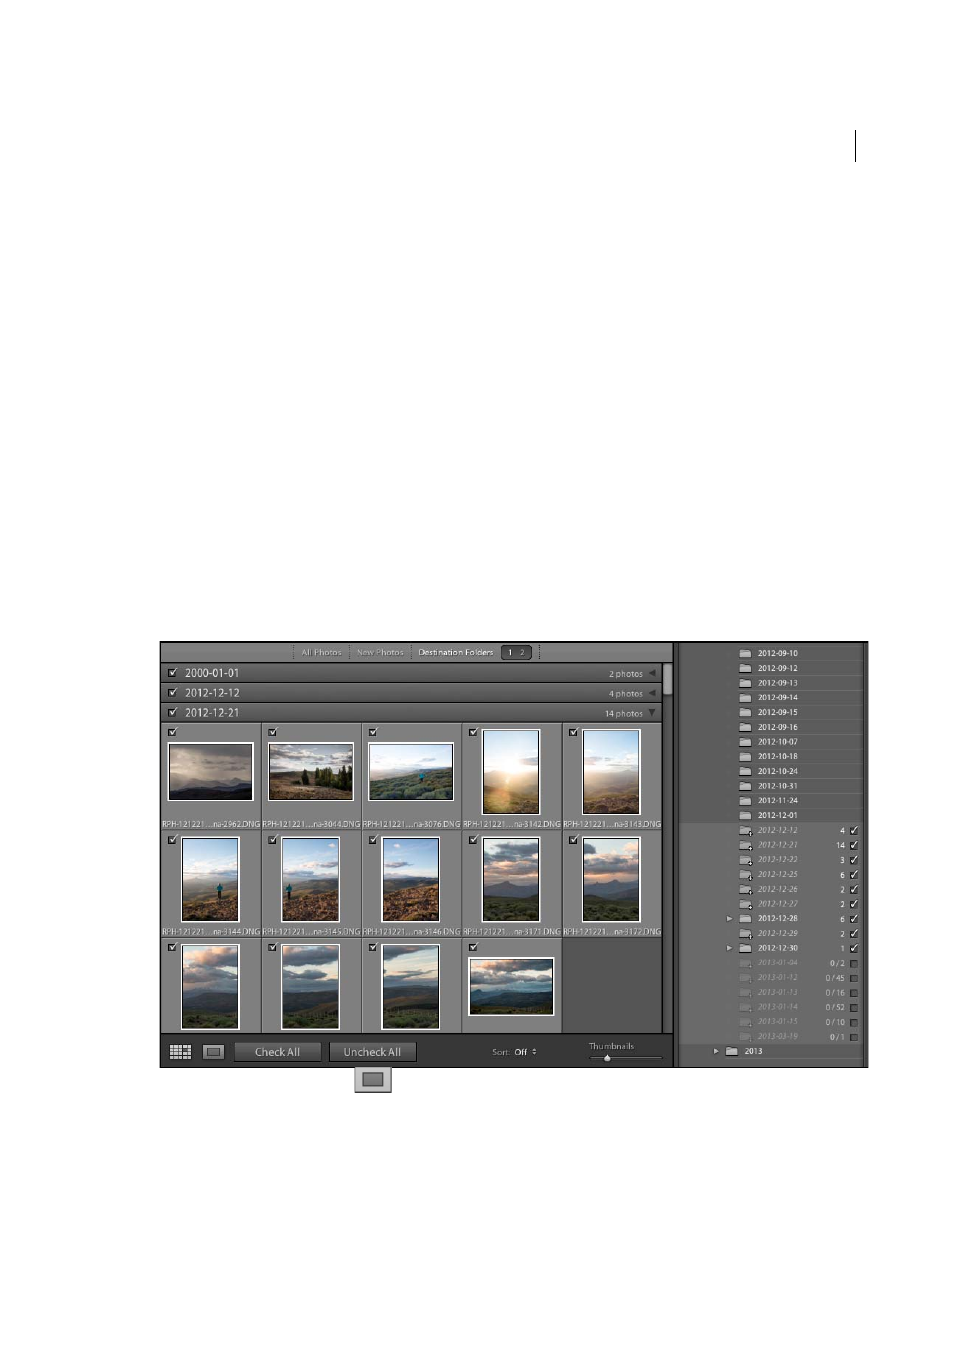
Destination Folders
(Available only when copying or moving photos into a catalog) Groups photos by their
destination folder.
• Click the Loupe view button
in the toolbar to zoom in to a single photo.
• Click Check All or Uncheck All in the toolbar to globally selecte or deselect all photos in the folder.
• Click the Sort pop-up menu in the toolbar to sort photos by capture time, checked state, filename, or media type
(image or video file).
• Drag the Thumbnails slider to adjust the size of the thumbnails in the grid.